
【Python初心者🔰でも簡単】StreamlitでClaude Artifacts風なWebアプリ

はじめに
生成AIのデモアプリ作成に、Streamlitをよく使います。
Pythonだけで簡単にWebアプリが作れますので、フロント技術が不得意なPythonエンジニアは重宝しています。
とはいえ、デザインや機能の制約が多く、かっこいいことは残念ながらできないです。
所詮、Streamlitに期待するのはデモレベルなので、そんなに高望みはしないのですが、
「StreamlitでClaude Artifactsみたいなことはできないかなぁー」
と思い立ったので、Streamlitのcomponents機能を試してみました。
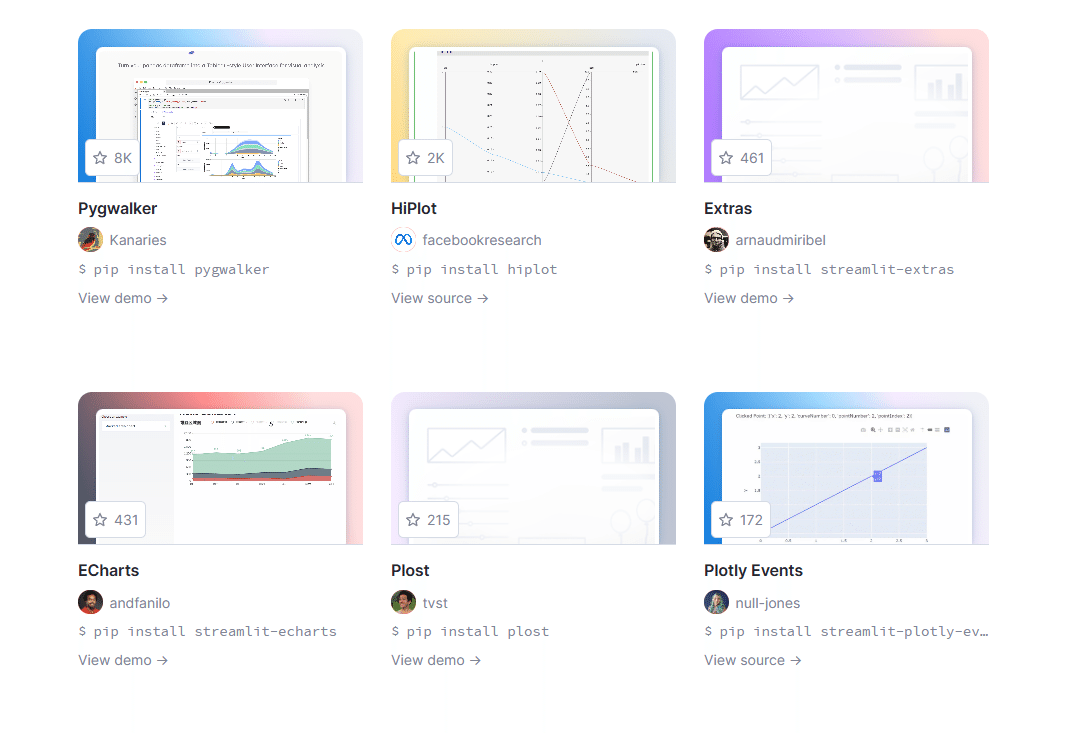
Streamlit Components
見た感じ、よいデザインがならんでました。
これは使えそうです。
Claude Artifactsとは?
Streamlit + Artifacts
コード全体
from openai import OpenAI
import streamlit as st
import streamlit.components.v1 as components

st.title("チャットアプリ")
client = OpenAI()

model = "gpt-4o-mini"

if prompt := st.chat_input("チャットを入力してください"):
    with st.chat_message("user"):
        st.markdown(prompt)

    with st.chat_message("assistant"):
        res = client.chat.completions.create(
            model=model,
            messages=[
                {"role": "user", "content": prompt}
            ],
        )
        ans = res.choices[0].message.content
        st.write(res.choices[0].message.content)

        ans = ans.replace('```html','')
        ans = ans.replace('```','')

        components.html(
                ans,
                height=800,
                scrolling=True,
                )
実行
streamlit run ./streamlit.py --server.port=7004チャットWebアプリが立ち上がります。

ToDoアプリでも作ってもらいましょう。
チャット入力欄に以下のプロンプトを入力し、実行します。
TodoアプリをHTMLで出力して。HTML文以外は出力しないでください。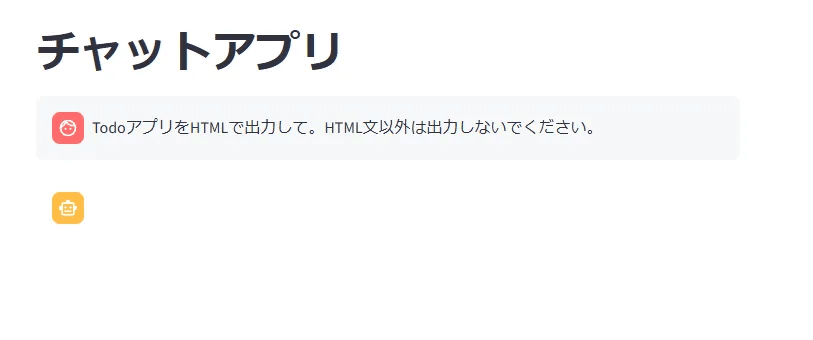
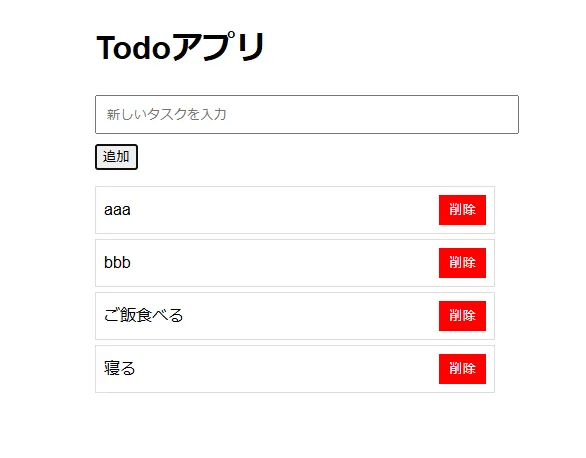
しばらく待つと、Todoアプリが表示されました。
Todoアプリに最低限必要な、「追加」ボタンとタスク入力欄があるようです。
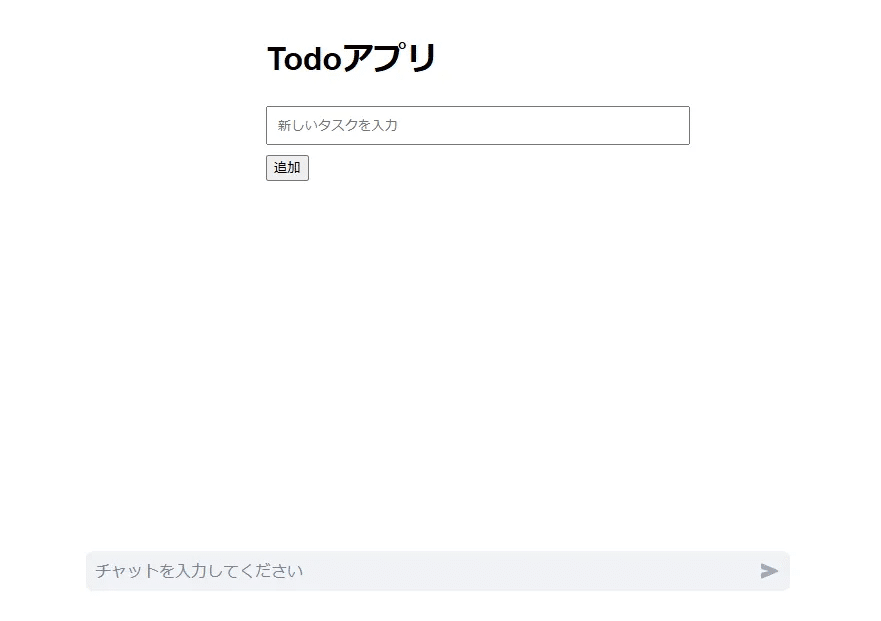
適当にタスクを入力して、「追加」ボタンを押します。
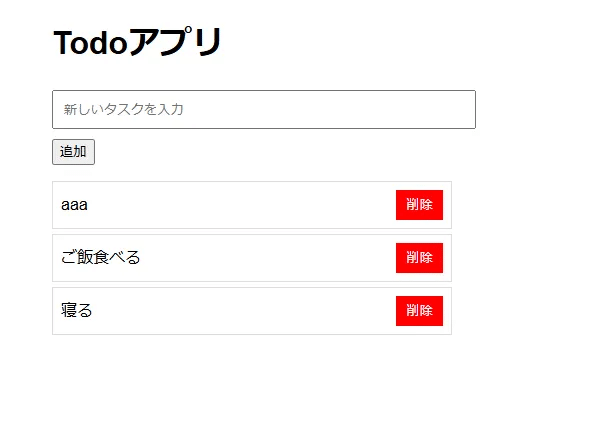
Streamlitの画面でそのまま動きました!
もちろん「削除」ボタンを押すと削除もできます。
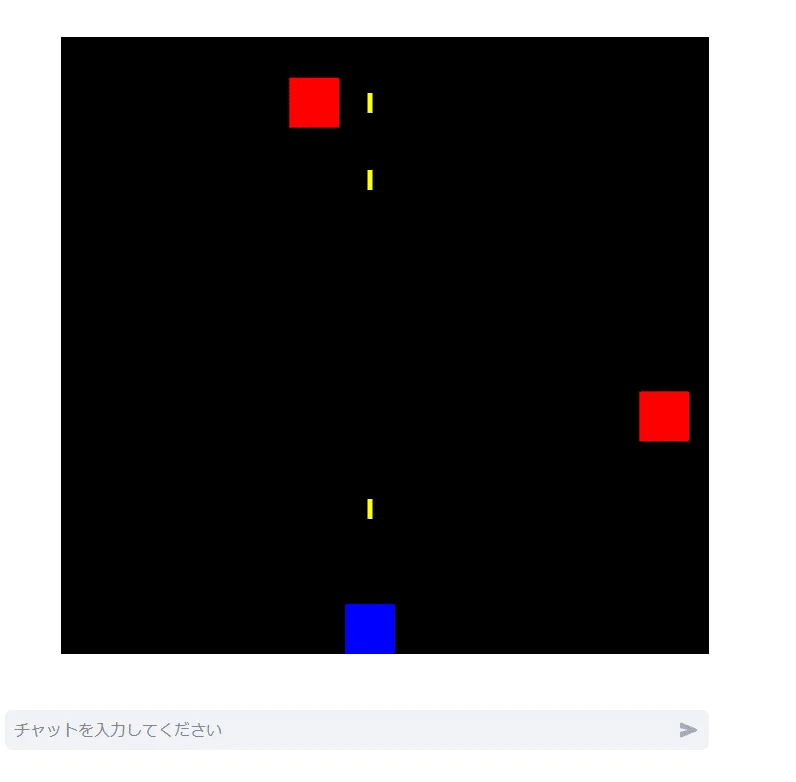
プロンプトを変えて試してみましょう。
シューティングゲームをHTMLとjavascriptで出力して。コード以外の文章は出力しないでください。これも、Streamlitの画面で動きました!
左右で移動して、スペースキーで弾を発射できます。
解説
LLMはGPT-4o miniを使いました。最近のモデルであれば何でも大丈夫だと思います。
事前にopenai、streamlitのライブラリはpipコマンド等でインストールしておきます。
チャット入力欄はst.chat_input()を使います。
if prompt := st.chat_input("チャットを入力してください"):
    with st.chat_message("user"):
        st.markdown(prompt)
OpenAIのGPT-4oを利用します。
チャットの回答は「res」に入ります。
        res = client.chat.completions.create(
            model=model,
            messages=[
                {"role": "user", "content": prompt}
            ],

        )
HTMLだけ抽出するのは、少し面倒そうだったのでLLMのプロンプトで指示しました。
それでもコードブロックの「```HTML」と「```」は出力されてしまいますので、replaceで削っています。
        ans = res.choices[0].message.content
        st.write(res.choices[0].message.content)

        ans = ans.replace('```html','')
        ans = ans.replace('```','')
HTMLのコードを以下のcomponents.html()で出力します。
        components.html(
                ans,
                height=480,
                scrolling=True,
                )
LLMが出力するHTML例
以下はプロンプトで指示した結果のHTMLの例です。
ChatGPT登場直後の初期gpt-3.5-turboでは、ちょくちょくエラーで動かないケースもあったように思いますが、最近のモデルではこの程度の指示は一切エラーが出なくなりましたね。
<!DOCTYPE html>
<html lang="ja">
<head>
    <meta charset="UTF-8">
    <meta name="viewport" content="width=device-width, initial-scale=1.0">
    <title>シューティングゲーム</title>
    <style>
        body {
            margin: 0;
            overflow: hidden;
        }
        canvas {
            background: #000;
            display: block;
            margin: auto;
        }
    </style>
</head>
<body>
    <canvas id="gameCanvas" width="800" height="600"></canvas>
    <script>
        const canvas = document.getElementById('gameCanvas');
        const context = canvas.getContext('2d');

        let player;
        let bullets = [];
        let enemies = [];
        let score = 0;

        class Player {
            constructor() {
                this.x = canvas.width / 2;
                this.y = canvas.height - 30;
                this.width = 50;
                this.height = 30;
                this.speed = 5;
                this.color = 'lime';
            }

            draw() {
                context.fillStyle = this.color;
                context.fillRect(this.x, this.y, this.width, this.height);
            }

            move(direction) {
                if (direction === 'left' && this.x > 0) {
                    this.x -= this.speed;
                } else if (direction === 'right' && this.x < canvas.width - this.width) {
                    this.x += this.speed;
                }
            }
        }

        class Bullet {
            constructor(x, y) {
                this.x = x;
                this.y = y;
                this.radius = 5;
                this.speed = 7;
            }

            draw() {
                context.fillStyle = 'red';
                context.beginPath();
                context.arc(this.x, this.y, this.radius, 0, Math.PI * 2);
                context.fill();
            }

            update() {
                this.y -= this.speed;
            }
        }

        class Enemy {
            constructor() {
                this.x = Math.random() * (canvas.width - 50);
                this.y = 0;
                this.width = 50;
                this.height = 30;
                this.speed = 2;
            }

            draw() {
                context.fillStyle = 'yellow';
                context.fillRect(this.x, this.y, this.width, this.height);
            }

            update() {
                this.y += this.speed;
            }
        }

        function spawnEnemy() {
            enemies.push(new Enemy());
        }

        function handleBullets() {
            bullets.forEach((bullet, index) => {
                bullet.update();
                if (bullet.y < 0) {
                    bullets.splice(index, 1);
                }
            });
        }

        function handleEnemies() {
            enemies.forEach((enemy, index) => {
                enemy.update();
                if (enemy.y > canvas.height) {
                    enemies.splice(index, 1);
                    score = Math.max(0, score - 1);
                }
            });
        }

        function detectCollisions() {
            bullets.forEach((bullet, bIndex) => {
                enemies.forEach((enemy, eIndex) => {
                    if (bullet.x > enemy.x && bullet.x < enemy.x + enemy.width &&
                        bullet.y > enemy.y && bullet.y < enemy.y + enemy.height) {
                        bullets.splice(bIndex, 1);
                        enemies.splice(eIndex, 1);
                        score++;
                    }
                });
            });
        }

        function drawScore() {
            context.fillStyle = 'white';
            context.font = '20px Arial';
            context.fillText('Score: ' + score, 10, 20);
        }

        function gameLoop() {
            context.clearRect(0, 0, canvas.width, canvas.height);
            player.draw();
            handleBullets();
            handleEnemies();
            detectCollisions();
            drawScore();

            bullets.forEach(bullet => bullet.draw());
            enemies.forEach(enemy => enemy.draw());

            requestAnimationFrame(gameLoop);
        }

        window.addEventListener('keydown', (event) => {
            if (event.key === 'ArrowLeft') {
                player.move('left');
            } else if (event.key === 'ArrowRight') {
                player.move('right');
            } else if (event.key === ' ') {
                bullets.push(new Bullet(player.x + player.width / 2, player.y));
            }
        });

        player = new Player();
        setInterval(spawnEnemy, 1000);
        gameLoop();
    </script>
</body>
</html>
まとめ
Streamlitでも、生成AIのLLMが出力するHTMLレベルは普通に表示できることはわかりました。
もちろん、ClaudeのArtifactsのようにプレゼン資料だったり、モダンなフロントデザインまでは表示難しそうですが、Artifacts風なデモを少し見せたいときは、そこそこ使えそうです。