"Atmoph Window 2" Installation Note / アトモフのACコードを壁面インストール!
I have to say about the ugliness of cable routing when you hang the Atmoph Window 2 on a wall, so let me show you how to install it! / アトモフは窓枠から電源ケーブルが伸びてますよね。そんなケーブルの存在感をなくしたい人のために,拙宅でのインストール手順を残しておきます。簡単でした!

For the crazy "Star Wars" fanatics, it is important to consider how the Lucasfilm's "Official Logo" will appear divine. Thanks to the effect of the content, I feel like living with Ewoks in Endor! / Lucasfilm 公認・・これ以上ない響き。スペック以前にアトモフ一択でした。コンテンツとも相まってエンドアでイウォークと暮らしている感じ,この幸福感たるや!

Consideration / 事前検討
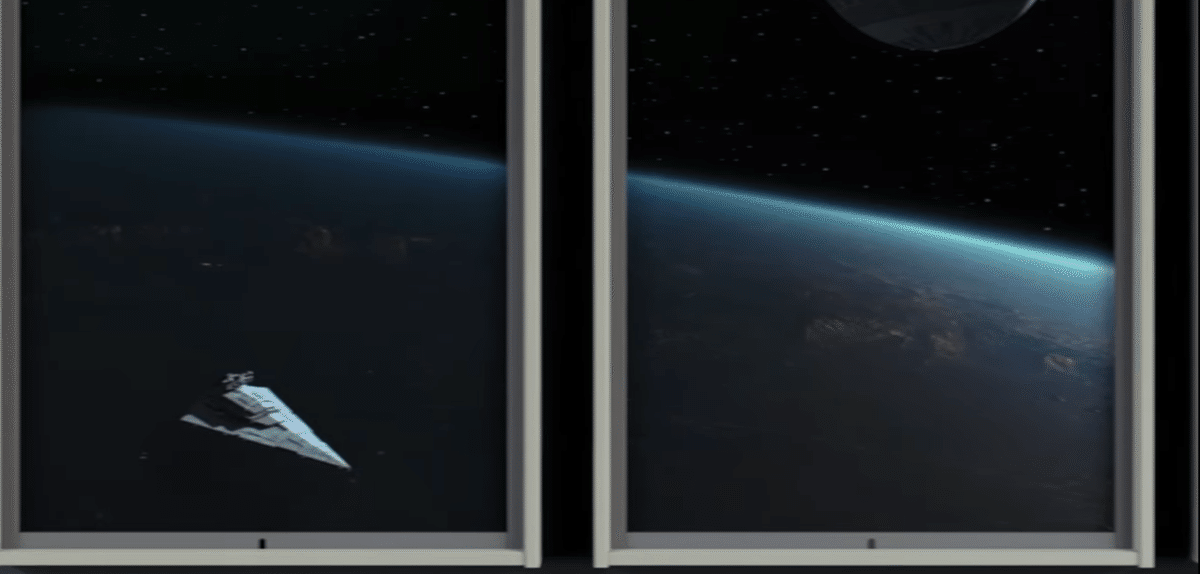
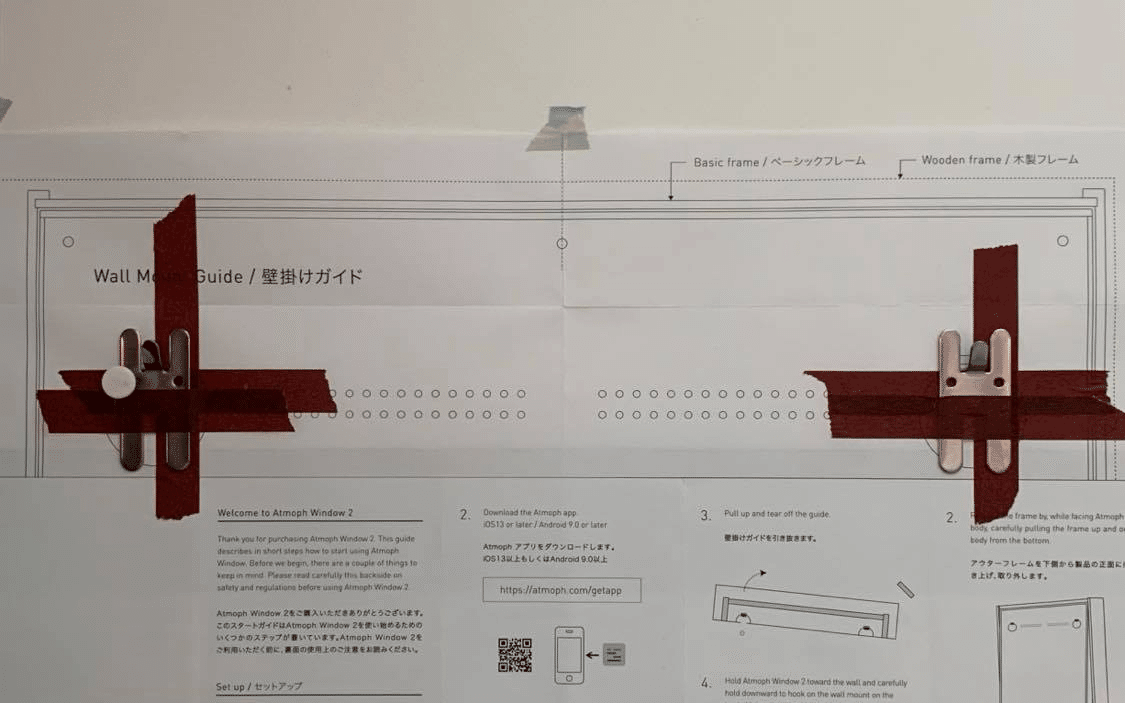
Thinking the cable leading to the monitor is 1.5 meters long, thus it would be a perfect idea to place it 1 meter above the floor. Isn't it bothering you that Jedha's outline is misaligned? Also, Dreadnoughts are supposed to be Imperial ll-class Star Destroyers, but its look more like Executor-class Star Dreadnoughts... / 本体から伸びる延長ケーブルが1.5m あるので,これを壁面に。将来パノラマ設置予定なので(ケーブル直埋めではなく)配線モールごと石膏ボードに埋設しようと。

Projected finish after the work. Finding a place where the installation conditions are suitable is something to consider when setting up a retrofit (as in my house). / 作業後こうなりました・・の写真。設置条件がうまくあう場所を探すのは(拙宅のように)後付けの場合のポイントですね。

If it were possible to reflect the distance between frames in the content projection position when multiple units are placed, yes, I'd love to use the Panorama feature. / 将来はパノラマに・・と思いつつも,この衛星ジェダの輪郭ズレ気になりません?ドレッドノートも窓枠にかかるとインペリアル級からエグゼクターに(フレーム間隔やベゼル幅をコンテンツ投影位置に反映させられる未来を信じています)
Items Bought / 買ったもの
The only items I purchased for installation were: / さてケーブル1.5m の壁面インストールのために購入したのは,この2点:
1. Wiring mall(braid) "壁美人 配線モール1m CC1MW"
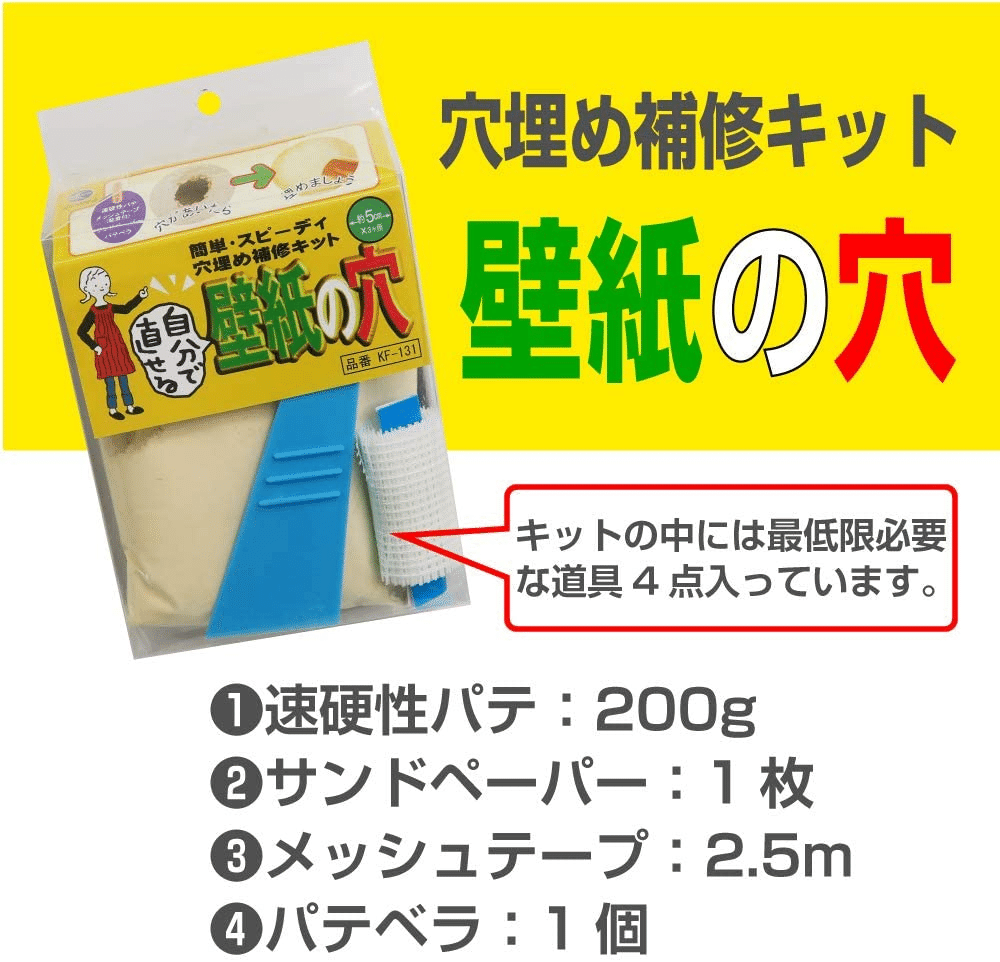
2. A set of tools for repairing holes in plasterboard "リンテックコマース 自分で直せる壁紙の穴 1セット KF-131"
For other supplies such as a paper cutter, any tools you may have at home. Also, if you can't find a similar wallpaper, there is a service like this: / ほかの道具はご家庭にあるかと。最後に壁紙も必要になります。もし予備をお持ちでない場合,こういうサービスも:
Wallpaper Detectives - They'll find the wallpaper you're looking for: / 壁紙探偵団 | 壁紙さがします(無料サービス)
Wall Cutting / 石膏ボード処理
Get to work. It should take no longer than an hour. In addition to wait for about four hours for the putty to dry. / DIY初心者でも作業時間は1時間ほど。加えて,パテの乾燥を待つのに4時間程度みておきましょう。
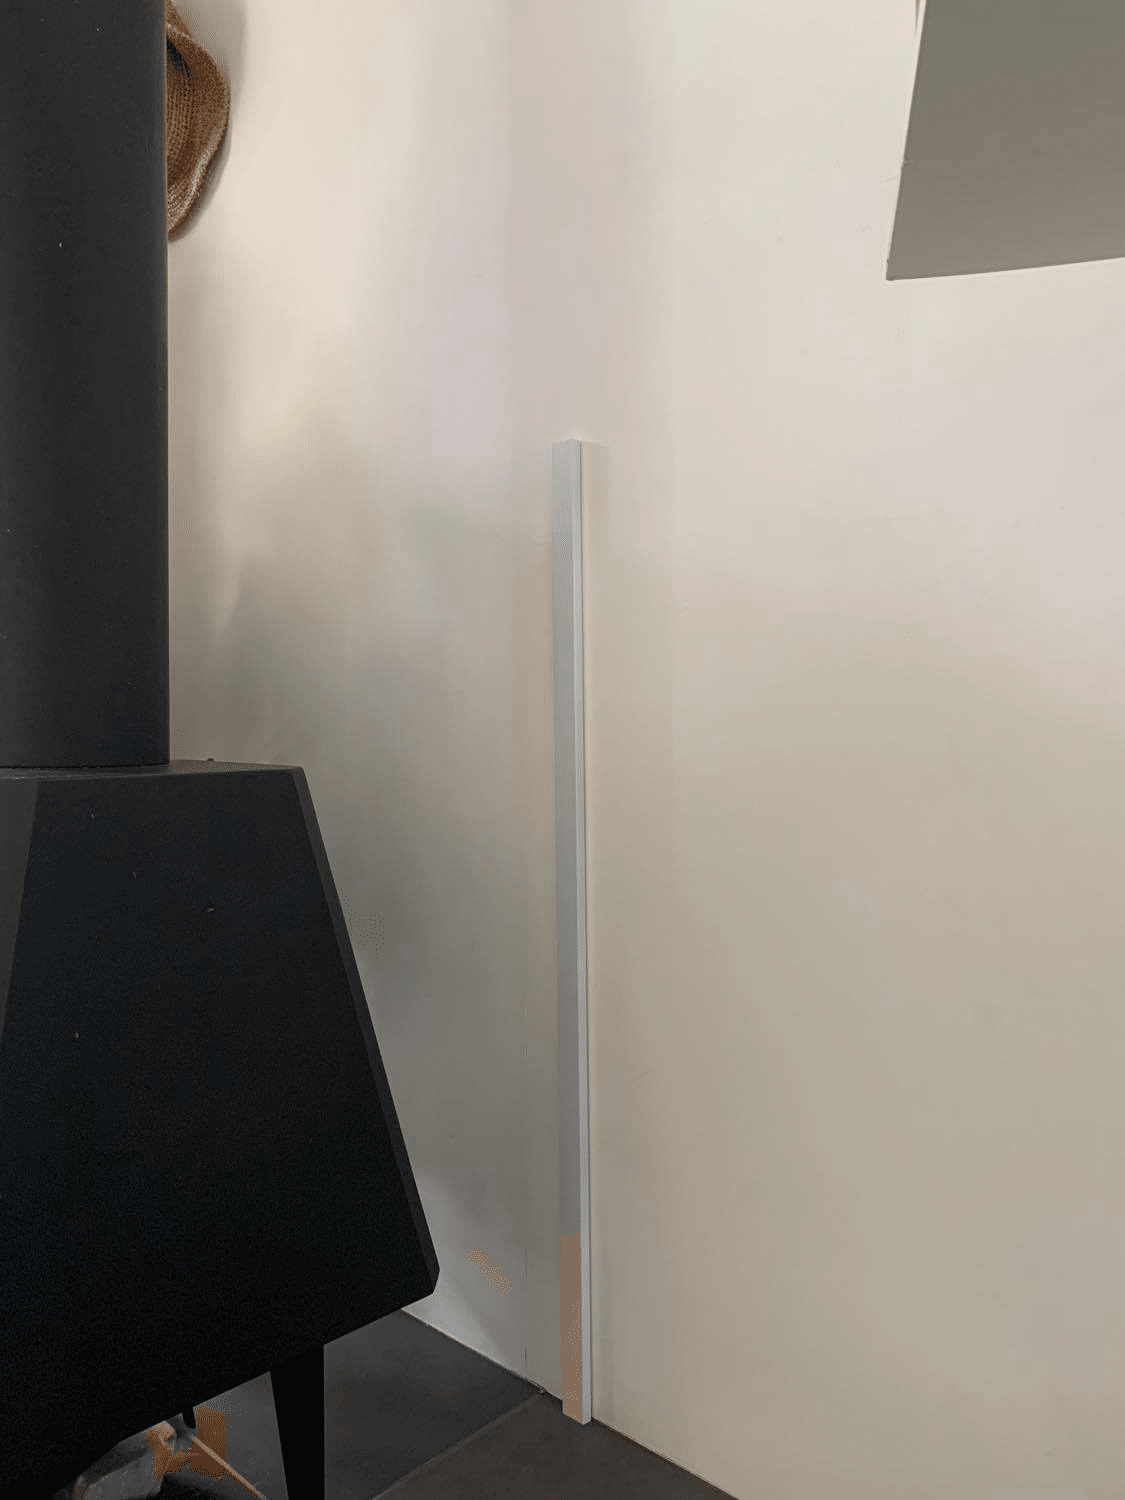
Carefully consider the window alignment. The reality will be enhanced by the non-existence of physical doors and windows on the same surface. The light from the lighting equipment should not reflect on the Atmoph display, and the existing lighting should not cast shadows on its display surface from the window frames. / 窓位置は "らしさ" 重視で,同じ面にドアや窓がなく,照明の映り込みもなく・・窓としてのリアリティを極めることで自らを錯覚させられる場所・・ということでストーブ裏に。

After locating it, make a hole for burying the wiring mall. Cut out easily with a cutter if the back of the wallpaper is plasterboard. / 位置が決まったら,配線モールの幅にあわせて石膏ボードに穴をあけます。カッター(大)を使用。

My house is a steel structure with external insulation, so I could only see the CD pipes. If there is insulation in this space, a wiring braid would be effective, assuming that the cables will be changed in the future. If there is nothing in the space, you can just use the top cover of the braid. / 拙宅は石膏ボード裏がスペイシーだったので,配線モールの上蓋だけ用いました。
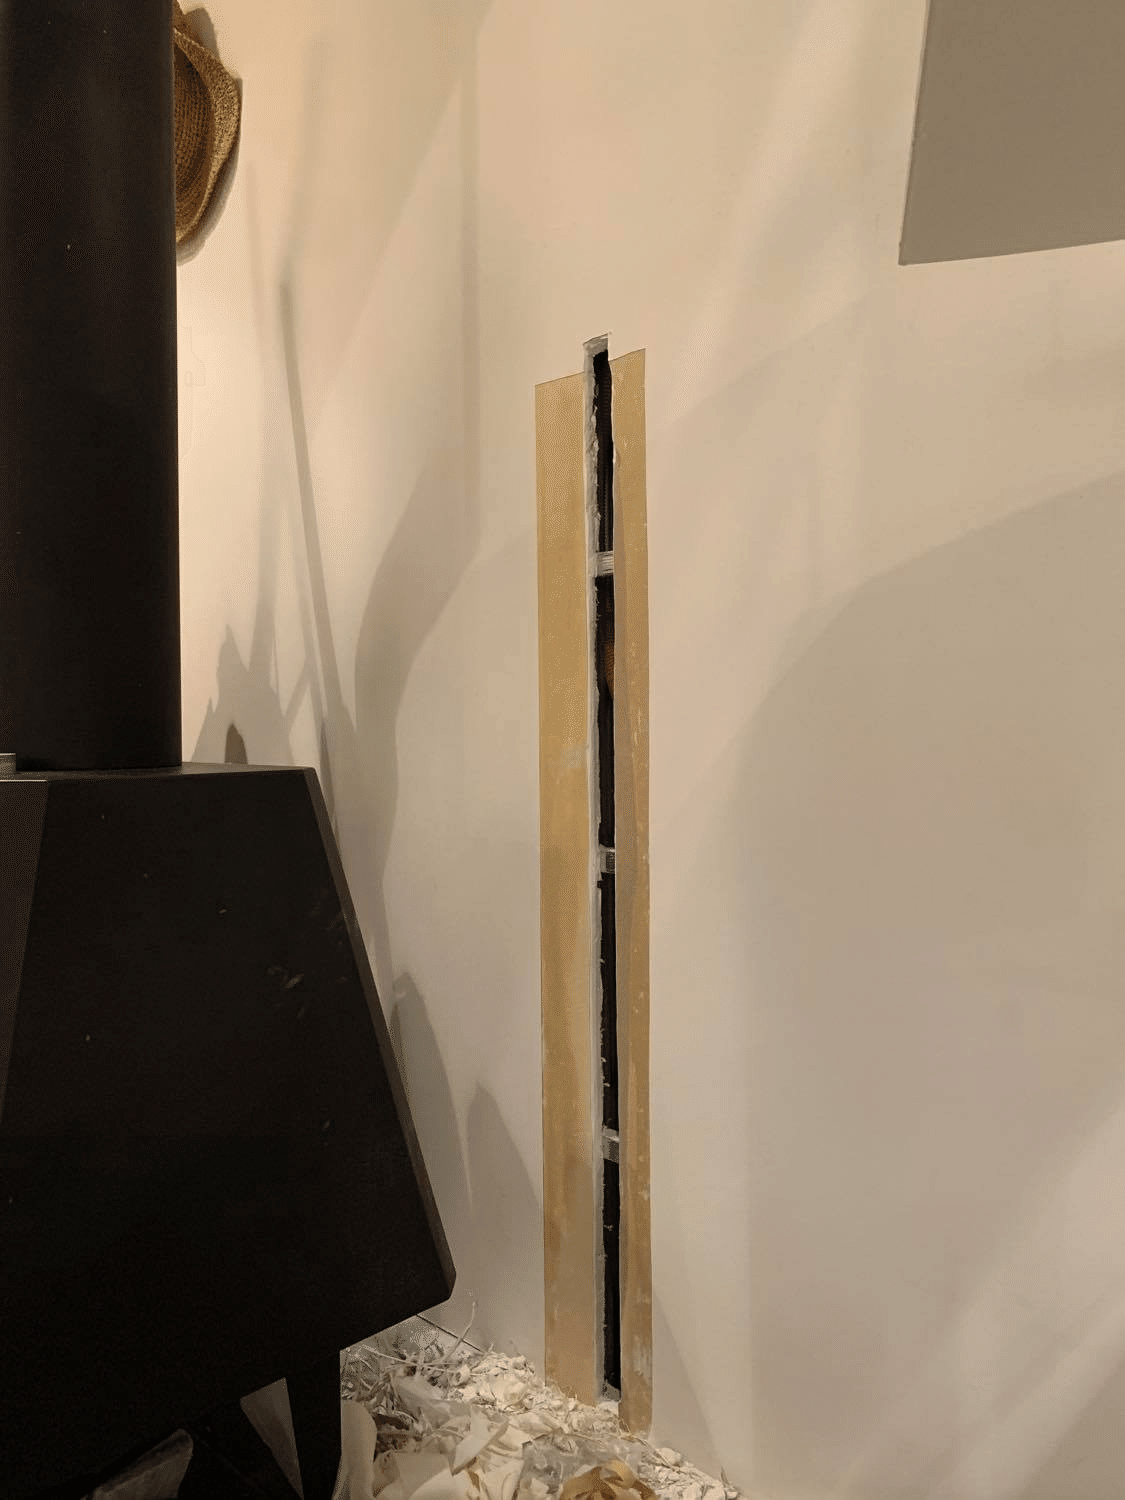
Cut out the wallpaper, leaving enough room for the putty to stick out. It's okay to cut the wallpaper as you like (because you'll adjust the new wallpaper tightly at the end). Wallpaper can be easily removed by wiping it with water mixed with neutral detergent. After removing the wallpaper, bevel the plasterboard. / パテ塗り前に周囲の壁紙もはがします。幅は適当で良いかと(あとでキッチリ合わせるので)。のり付きがしぶとい場合,中性洗剤を混ぜた水をしみ込ませるとキレイにはがれます。壁紙が剥がれたら石膏ボードの面取りも。

The wire is threaded through the wiring mall in order to pass the power cable later. / 後ほどケーブルを通すべく,配線モールに通線ワイヤーを渡しておきます。

Fixing the molding and the plasterboard with mesh tape, ready work before filling the putty is complete. / メッシュテープで配線モールを固定。これでパテ埋め前の準備作業は終了です。
Puttying / パテ処理

Putty hardens in 5-10 minutes once it's dissolved in water, making this a very rushed process. / パテは水で溶くと5分くらいで固まり始めるので,この作業わりと焦ります。
Done at this level of viscosity. / だいたいこれくらいの粘度でよろしいかと。

Hurry up and bury it. / 急いで塗り込みましょう。

Flatten it with a putty spatula and let it dry. / 最後にパテベラで平らにして,乾燥させます。
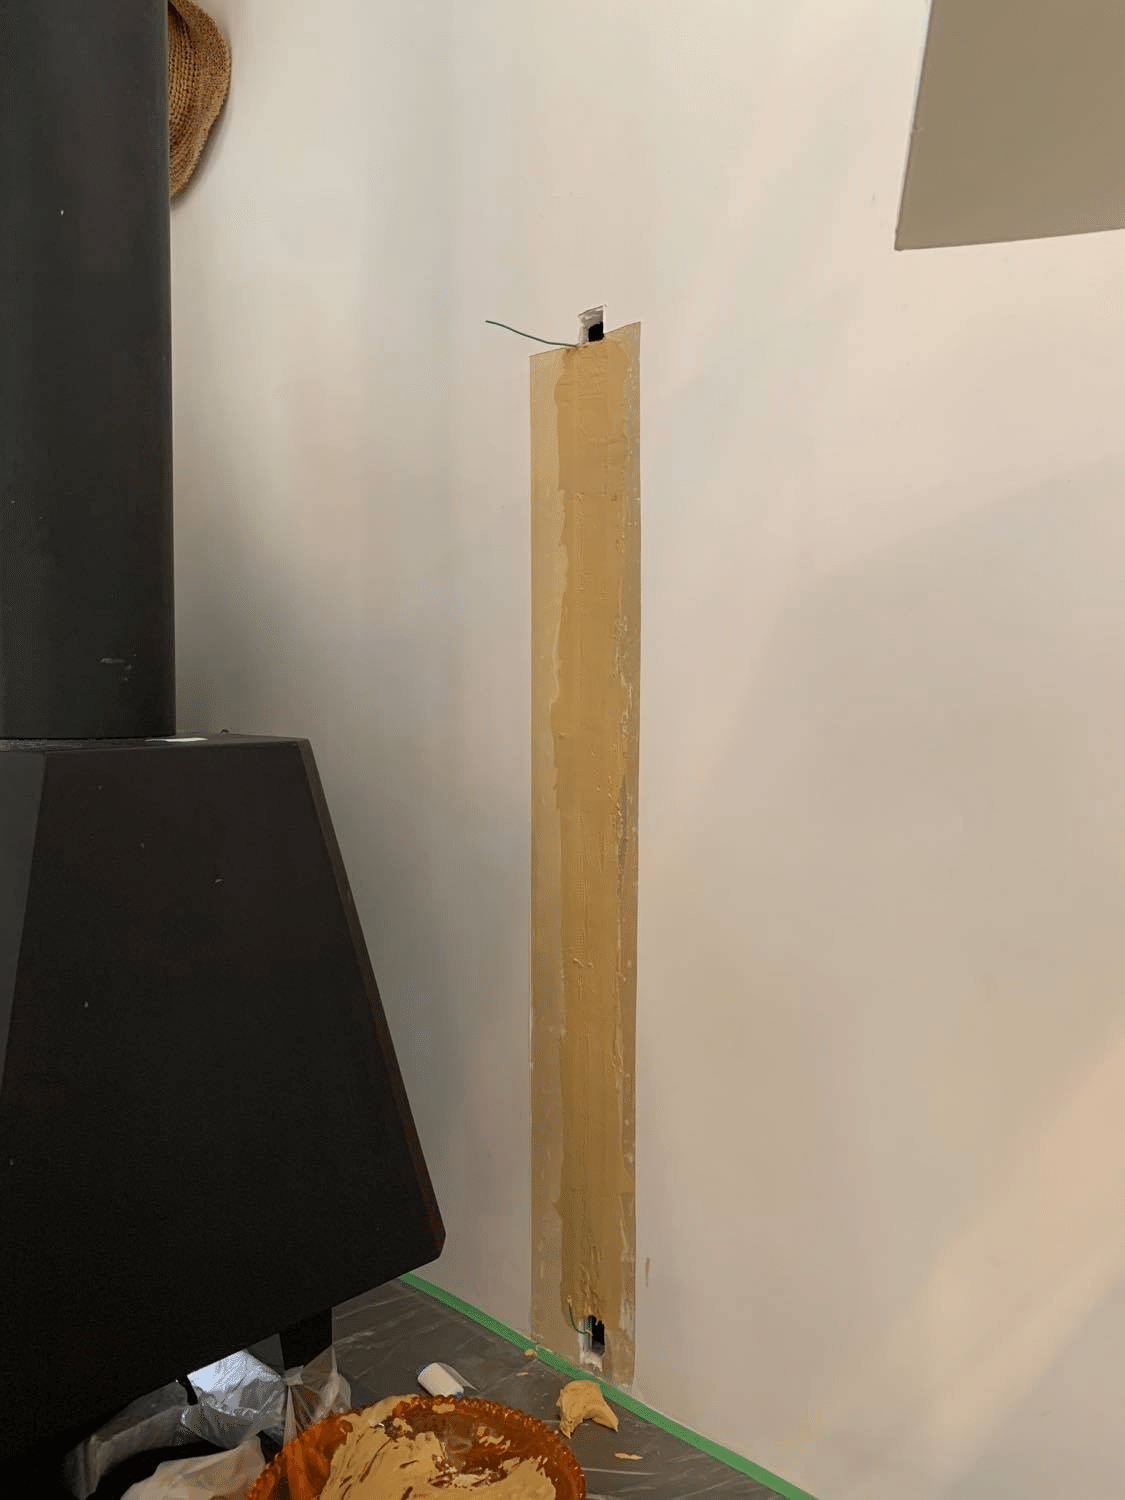
Wait for 4 hours... / 4時間ほど待ちます。
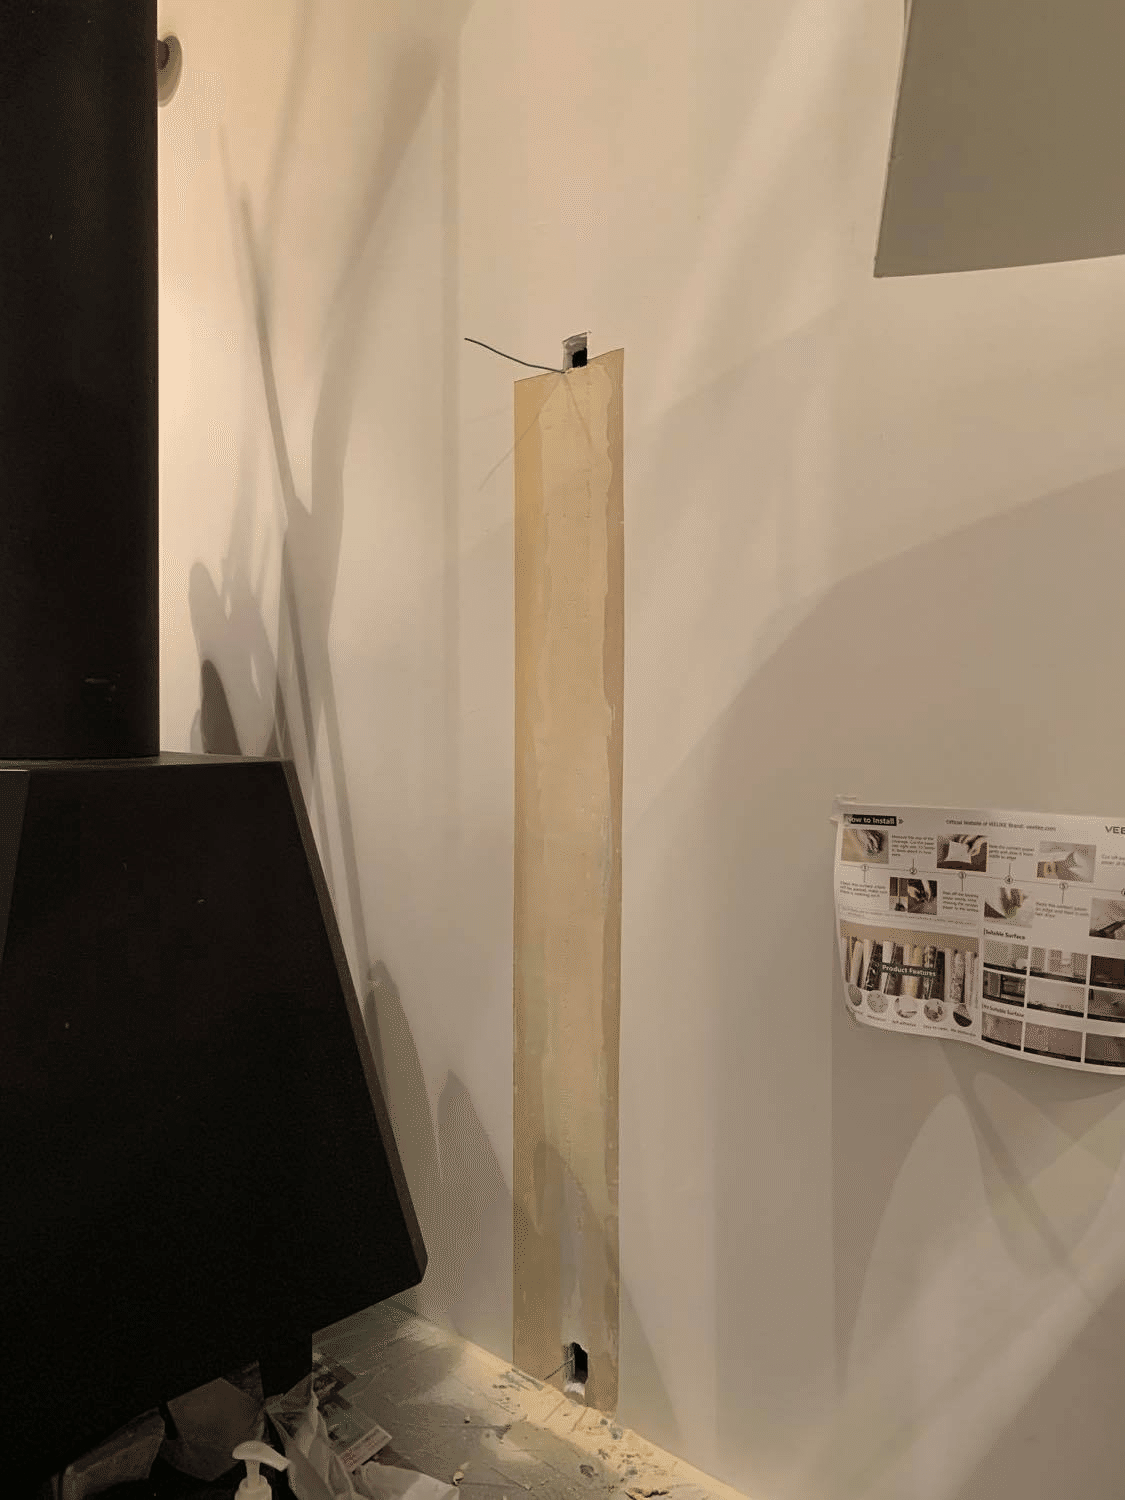
Then scrape the surface with sandpaper. / 乾燥後このように色が変わったら,サンドペーパーで表面を滑らかに。
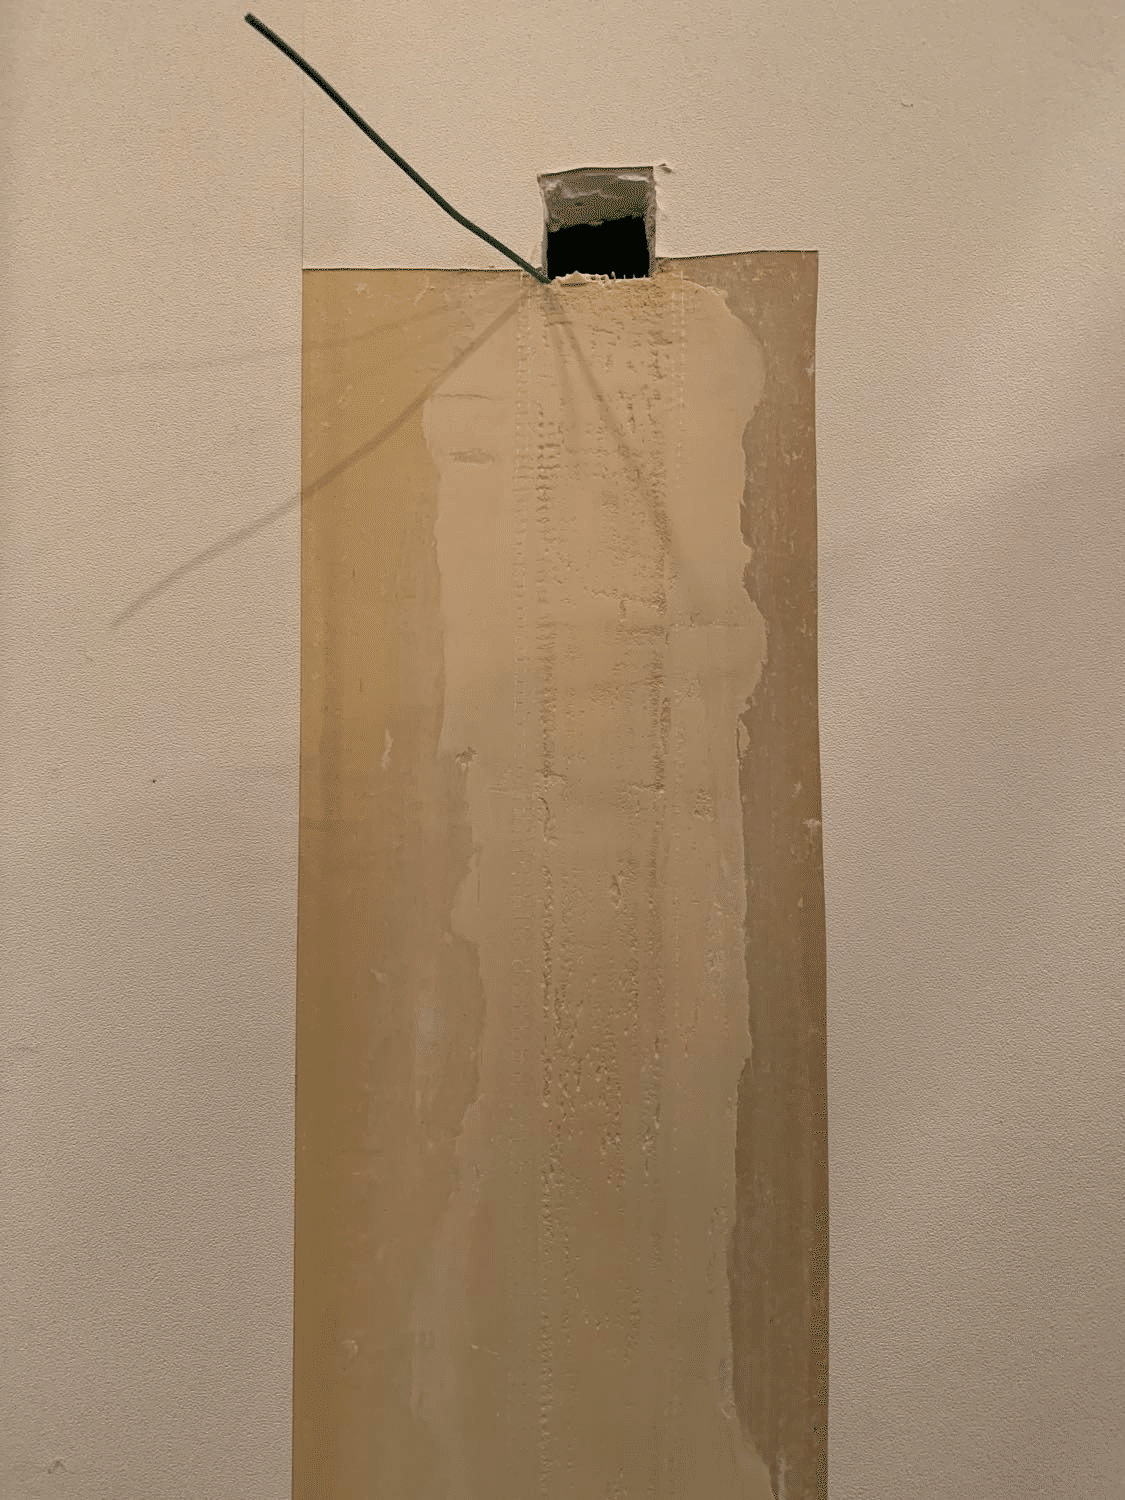
Don't leave out even the smallest of bumps, and make sure it's perfectly flat. As my cloth isn't glued, I used this one. / ここは仕上がりに直結するので小さな凹凸も見逃さず,まっ平らにしましょう。
Wallpaper / クロス処理
Then put up the wallpaper. This instructional video is really easy to understand. The process called "aidachi" is the key process, which is explained in detail about 20 minutes after: / いよいよクロス貼り。このインストラクションとても分かりやすいです。特にテープを貼って「あい裁ち」という聞き慣れない作業,これが肝なのですが開始20分後くらいです:
https://miraie.me/articles/264/(The description here is also excellent!) / (こちらの解説も素晴らしいなと)なるほど壁紙って天と地で方向があるんですね。確かに表示されてました。
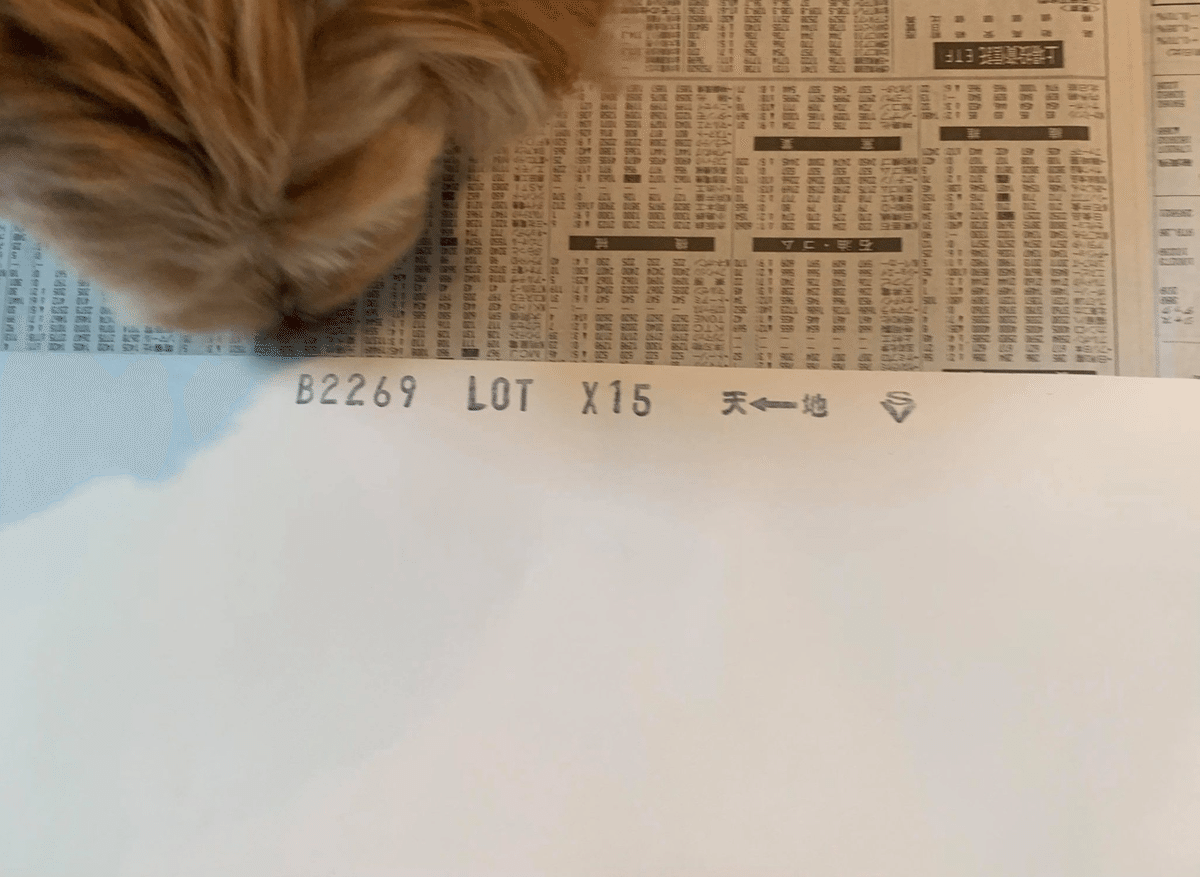
The cloth at my house isn't glued, so I used a glue in a pouch, and a "cut tape" to cut glued cloth with ease. / 拙宅クロスはのり付きではないタイプだったので下記2点を発注。(ホームセンターならのりもテープも付けてくれる世界線らしいです)
So, it's done! This photo is still waiting for the glue to dry, so the border is a little uneven, but I think it turned out well for an amateur DIYer. / というわけで,完成しました! この写真まだのりの乾き待ちのものなので境目に違和感ありますが,素人DIYにしては良い感じに出来たなと!
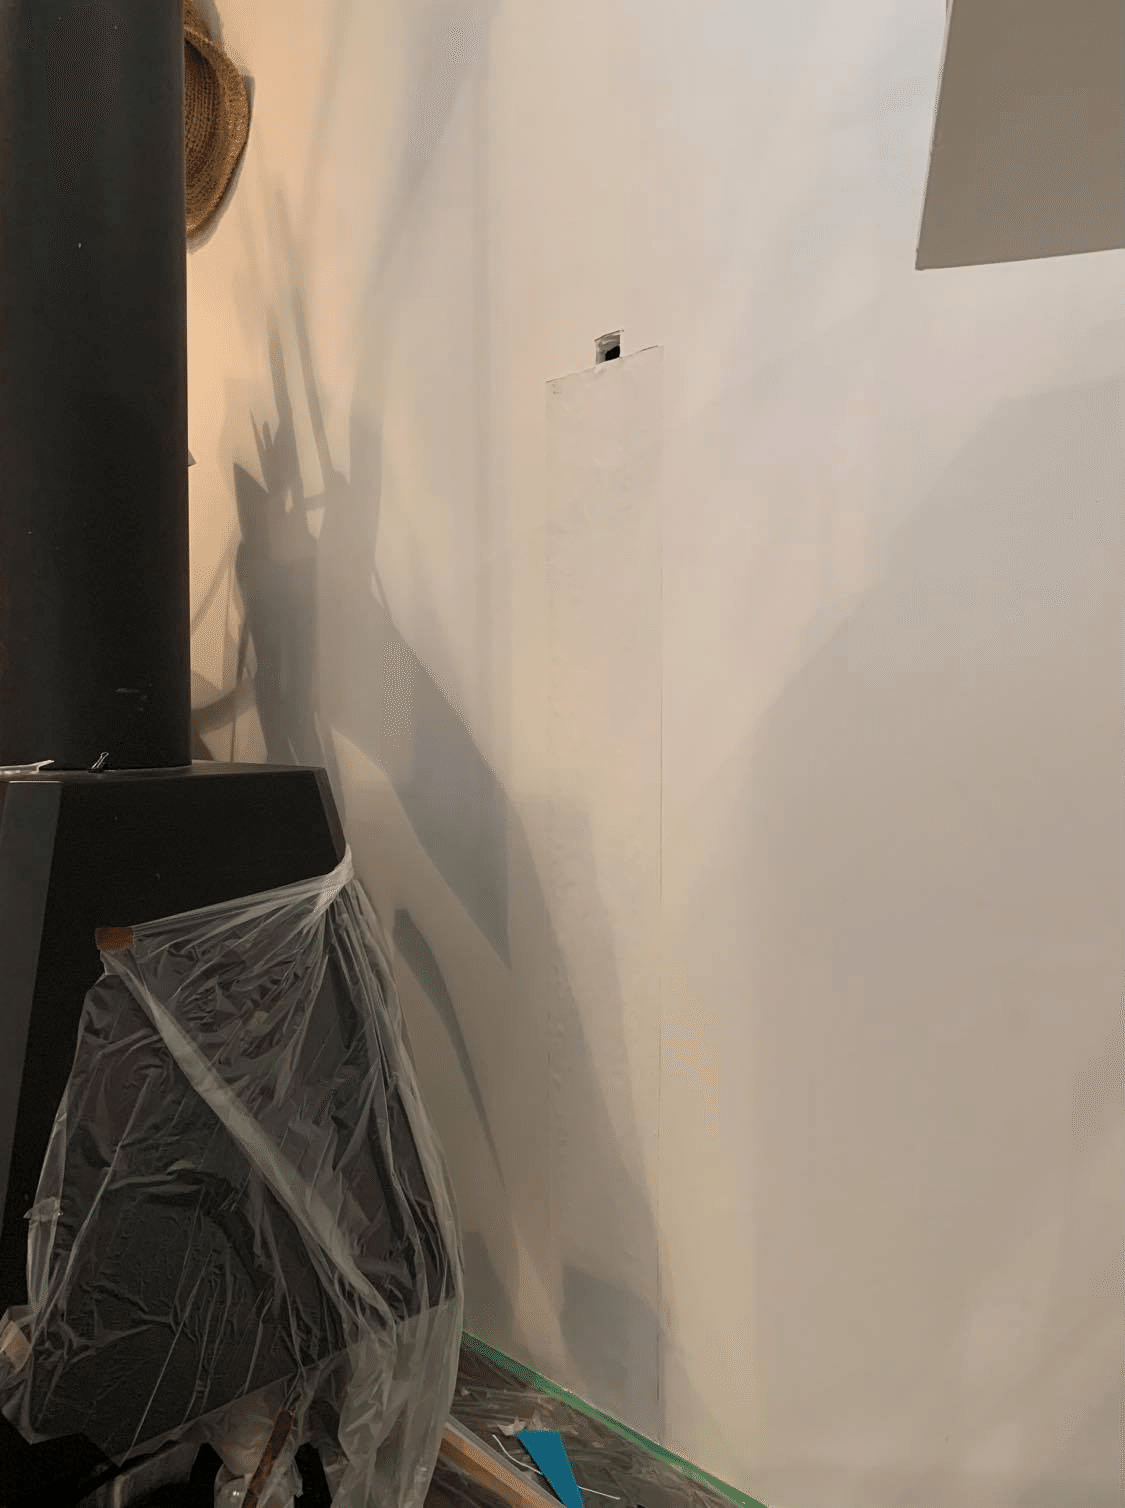
The wiring could have been bent at the floor and brought directly to the outlet, but in my case it was right behind the stove, so I placed a stone to hide it. These stones were from Isamu Noguchi Museum, and looks good! / 配線を床のところで曲げて直接コンセントまで持っていく手もありますけど,拙宅の場合ちょうどストーブ裏なので石を置いて。この石,イサムノグチ美術館で仕入れたもので色合い的にも良い感じ・・

Got it! / 完!
It feels overwhelmingly like a window! It's like a window! I wish Atmoph all the best. / 圧倒的 マド感 !!! 窓らしさあります! アトモフ普及しますように!

For wall-hanging on a plasterboard, I used this one (Hyper Hook HHT-26M-S2) recommended by the official website. / なお本体の壁掛けには,公式推奨のこちら(ハイパーフック かけまくり HHT-26M-S2)を使いました。
As an aside, I'm so looking forward to a future in which the position of content is adjusted according to the frame interval when displaying panoramas, the capacity of video is increased to make content that does not rotate for 24 hours, and content categories are classified according to the position of the viewpoint, distance from the window, and height. / さいごに:パノラマ設置時にフレーム間隔に応じたコンテンツの位置調整が出来て,24時間ローテーションしないようにコンテンツが大容量化して,視点位置と視座によるコンテンツ分類が行われている未来を,心よりご期待申し上げます!
Discount Code / 割引コードあります
Here's a discount code: / 割引コードです(紹介者還元あり)SW版ご検討なら公式ストアで。それ以外は楽天・アマゾンにも! https://is.gd/bEw9UK

