SwiftUIをはじめてみよう!-TextField
"TextField"を使ってみましょう。
"TextField"は入力欄など1行で文字入力をしたいときに使います。
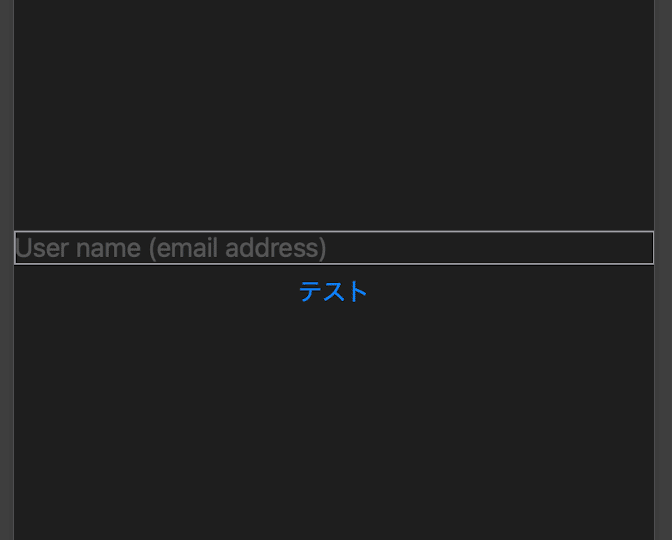
使い方ですが、公式サイトの例示をシンプルにしてみます。"//"で必要なさそうなところをコメントアウトして実行させてみます。
    @State private var username: String = ""
//    @FocusState private var emailFieldIsFocused: Bool = false


    var body: some View {
        TextField(
            "User name (email address)",
            text: $username
        )
//        .focused($emailFieldIsFocused)
//        .onSubmit {
//            validate(name: username)
//        }
        .textInputAutocapitalization(.never)
        .disableAutocorrection(true)
        .border(.secondary)


        Text(username)
//            .foregroundColor(emailFieldIsFocused ? .red : .blue)
    }
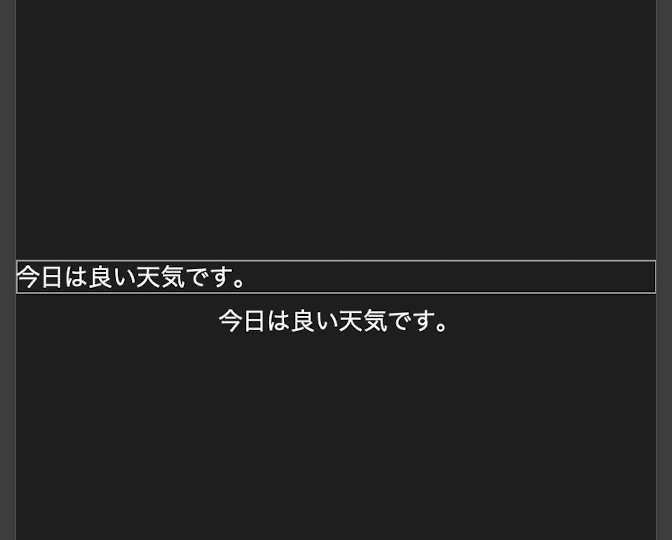
実行結果です。

文字を入れるとリアルタイムに表示されます。
リアルタイムに表示される仕組みについては
"@FocusState"を使った例示をすこし変更して
@State private var username: String = ""
    @FocusState private var emailFieldIsFocused: Bool


    var body: some View {
        TextField(
            "User name (email address)",
            text: $username
        )
        .focused($emailFieldIsFocused)
        .onSubmit {
            print("送信")
        }
        .textInputAutocapitalization(.never)
        .disableAutocorrection(true)
        .border(.secondary)


        Text("入力\(username)")
            .foregroundColor(emailFieldIsFocused ? .red : .blue)
    }
として実行すると、まず入力前は

入力欄をクリック(Focusされた)した時に"emailFieldIsFocused"
.focused($emailFieldIsFocused)
何か入れようとすると、文字色が赤色に変わります。
Text("入力\(username)")
.foregroundColor(emailFieldIsFocused ? .red : .blue)
の部分で規定しています。
Text Field Prompts
"Form"を使ってみます。
    @State private var username = ""
    @State private var password = ""

    var body: some View {

        Form {
            TextField(text: $username, prompt: Text("Required")) {
                Text("Username")
            }
            SecureField(text: $password, prompt: Text("Required")) {
                Text("Password")
            }
        }
実行すると

入力できます。パスワードは"点"で表示されます。

Styling Text Fields
Text Fieldの見た目をカスタマイズ。
@State private var name: String = ""

    var body: some View {

            TextField(
                "Name",
                text: $name
            )
            .textFieldStyle(.roundedBorder)
    }
実行すると

".plain"に変更してみます。
.textFieldStyle(.plain)

となります。
