StableDiffusionとControlnetを使って写真からイラストを作る

ほぼ自分のメモ書きですが、写真を元にイラストを作る方法をまとめました。 この方法が一番良いとは言いません。今現在自分がやっている方法をまとめているだけなのでご了承ください。
きっかけはあぶぶ先生の記事です。
こちらの記事では i2i を使い、さらにBlenderまで使って精度の高いマルチアングルの再現を試みています。
自分が以前から試している「写真+キャラクター」にも応用できるものが多かったので参考にさせていただきました。
素材作成
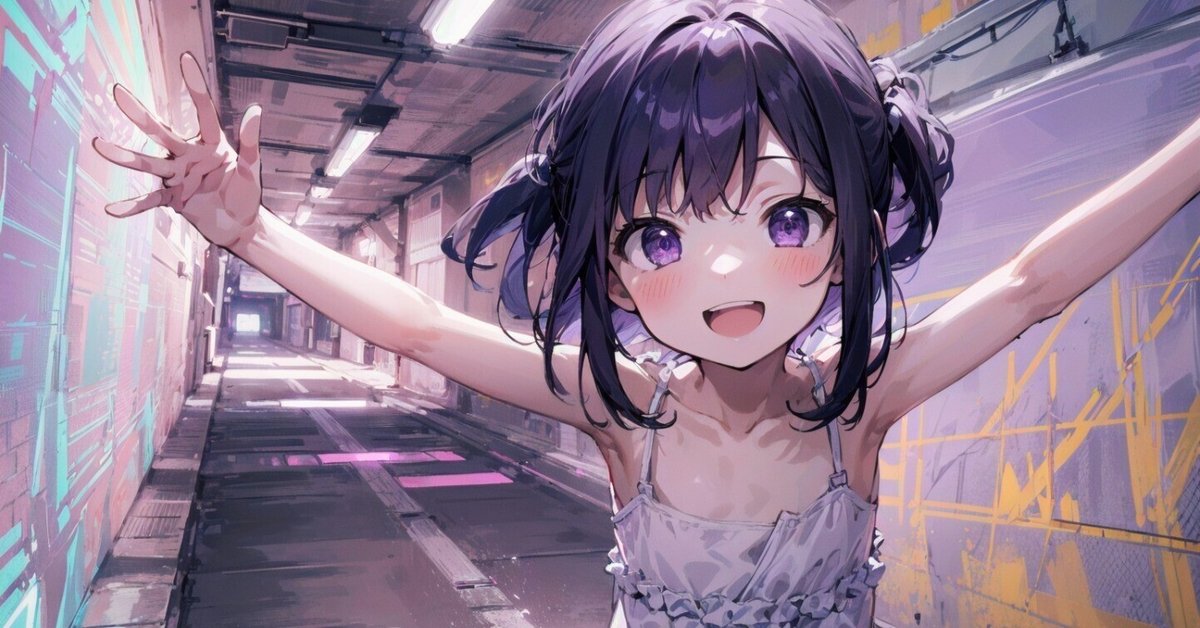
下記の写真に女の子を登場させたいと思います。
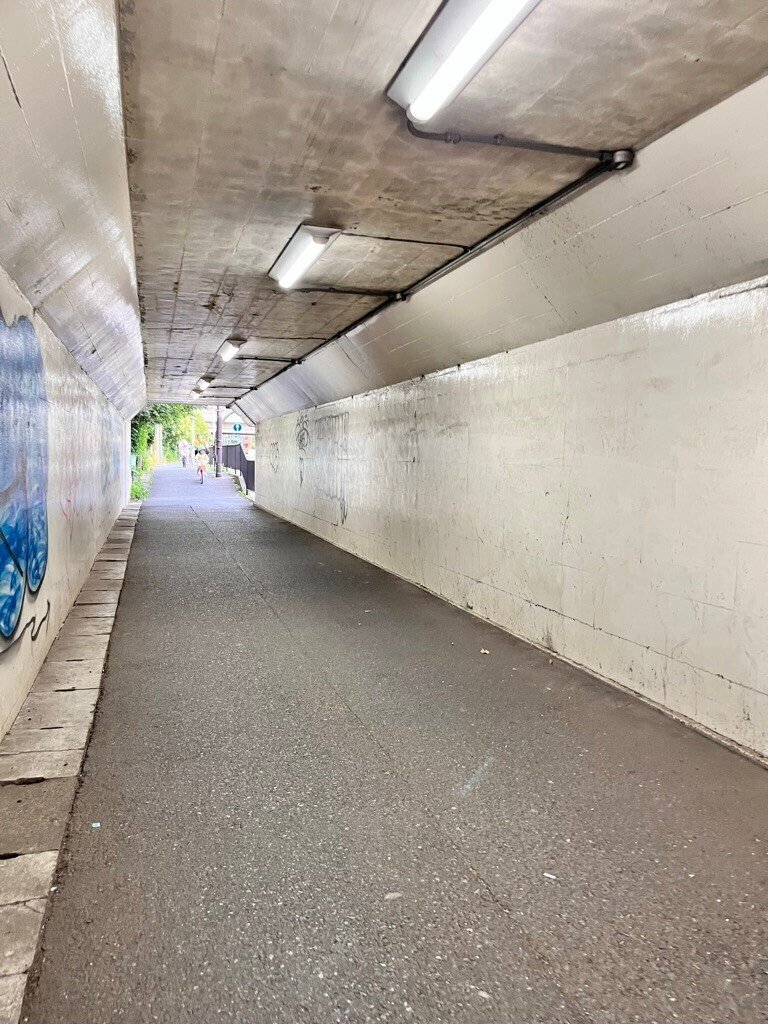
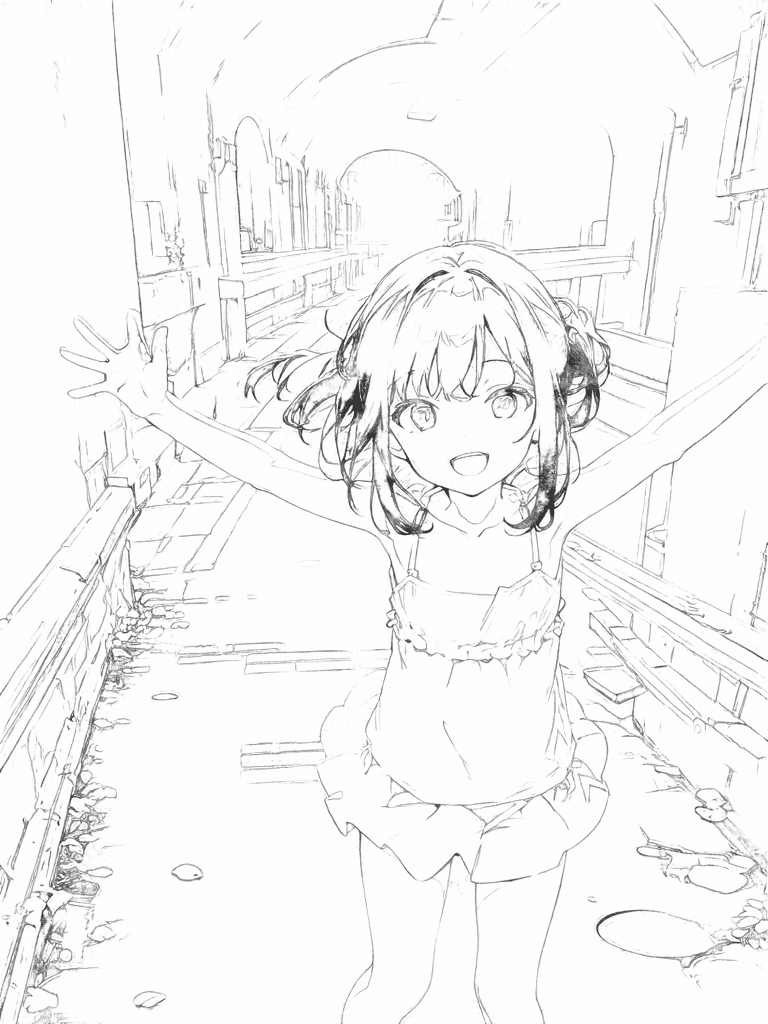
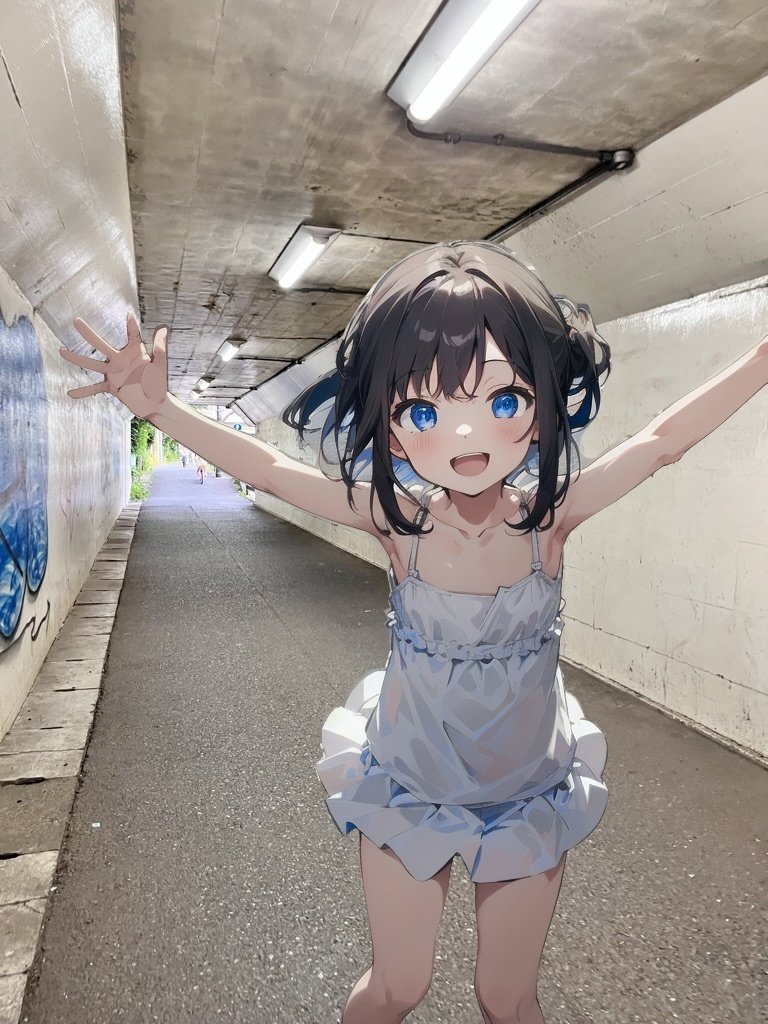
上の写真を i2i に読ませて女の子を用意します。
Prompt: highres, high quality, masterpiece,
(1girl,  solo, child, flat chest:1.3), twintails, happy smile, open mouth,
standing, arms up, open legs, upper body
camisole, miniskirt, in tunnel

CFG scale: 12
Denoising strength: 0.6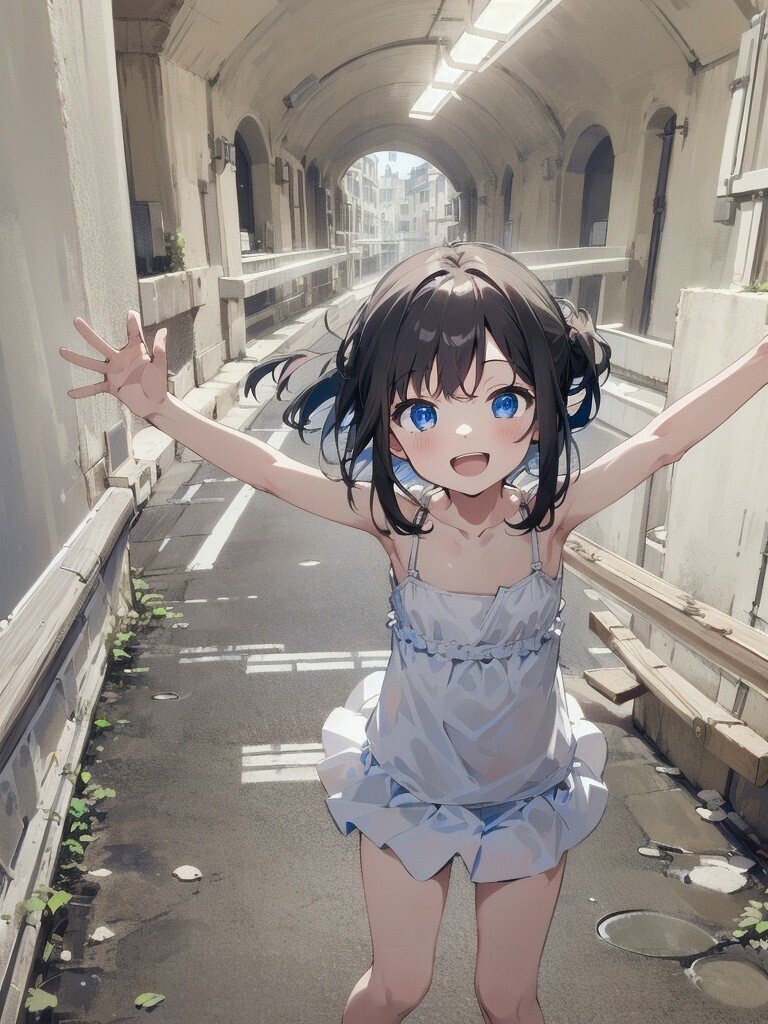
あれ……なんかもうこれでよくない? 可愛いし。
線画を抽出
続けます。
背景、女の子の線画を抽出します。
t2i、i2i どちらでもいいので Controlnet に背景写真を入れます。プリプロセッサは共に lineart_anime です。綺麗な線画を抽出するために Preprocessor Resolution も上げておきます。
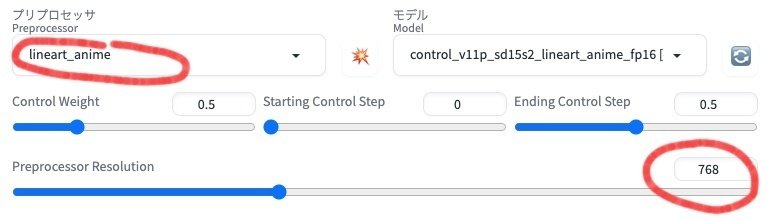
Preprocessor: lineart_anime
Preprocessor Resolution: 768
下の画像が線画です。
本来は黒地に白線ですが記事のために反転しています。
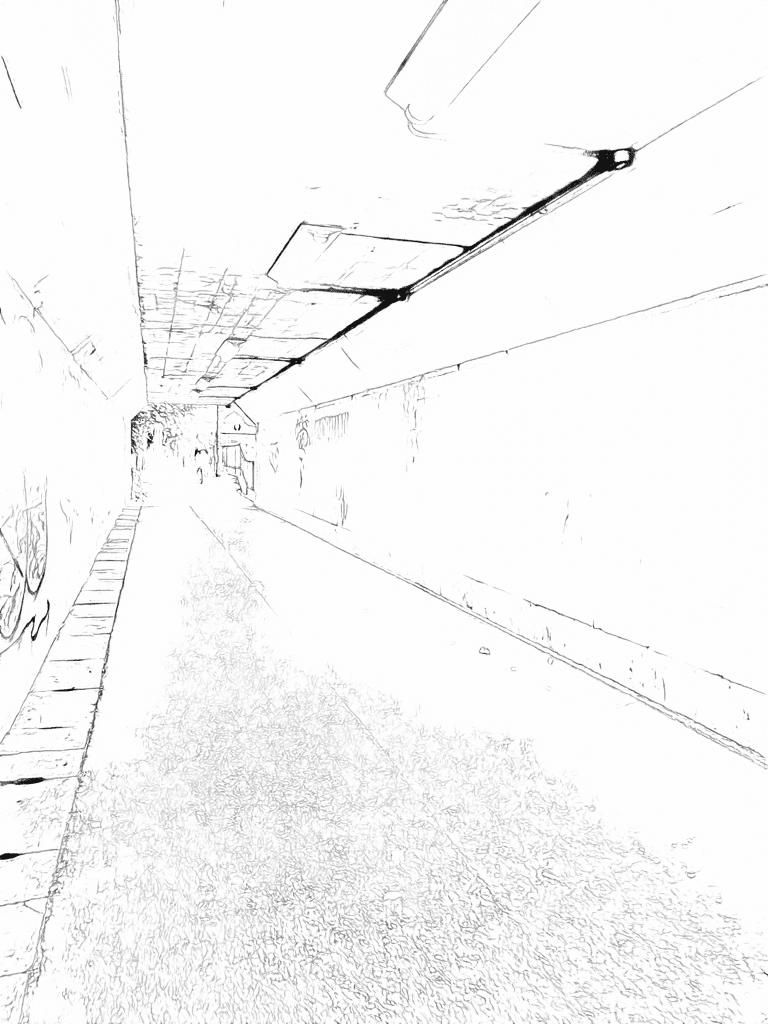
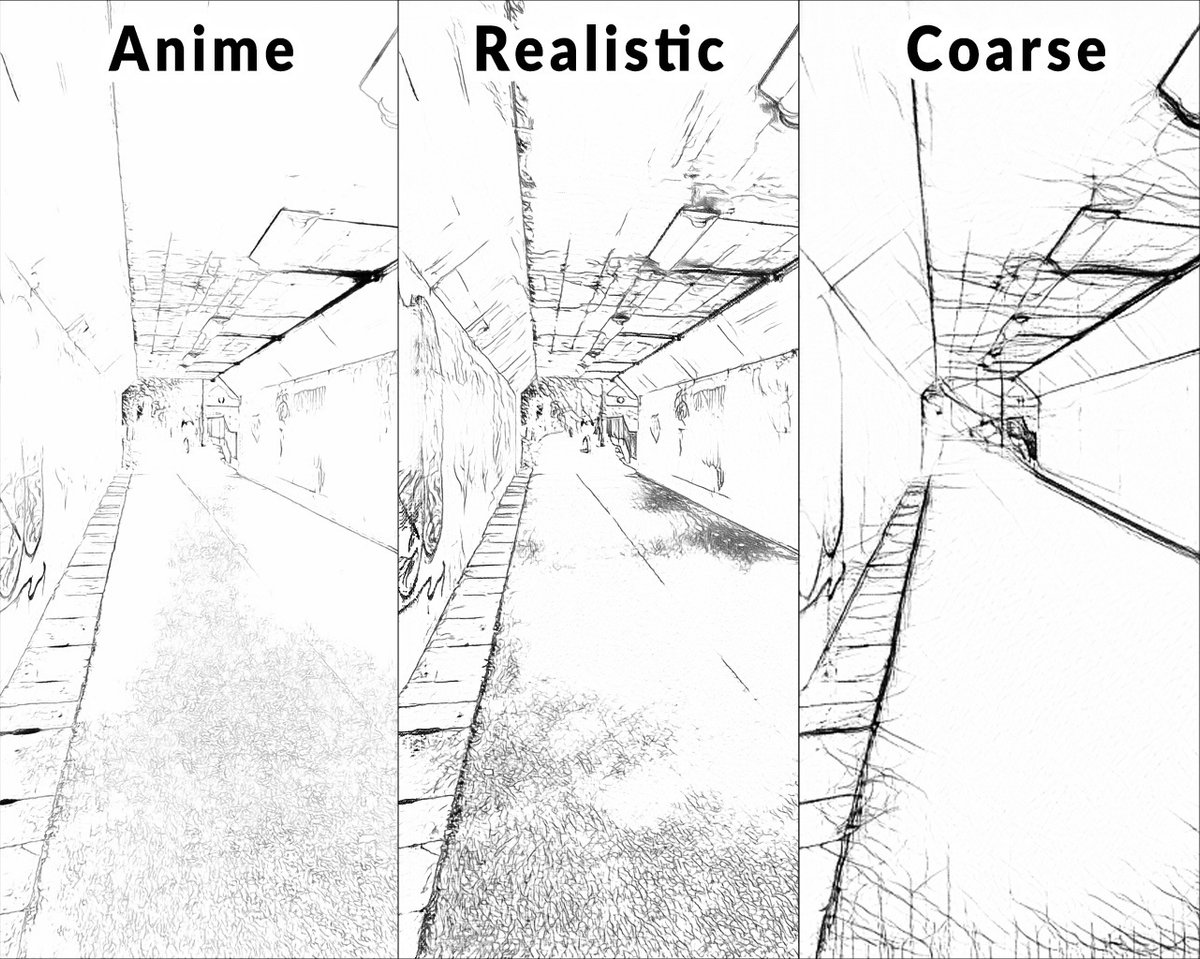
lineart系プリプロセッサはいくつかありますが、出力結果が大きく異なるので絵柄にあったものを使います。
背景とキャラを合成
Photoshopで線画を合成します。
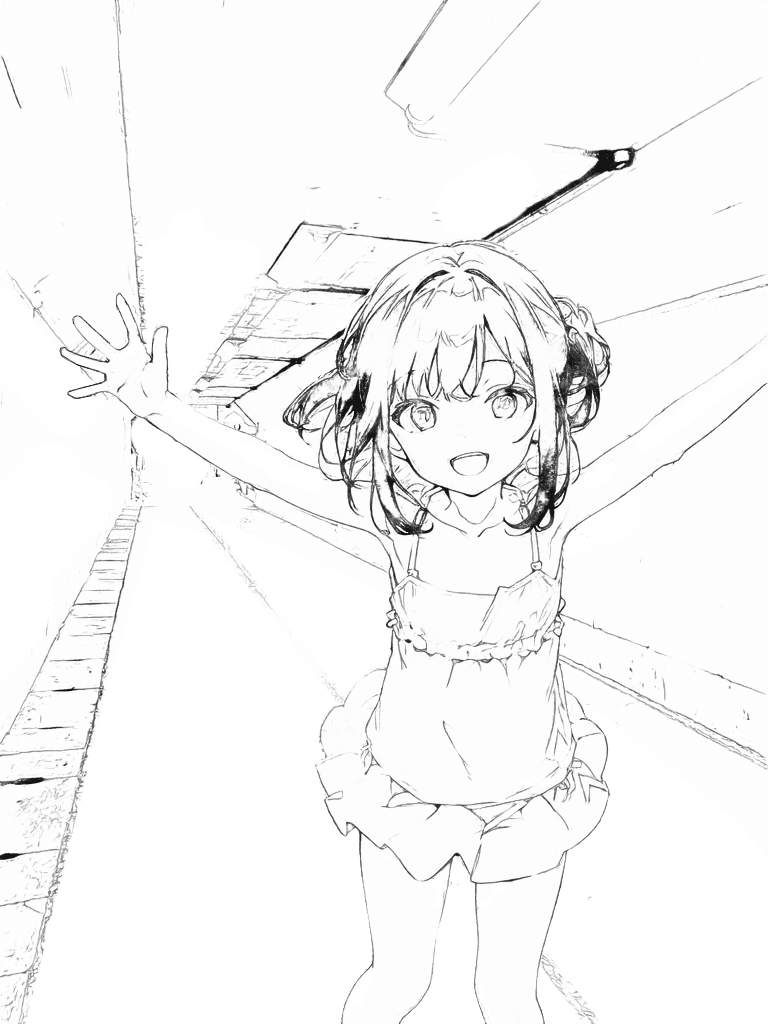
色をお任せならこれだけでいいですが、今回は写真を取り込むという趣旨なので写真と女の子の合成も用意します。
かなり雑な合成です。Photoshopの新機能「被写体を選択」が優秀でいいですね。
t2i で出力
合成線画、合成写真をそれぞれ Controlnet に読み込ませます。
Prompt: highres, high quality, masterpiece,
(1girl,  solo, child, flat chest:1.3), twintails, happy smile, open mouth,
standing, arms up, open legs, upper body
camisole, miniskirt, in tunnel

Controlnet 0
- Preprocessor: invert(白黒反転してるなら none)
- Model: lineart_anime
- Weight: 0.5
- Ending: 0.5

Controlnet 1
- Preprocessor: tile_colorfix
- Model: tile
- Weight: 0.5
- Ending: 0.5

Controlnet 2
- Preprocessor: inpaint_global_harmonious
- Model: inpaint
- Weight: 0.5
- Ending: 0.5
どのくらい写真を再現するかはtile、inpaintのweightで調整します。
バリエーションを作る
写真の色味そのままだと作品としては弱いので色を変更してみます。プロンプトにライティングに関係するものを入れました。
CN Tileは除外し、Inpaintを弱めにします。
Prompt: highres, high quality, masterpiece,
(1girl,  solo, child, flat chest:1.3), twintails, happy smile, open mouth,
standing, arms up, open legs, upper body
camisole, miniskirt, in tunnel
night, purple light,  cinematic lighting, Tyndall effect, diffraction of light

Controlnet 0
- Preprocessor: invert(白黒反転してるなら none)
- Model: lineart_anime
- Weight: 0.5
- Ending: 0.5

Controlnet 2
- Preprocessor: inpaint_global_harmonious
- Model: inpaint
- Weight: 0.3
- Ending: 0.2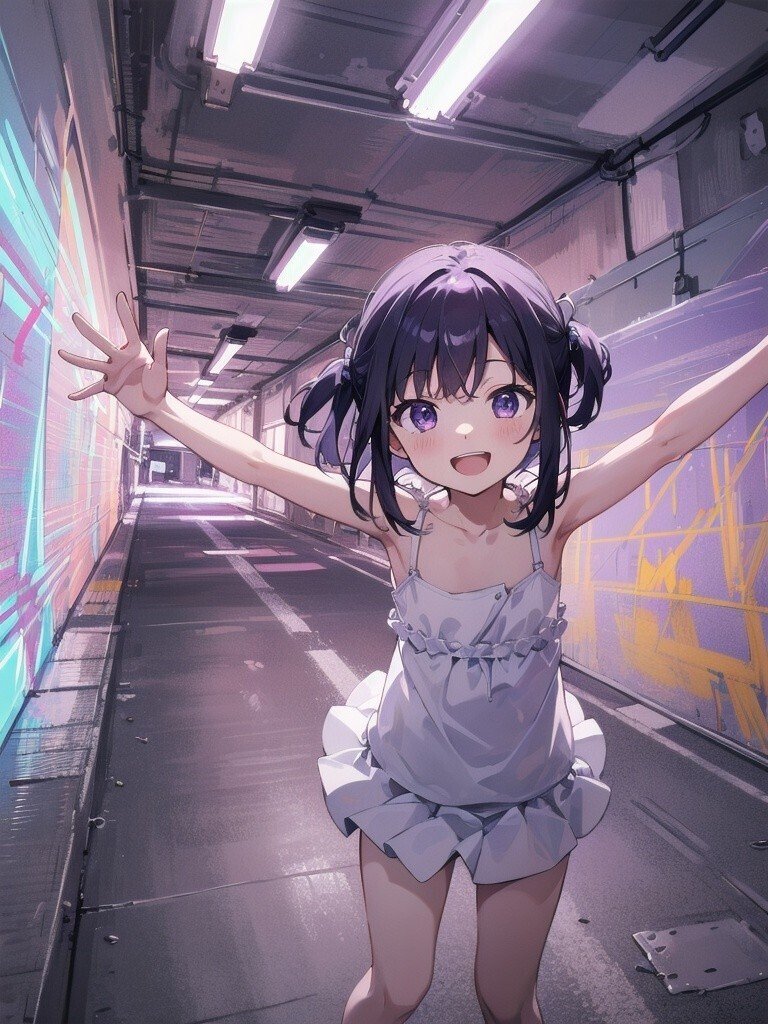
i2i + TiledDiffusion で詳細度と解像度アップ
i2i に上の画像を読み込ませ、TiledDiffusionでスケールアップします。
TiledDiffusionの描き込みは控えめにしたいのでタイルサイズを128にします。タイルサイズの設定はくようさんの記事が非常に役に立ちます。
Prompt: highres, high quality, masterpiece,
(1girl,  solo, child, flat chest:1.3), twintails, happy smile, open mouth,
standing, arms up, open legs, upper body
camisole, miniskirt, in tunnel
night, purple light,  cinematic lighting, Tyndall effect, diffraction of light

- Denoising: 0.6
- CFG: 12

TileDiffusion:
- Latent tile width: 128
- Latent tile height: 128

Controlnet 0
- Preprocessor: invert(白黒反転してるなら none)
- Model: lineart_anime
- Weight: 0.5
- Ending: 0.5

Controlnet 2
- Preprocessor: tile_colorfix
- Model: tile
- Weight: 1
- Ending: 1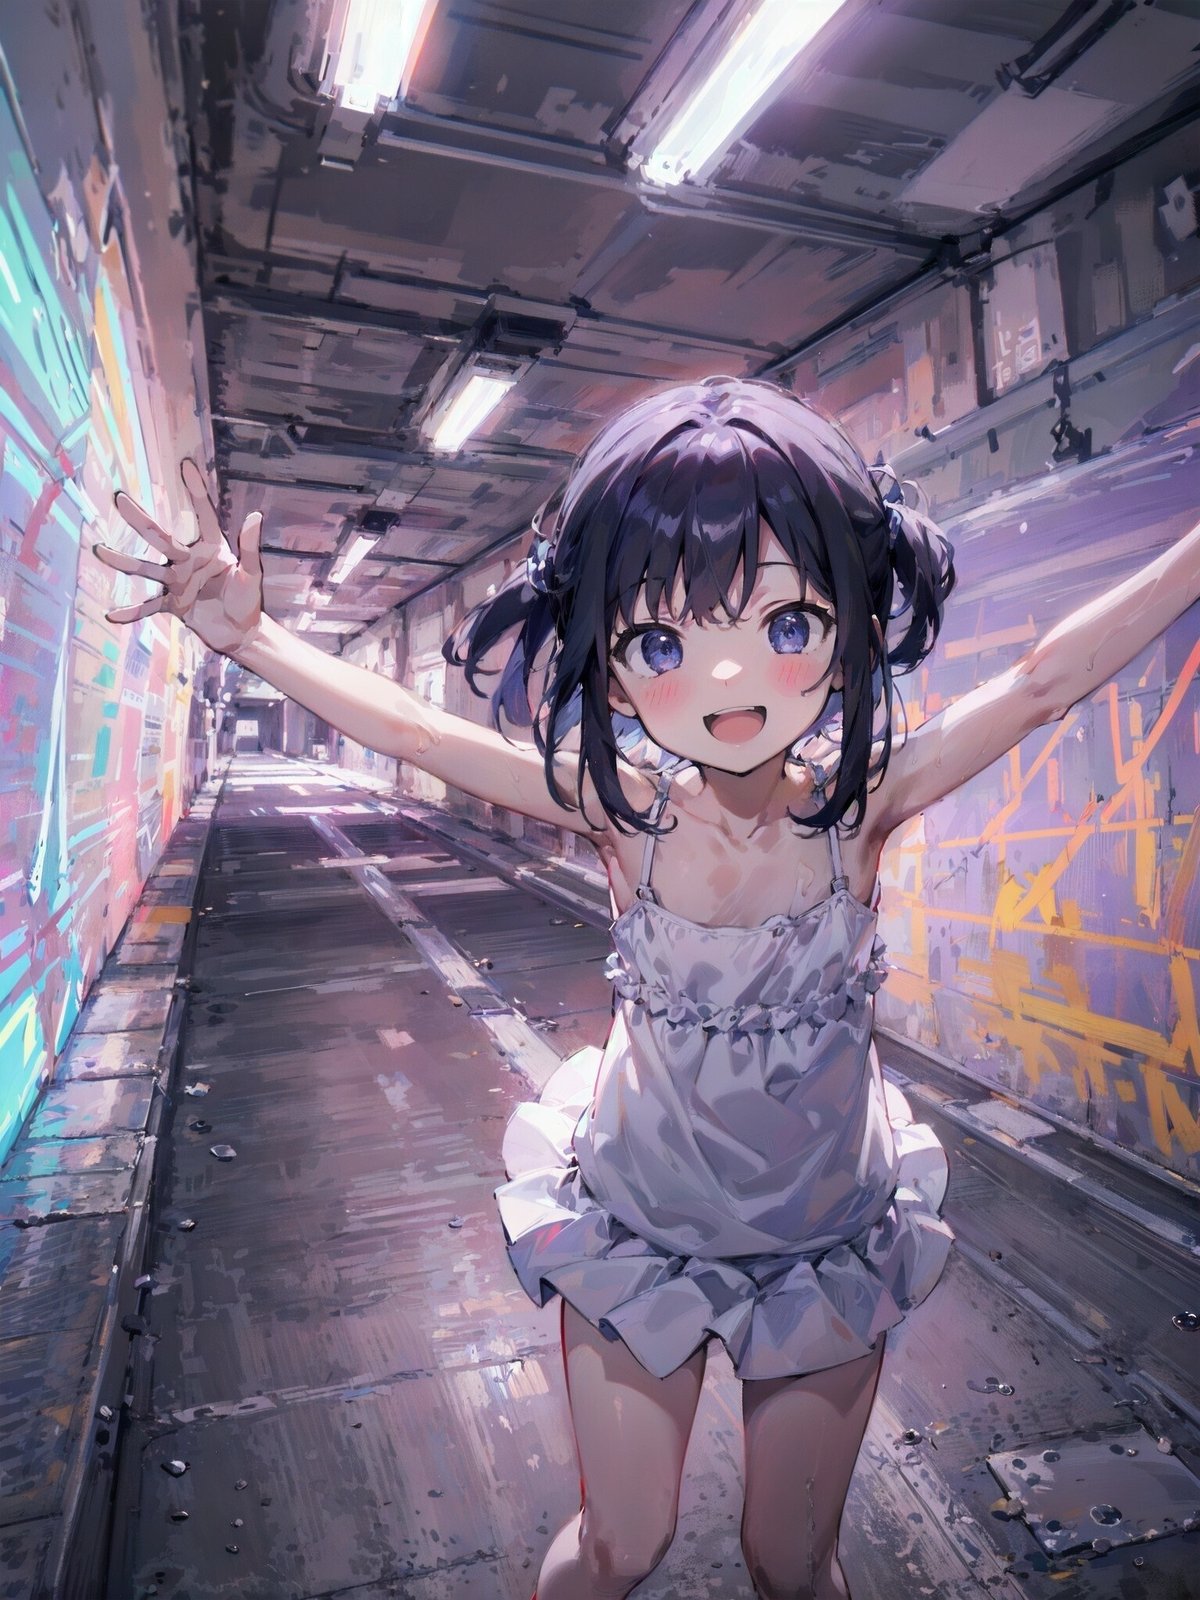
うーん、なんか違う。
CN Tile の描き込みって好みじゃない。
というわけで 描き込みLoRAを使います。
highres, high quality, masterpiece,
(1girl,  solo, child, flat chest:1.3), tintails, happy smile, open mouth,
standing, arms up, open legs, upper body
camisole, miniskirt, in tunnel,
night, purple light,  cinematic lighting, Tyndall effect, diffraction of light
<lora:add_detail:0.5>

- Denoising: 0.6
- CFG: 12

TileDiffusion:
- Latent tile width: 128
- Latent tile height: 128

Controlnet 0
- Preprocessor: invert(白黒反転してるなら none)
- Model: lineart_anime
- Weight: 0.5
- Ending: 0.5

Controlnet 2
- Preprocessor: inpaint_global_harmonious
- Model: inpaint
- Weight: 0.3
- Ending: 0.3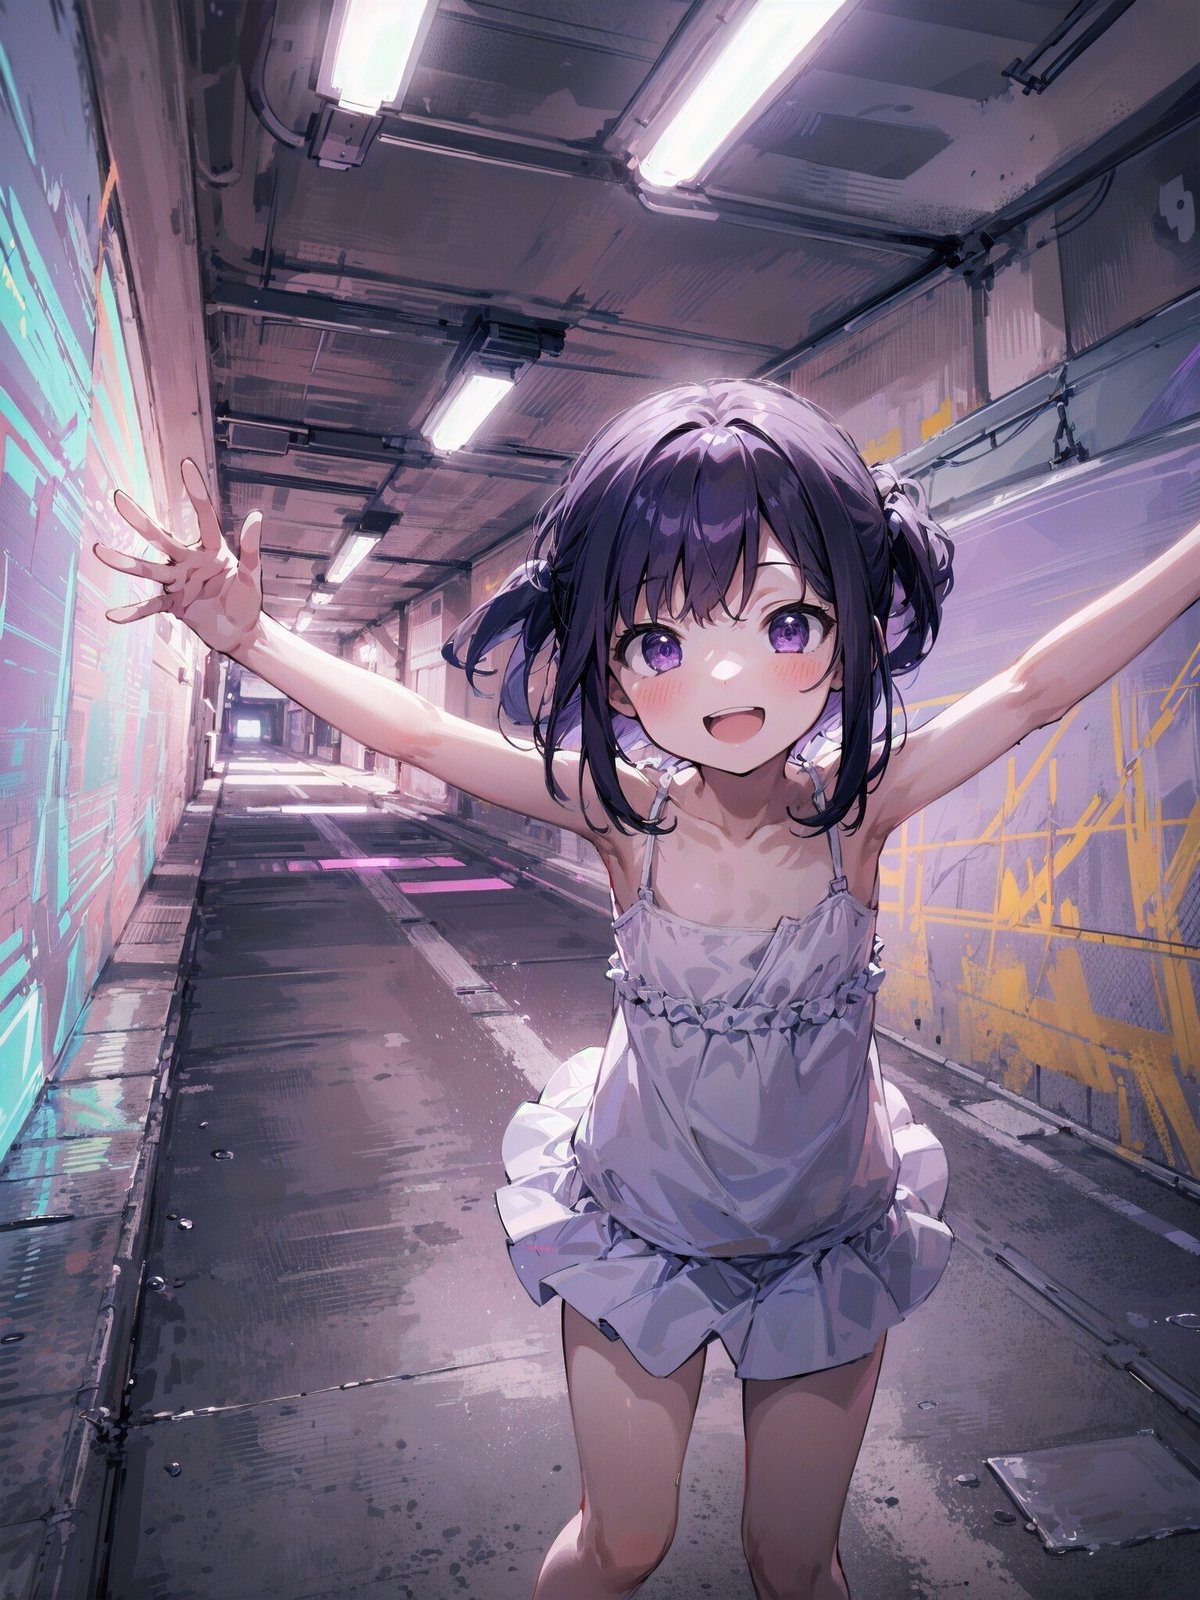
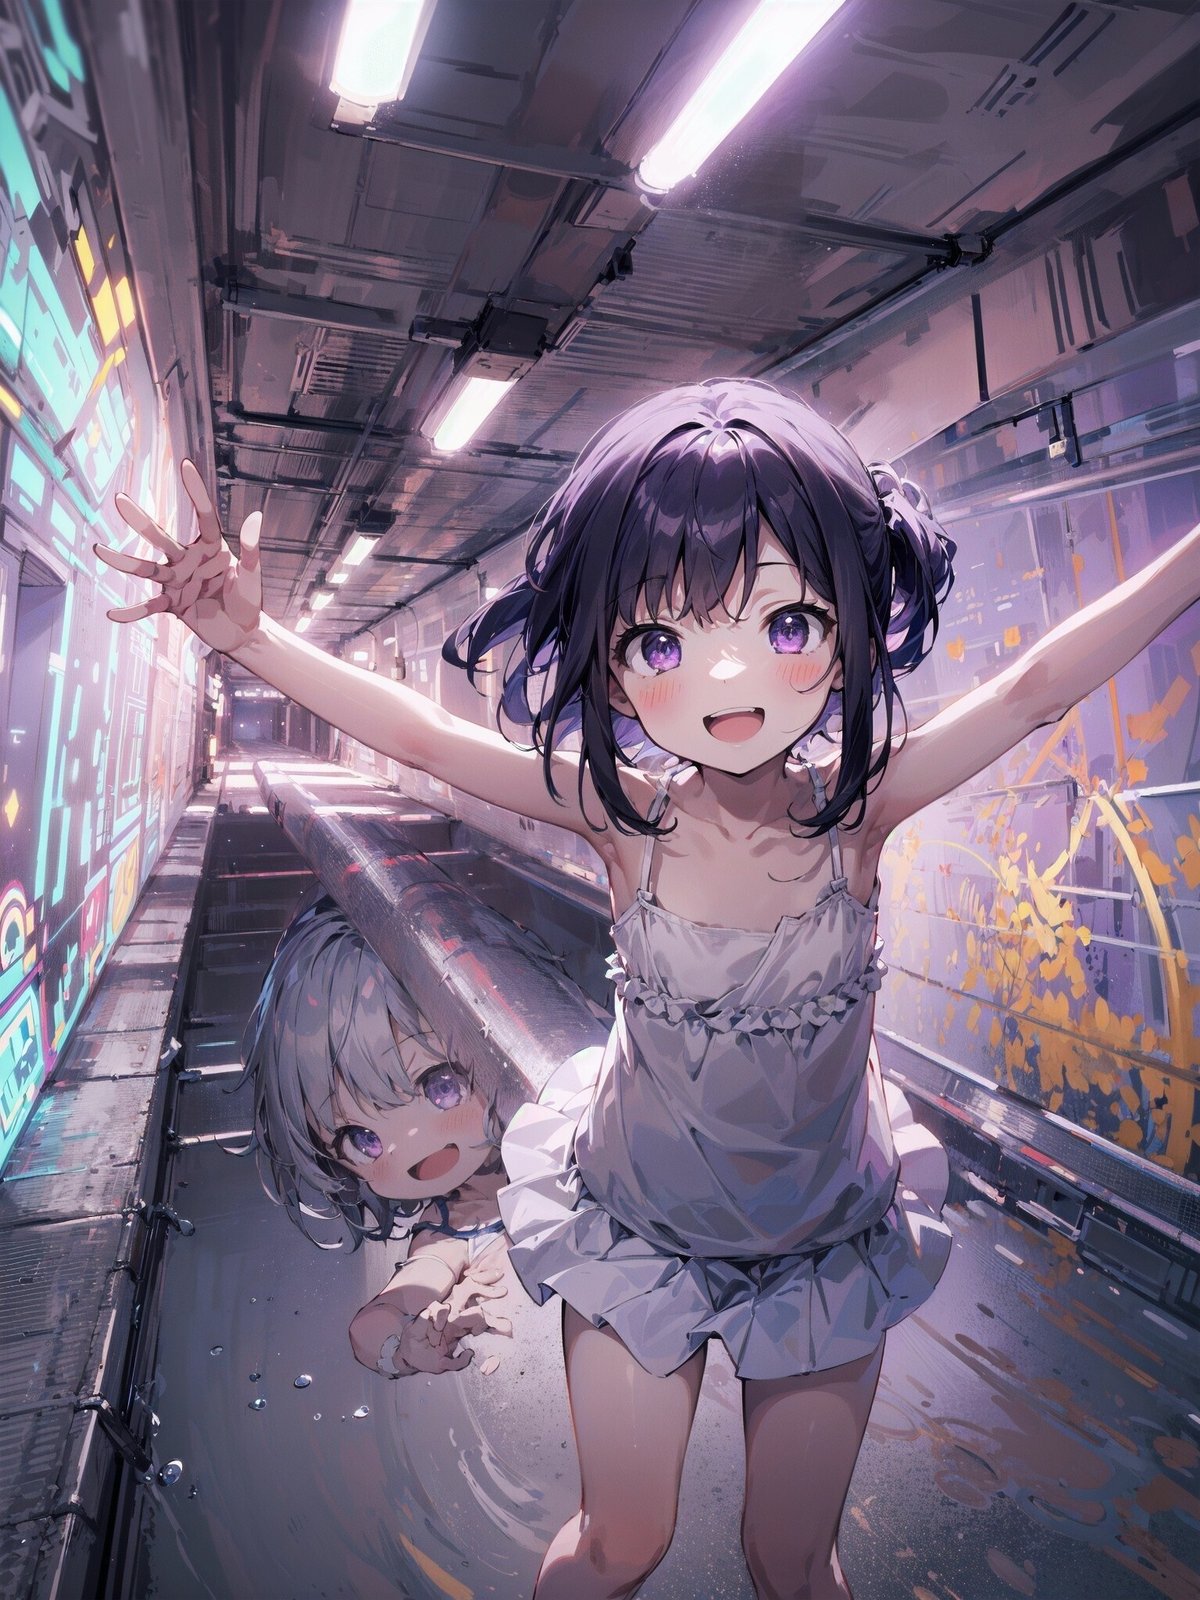
CN inpaint は妖精さんの出現を抑えるために使っています。
もし使わないとこのようになります。
おわり
モデルや求める絵柄によって数値は全く変わってくるので色々試してみてください。