超初心者-Pythonの環境設定-ダウンロードとインストール(Windows)

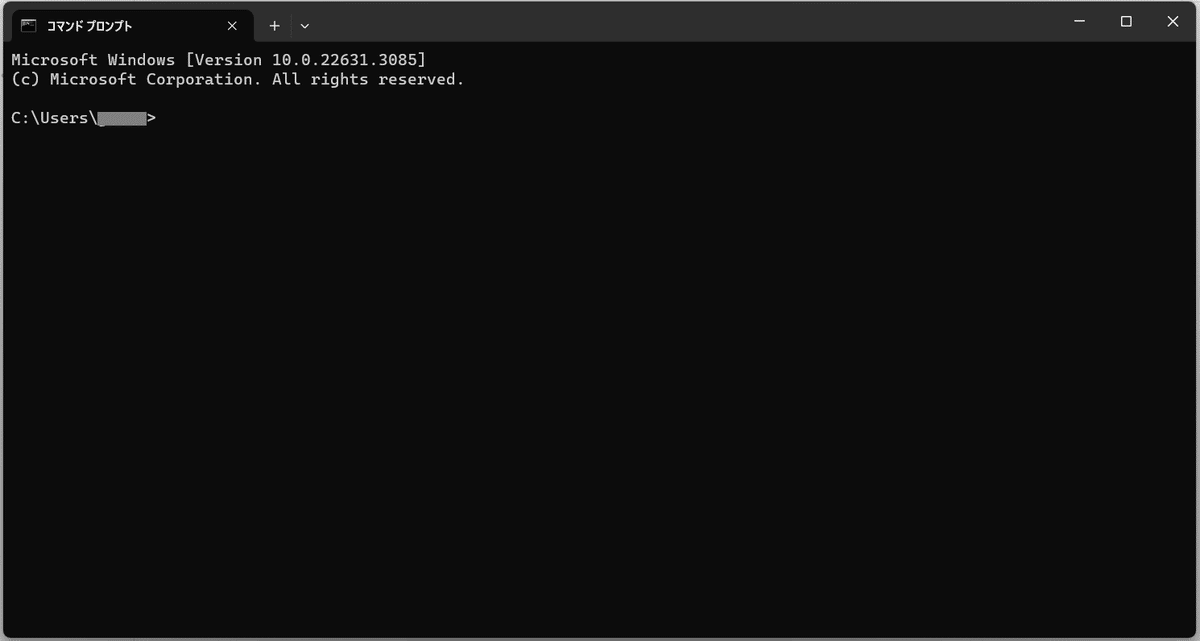
Python を使用したいと思ったら…こんな黒い画面に慣れて
HTML・CSSが開発できる Visual Studio Code 等を使って作成していく・・・
と言う環境づくりが必要になります。
※Visual Studio Code はインストールしてある前提でPythonのみ説明していきます。
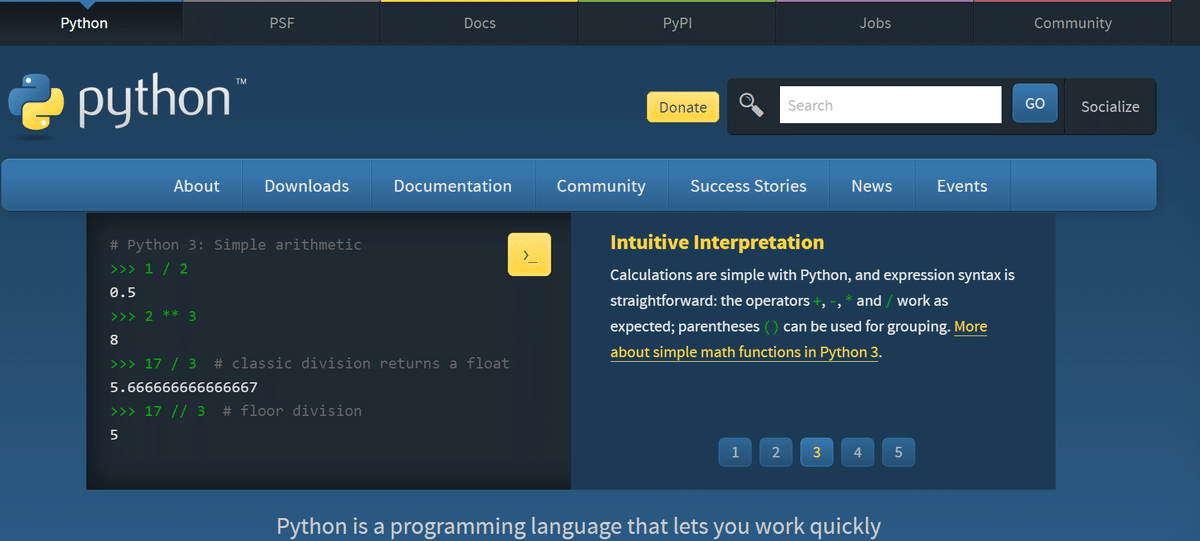
1.Pythonのダウンロード
Pythonの公式サイトにアクセス
https://www.python.org/
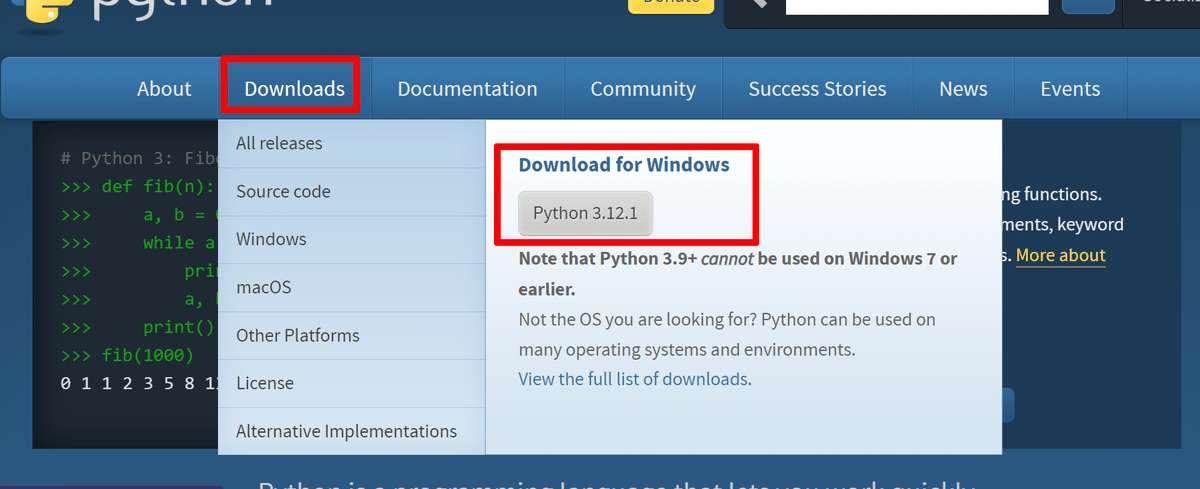
上部のDownloads にマウスを持ってくると下記の表示がされます
右のグレーの個所にPythonのバージョンが表示されるのでクリック。
※使用するPCがMac の場合は異なる表示になるかもしれませんので WindowsかMac かどちらのダウンロードになっているか確認をして下さい。
ダウンロードしたファイルは、私の環境では「ダウンロード」と言うフォルダに保管されます。
2.ダウンロードしたPythonのexeファイルをクリックして開く

下記のような画面が表示されます。
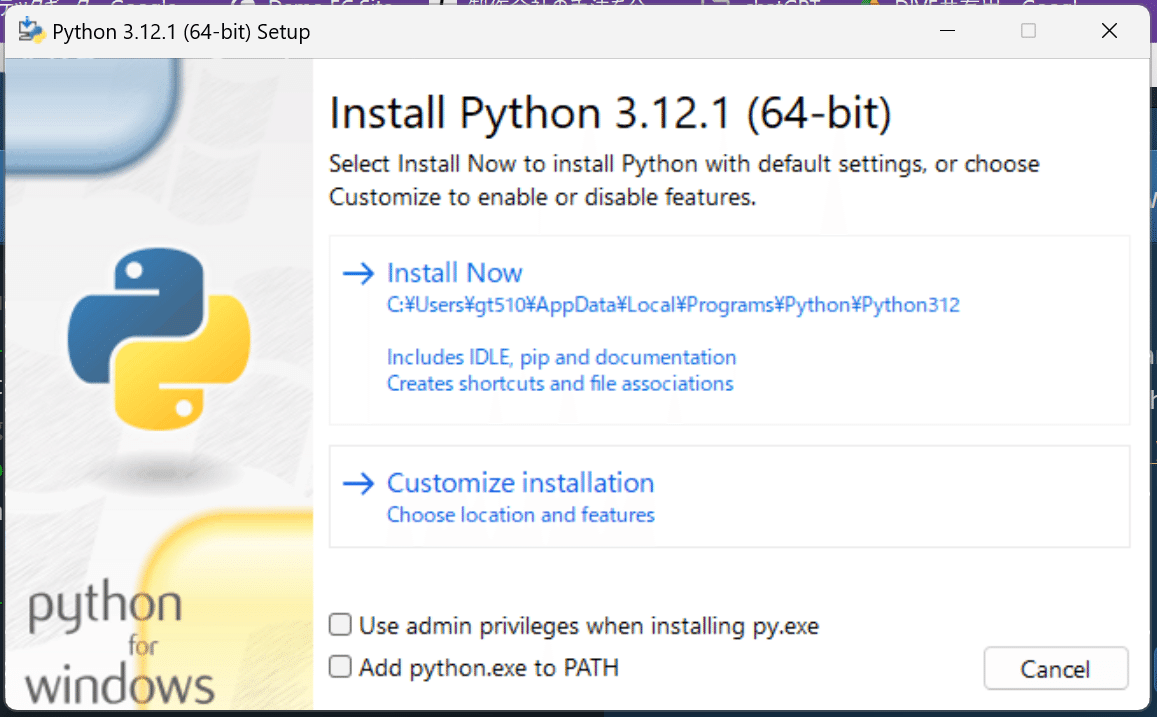
3.Pythonのインストール
下部のチェック項目2つに✅をして 「Install Now」をクリック。
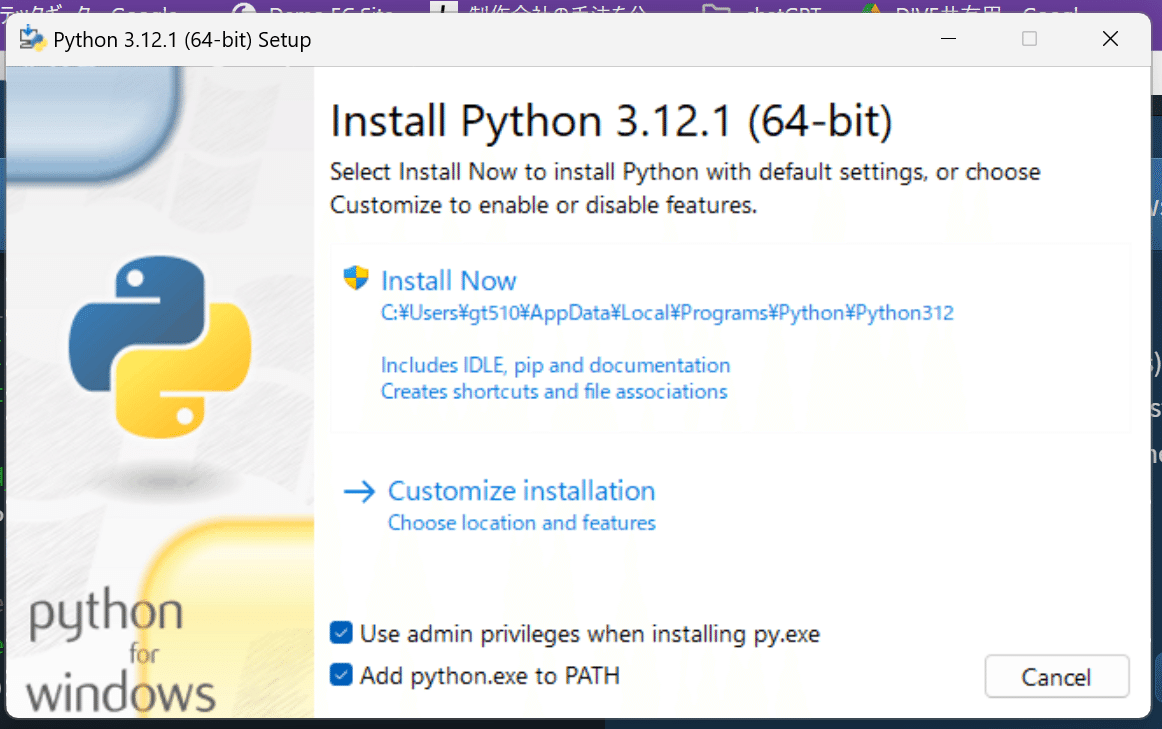
デバイス変更の許可の確認を聞かれた場合は、「はい」を選択。

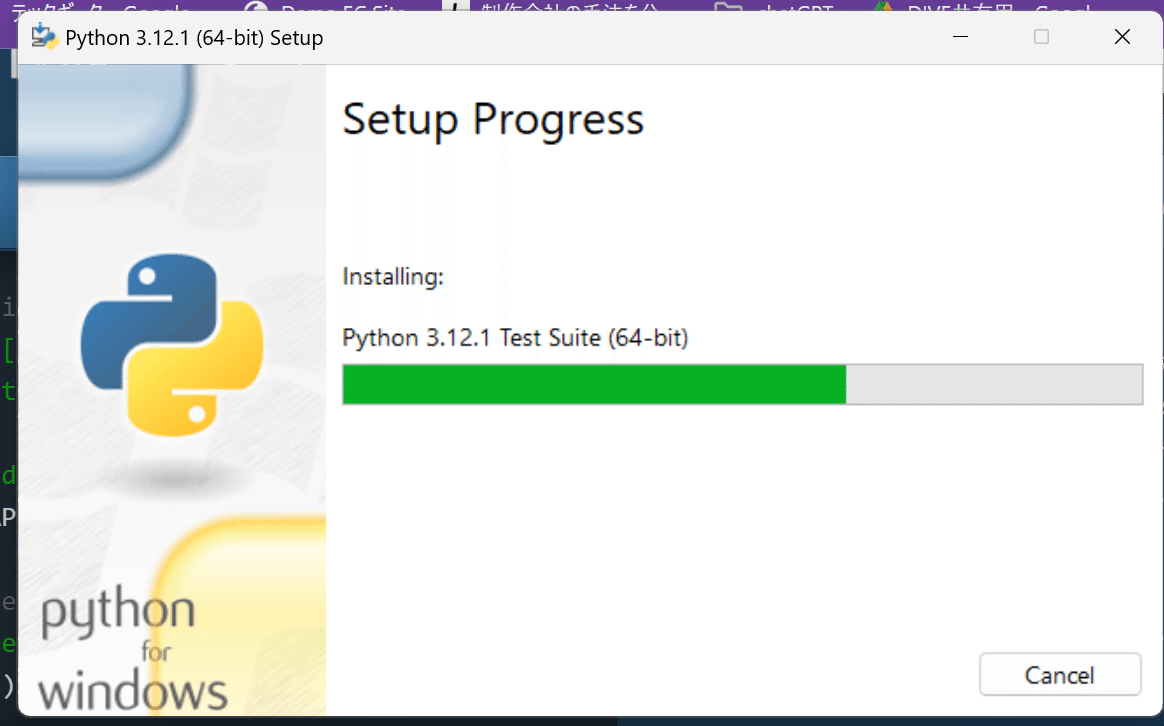
インストールが開始されます。
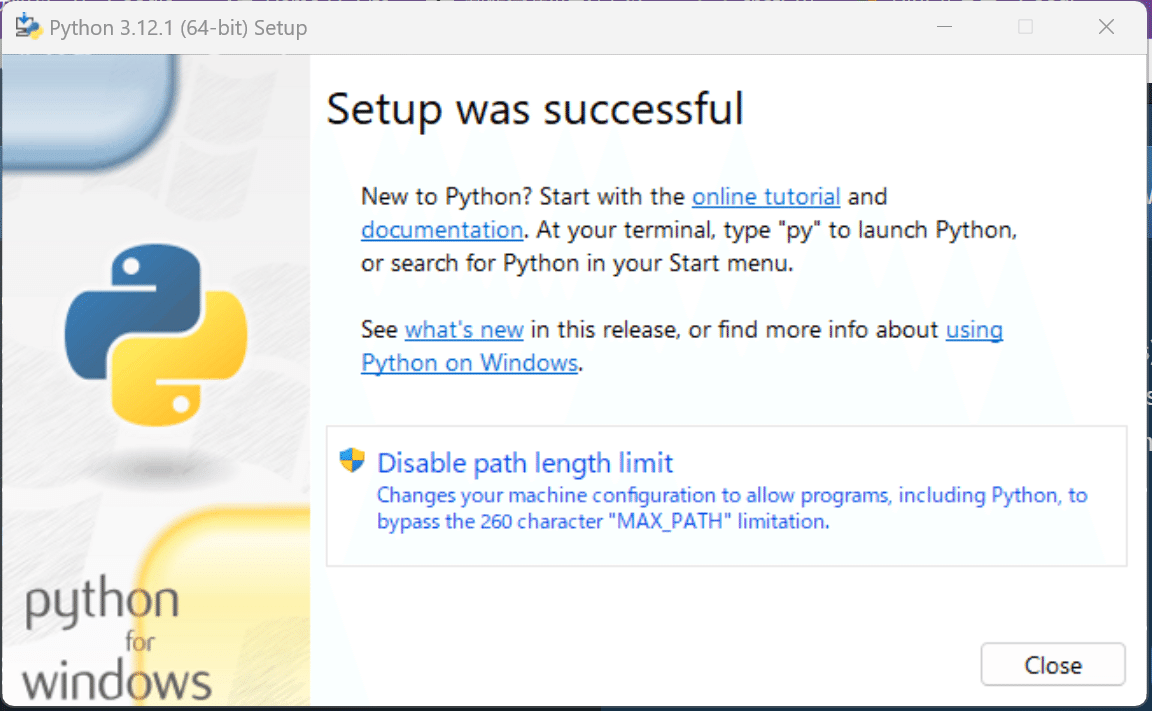
下記の表示がされればインストール完了です。
×で画面は閉じで大丈夫です。
4.コマンドプロンプトを開く
自分のPCの中から「コマンドプロンプト」を検索して開く
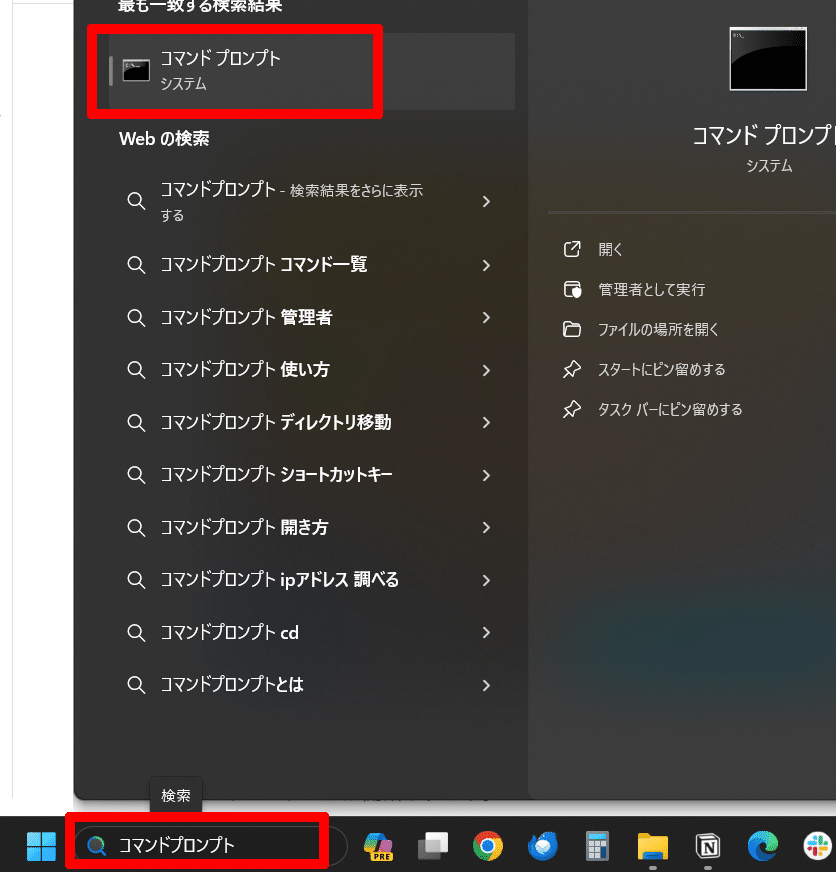
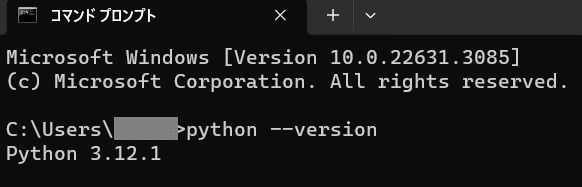
黒い画面が開くと下記を入力して「Enter」
python --versionインポートされたPythonのバージョンが、1のダウンロードの時のグレーの個所の数字と同じ数字が表示されたら、正常にインストールが出来ています!
5.VScodeでPythonテスト
他のサイトを参考にVScodeでテストをしようと思ったらPythonの設定が必要なようなので次に進む…
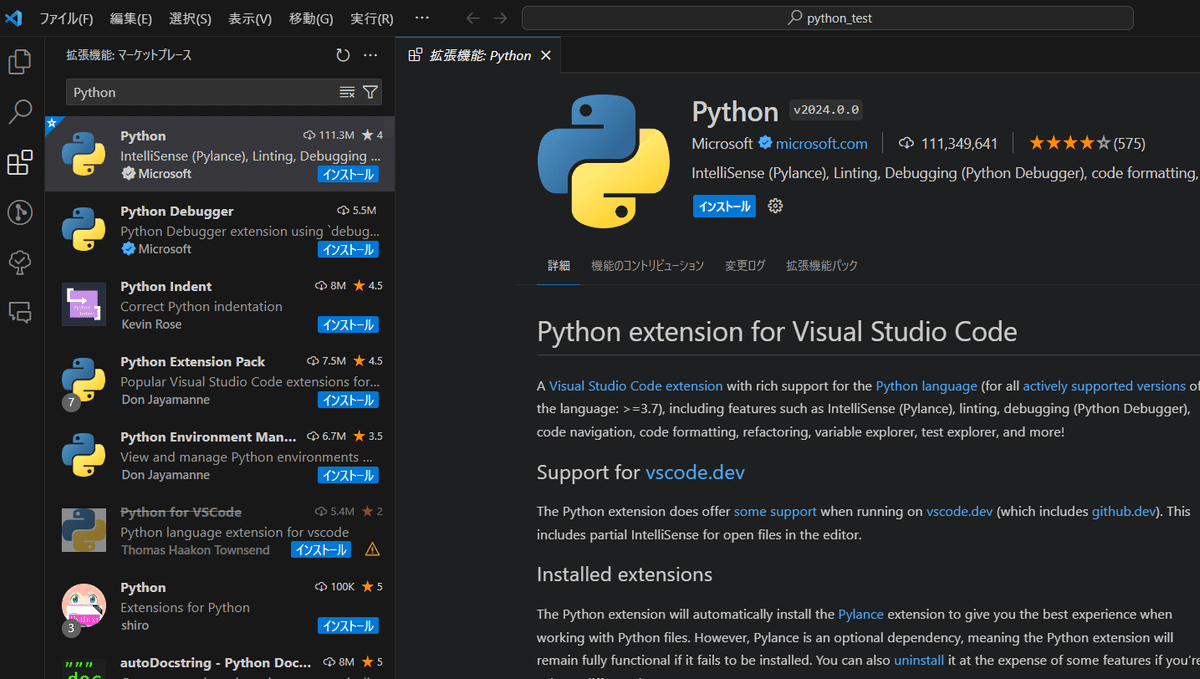
6.VS CodeでのPython拡張機能のインストール
VScode の拡張機能に「Python」を入力して検索
7.VScodeでPythonテスト(再)
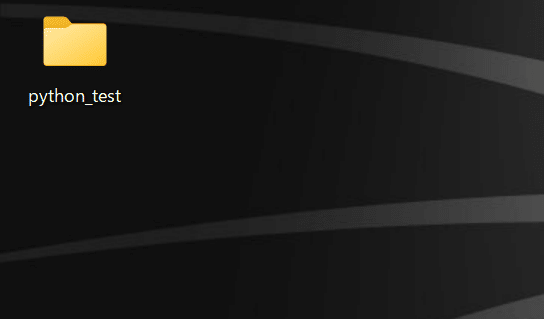
デスクトップに「python_test」と言うフォルダを作成
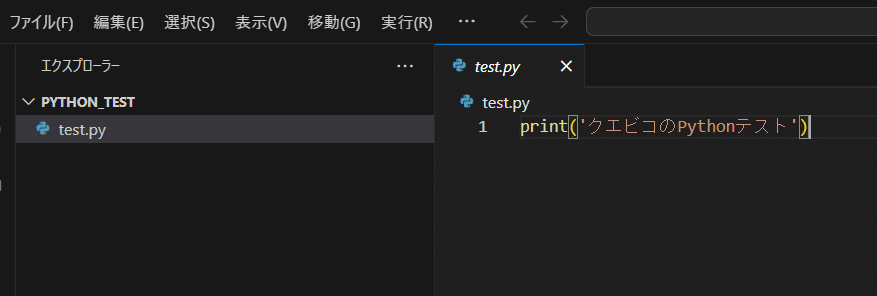
VScode で「python_test」フォルダを開き、その中に「test.py」ファイルを作成。
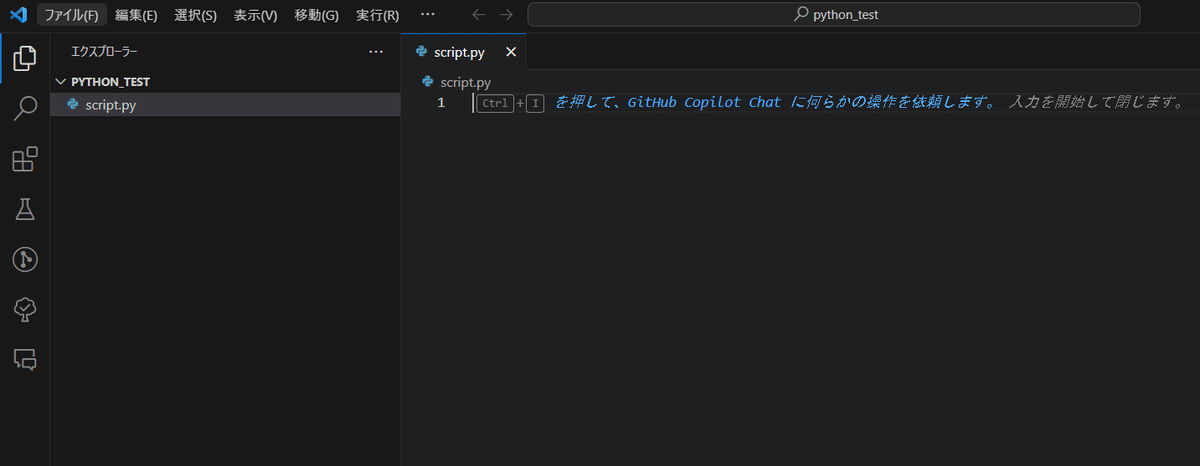
VScode で作成した「test.py」ファイルに下記コードを記入し保存
print('クエビコのPythonテスト')
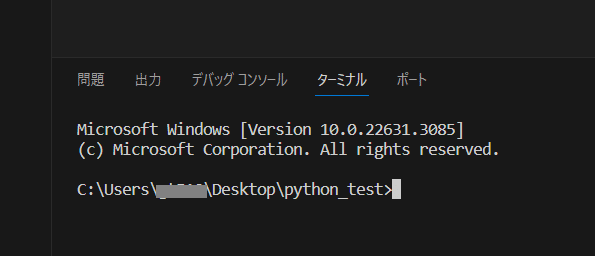
PC内のコマンドプロンプトで表示する場合は下記でフォルダを移動
cd Desktop\python_test
VScode のターミナルのコマンドプロンプトを使う場合は、作成したフォルダで開いているのでそのままでOK
8.Pythonの実行
python ファイル名
で実行
今回の場合は
python test.py

入力した 【クエビコのPythonテスト】が表示されました!
いいなと思ったら応援しよう!