Processing でグラフを描く⑭ ストレンジアトラクター

Processing でグラフを描く 第14回目です。
いま Twitter上でひそかに人気になっているストレンジアトラクターを紹介します。今回の内容は @KojiSaito様の記事を参考に書かれています。@KojiSaito様の許可のもと、creativival (筆者)がコードを一部改造して公開するものです。ストレンジアトラクターの詳しい説明は元記事をご参照ください。
ストレンジアトラクター


ストレンジアトラクターをいくつか生成してみました。読者の皆様もぜひご自分のパソコンでストレンジアトラクターを生成してみてください。Sprott 式ストレンジアトラクタ発見機 に記載のコードを Processing3 (Python mode) に貼り付けて、実行ボタンを押すだけで、この魅惑的な図形が手に入ります。
@KojiSaito 様は、元記事の中で「見つけた面白いストレンジアトラクタの画像と ID をハッシュタグ #StrAttrCat と共に tweet して頂けたら幸いである」と仰っています。一緒に #StrAttrCat を盛り上げていきましょう!
ストレンジアトラクター発見機と探索機
$$
\begin{equation*}
\left\{ \,
\begin{aligned}
& x' =a_1 + a_2 x + a_3 x^2 + a_4 xy +a_5 y + a_6 y^2 \\
& y' =a_7 + a_8 x + a_9 x^2 + a_{10} xy +a_{11} y + a_{12} y^2 \\
\end{aligned}
\right.
\end{equation*}
$$
@KojiSaito様は2種類のストレンジアトラクターを作成するコードを公開されています。ストレンジアトラクター発見機は、ストレンジアトラクターを新しく発見するコードのことです。
上記の媒介変数x, y で表される x', y' を画面上にプロットしていくと、ストレンジアトラクターを描くことができます。面白い図形にするには、適切な12個の係数 $${a_1, a_2, a_3…a_{12}}$$ を見つける必要があり、それを自動化したものが「発見機」の役割といえるでしょう。
対して、ストレンジアトラクター探索機は、発見されたストレンジアトラクターの IDからその周辺に面白い図形がないか調べるコードです。「Sprott のコードとストレンジアトラクタ探索機」の中で紹介されているので、元記事をご覧ください。探索機の目的はストレンジアトラクターのカタログを作成するため、ストレンジアトラクターを網羅的に調べることです。@KojiSaito様は「得られた ID をほんの少しだけ変更し、それが魅力的な図形を生成するか否かを調べていかなければストレンジアトラクタのカタログは完成しない。」と仰っておられます。
「発見機」で見つけて、「探索機」でその ID周辺を調べ上げるという2段構えでストレンジアトラクターの宇宙に旅立っていく作戦です。
ストレンジアトラクター発見機の改造版(25枚同時作成)
# strange attractor generator with Sprott's algorithm
# program by KojiSaito ( Twitter @KojiSaito )
# modified to generate 25 attractors at the same time by creativival
import uuid

# If you set the ID, only one character will be different. If it is empty, a new one will be created.
# ID = ''
ID ='JGWMNTTGLLCD'
InitX = InitY = .05
N = 5000
points_list = []
character_num = 0


def init():
    global XE, YE, Lsum, Xmin, Xmax, Ymin, Ymax
    YE = .05
    XE = InitX + .000001
    Lsum = 0
    Xmin = Ymin = 1000000
    Xmax = Ymax = -Xmin
    id = [int(random(25)) for i in range(12)]
    coef = [(t - 12) * .1 for t in id]
    idStr = ""
    for c in id:
        idStr += chr(ord('A') + c)
    return coef, idStr


def next(coef, x, y):
    xNew = coef[0] + x * (coef[1] + coef[2] * x + coef[3] * y) + y * (coef[4] + coef[5] * y)
    yNew = coef[6] + x * (coef[7] + coef[8] * x + coef[9] * y) + y * (coef[10] + coef[11] * y)
    return xNew, yNew


def updateBound(x, y):
    global Xmin, Xmax, Ymin, Ymax
    Xmin = min(x, Xmin)
    Xmax = max(x, Xmax)
    Ymin = min(y, Ymin)
    Ymax = max(y, Ymax)


def LyapunovExponent(coef, x, y, n):
    global XE, YE, Lsum
    tx, ty = next(coef, XE, YE)
    dLx = tx - x
    dLy = ty - y
    dL2 = dLx * dLx + dLy * dLy
    df = 1e12 * dL2
    rs = 1 / sqrt(df)
    XE = x + rs * (tx - x)
    YE = y + rs * (ty - y)
    Lsum += log(df)
    return .721347 * Lsum / n  # L=Lyapunov exponent


def search(i):
    if ID == '':
        while True:
            coef, idStr = init()
            x, y = InitX, InitY
            found = True
            for i in range(1, 11000):
                x, y = next(coef, x, y)
                updateBound(x, y)
                l = LyapunovExponent(coef, x, y, i)
                if abs(x) + abs(y) > 1e6 or (i > 1000 and l < .002):  # Sprott 's original is .005
                    found = False
                    break
            if found:
                break
        print('ID="' + idStr + '"', " L=", l)
        return coef, idStr
    else:
        ord_num = ord(ID[character_num]) + i
        if ord_num > 89:
            ord_num = 64 + ord_num % 89
        idStr = ID[0:character_num] + chr(ord_num) + ID[character_num + 1:]
        coef = [(ord(id) - 77) * .1 for id in idStr]
        print('ID="' + idStr)
        return coef, idStr


def calcScale(coef, w, h):
    init()
    x, y = InitX, InitY
    for i in range(1000):
        x, y = next(coef, x, y)
        updateBound(x, y)
    dx = .1 * (Xmax - Xmin)
    dy = .1 * (Ymax - Ymin)
    xl = Xmin - dx
    xh = Xmax + dx
    yl = Ymin - dy
    yh = Ymax + dy
    sx = w / (xh - xl)
    sy = h / (yh - yl)
    return sx, sy, xl, yl


def setColor(idStr):
    colorH = 538
    for c in idStr:
        colorH = ord(c) + colorH * 33
    colorH %= 251
    s = [0] * 3
    t = colorH % 3
    s[t] = 3
    s[(t + 1) % 3] = 1.5
    s[(t + 2) % 3] = .8
    colorMode(HSB, 250)
    c = color(colorH, 190, 200)  # make color here
    colorMode(RGB, 255)
    blendMode(ADD)
    plotColor = (s[0] * (red(c) + 40), s[1] * (green(c) + 40), s[2] * (blue(c) + 40))
    return plotColor


def drawSA(w, h, i):
    clear()
    Coef, IdStr = search(i)
    PlotColor = setColor(IdStr)
    sx, sy, tx, ty = calcScale(Coef, w, h)
    x, y = InitX, InitY
    points = [IdStr, PlotColor]
    for i in range(N):
        x, y = next(Coef, x, y)
        points.append(((x - tx) * sx, (y - ty) * sy))
    return points


def set_points():
    global points_list
    points_list = []
    for i in range(25):
        points_list.append(
            drawSA(width / 5, height / 5, i)
        )


def setup():
    size(1250, 1250)
    frameRate(1)
    set_points()


def draw():
    background(0)
    for i in range(25):
        points = points_list[i]
        IdStr = points[0]
        PlotColor = points[1]
        stroke(PlotColor[0], PlotColor[1], PlotColor[2])
        x0 = i % 5 * 250
        y0 = int(i / 5) * 250
        for p in points[2:]:
            point(x0 + p[0], y0 + p[1])
        text(IdStr, x0 + 5, y0 + 15)


def keyPressed():
    global character_num
    if key == ' ':
        character_num = (character_num + 1) % 12
        set_points()
    if key == 's':
        if ID:
            file_name = '{}_position{}_explorer.png'.format(ID, str(character_num))
        else:
            file_name = str(uuid.uuid4())[:6] + '_generator.png'
        save(file_name)
        print("Done.")
こちらのコードは、@KojiSaito様の「ストレンジアトラクター発見機」を一部改造して、25枚の画像を同時に作成するものです。
25枚のストレンジアトラクターを発見する方法
変数 ID を空にしたときは、@KojiSitao様のストレンジアトラクター発見機と同様に新たにストレンジアトラクターを発見してくれます。元のコードとの違いは、一度に発見できる枚数を増やして効率化できるということです。ただし画質は低下するため、先ほど紹介した「ストレンジアトラクター探索機」を使って、高画質の画像を作成する必要があります。
使用方法
Processing3 (Python mode) にコードを貼り付けて実行してください。面白い図形が表示されたら「s」キーを押して画像を保存できます。「スペース」キーを押すと、新たに25枚の図形を発見します。
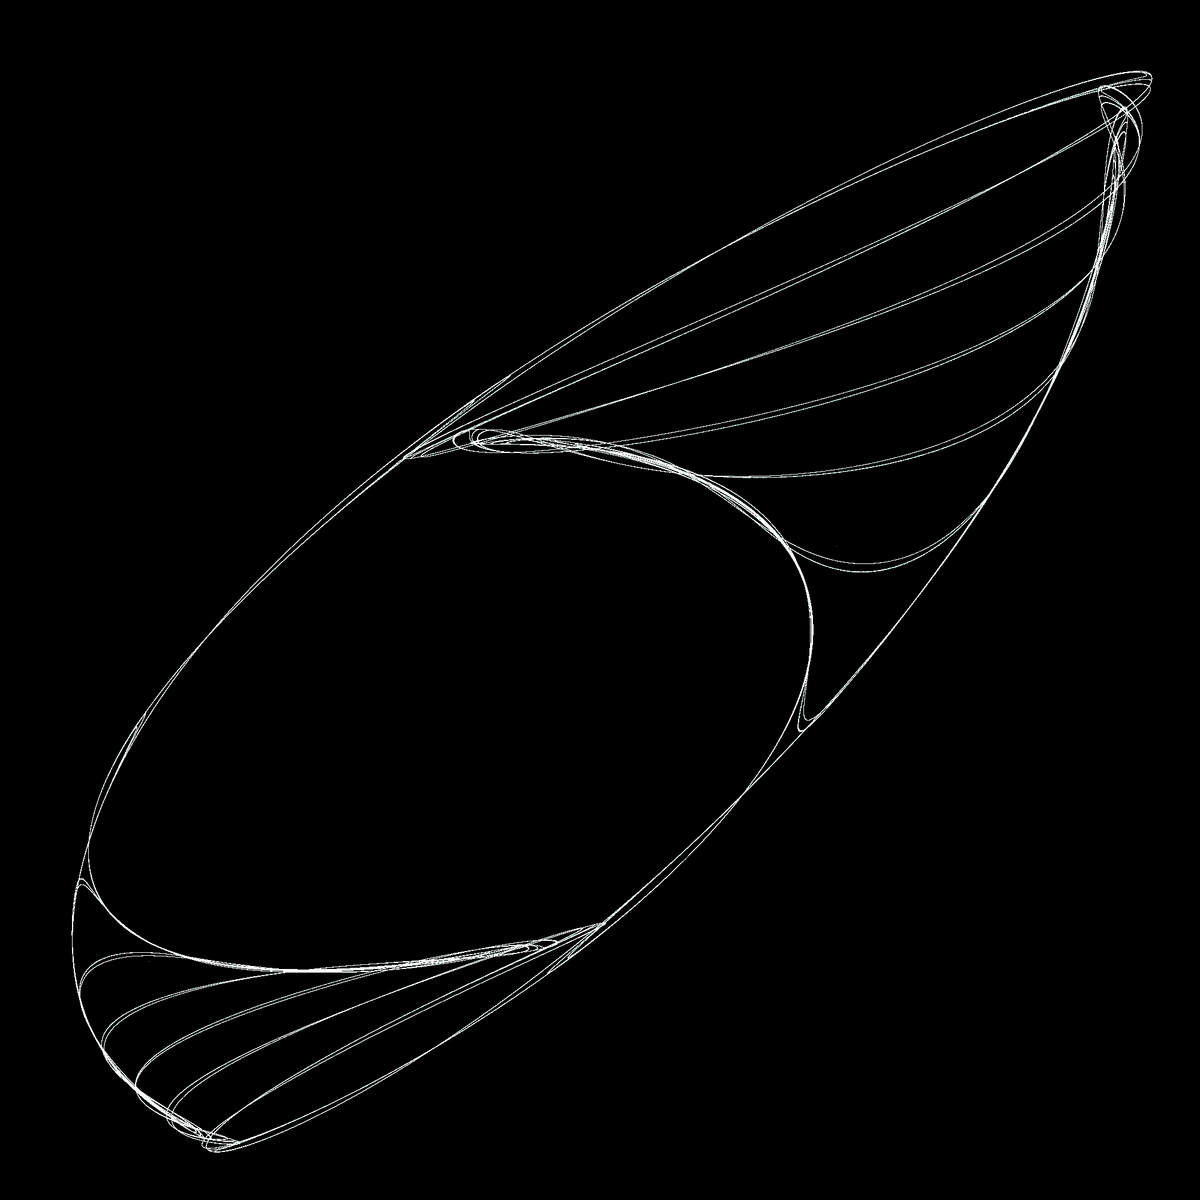
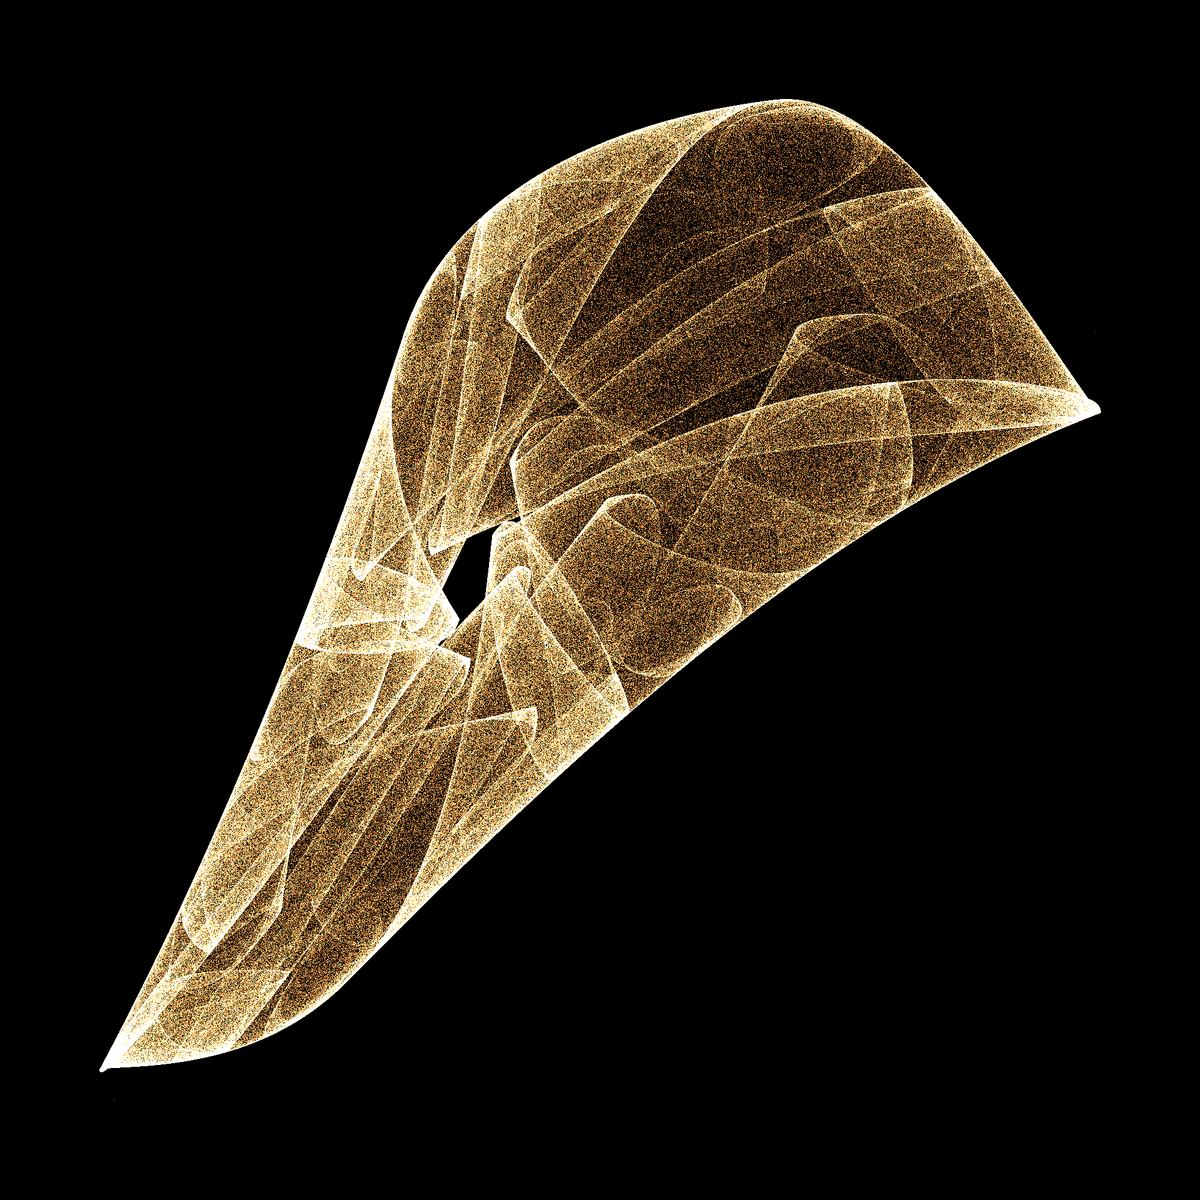
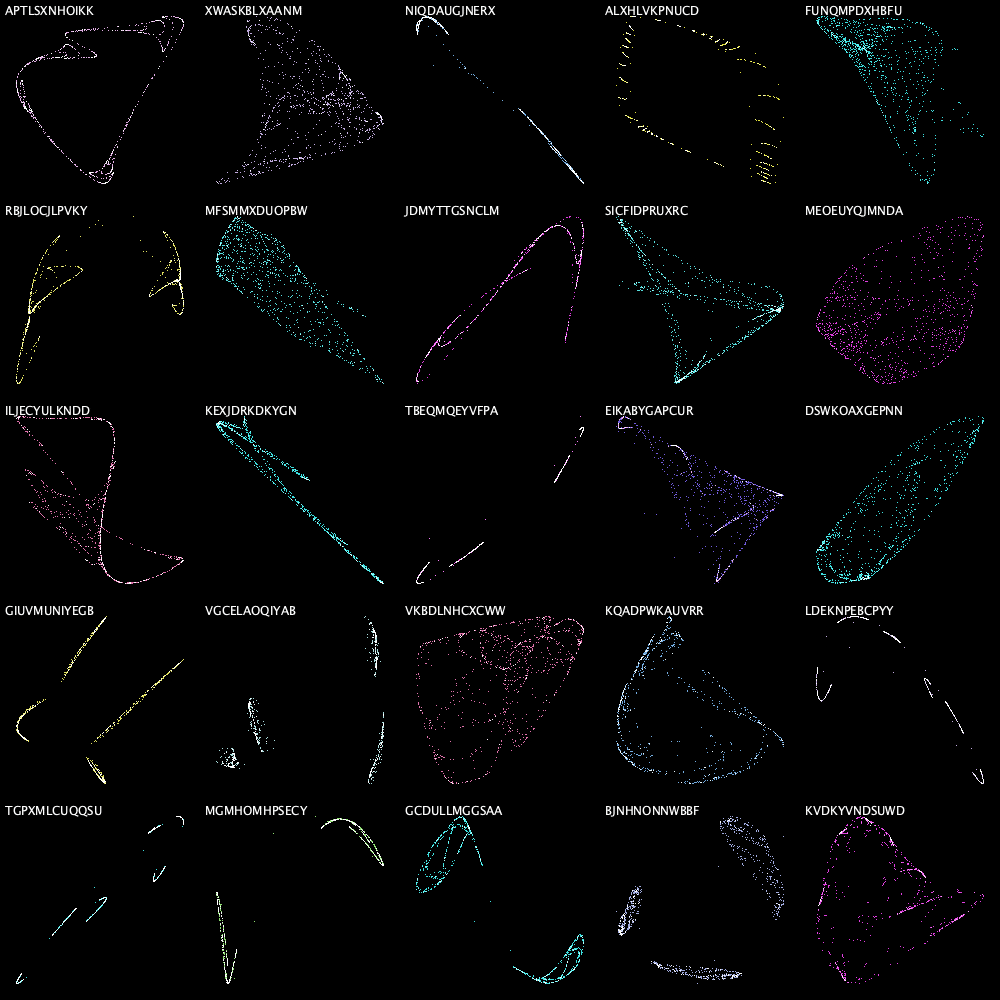
以下、「改造版(25枚同時作成)」で作成した画像を掲載します。


25枚のストレンジアトラクターを探索する方法
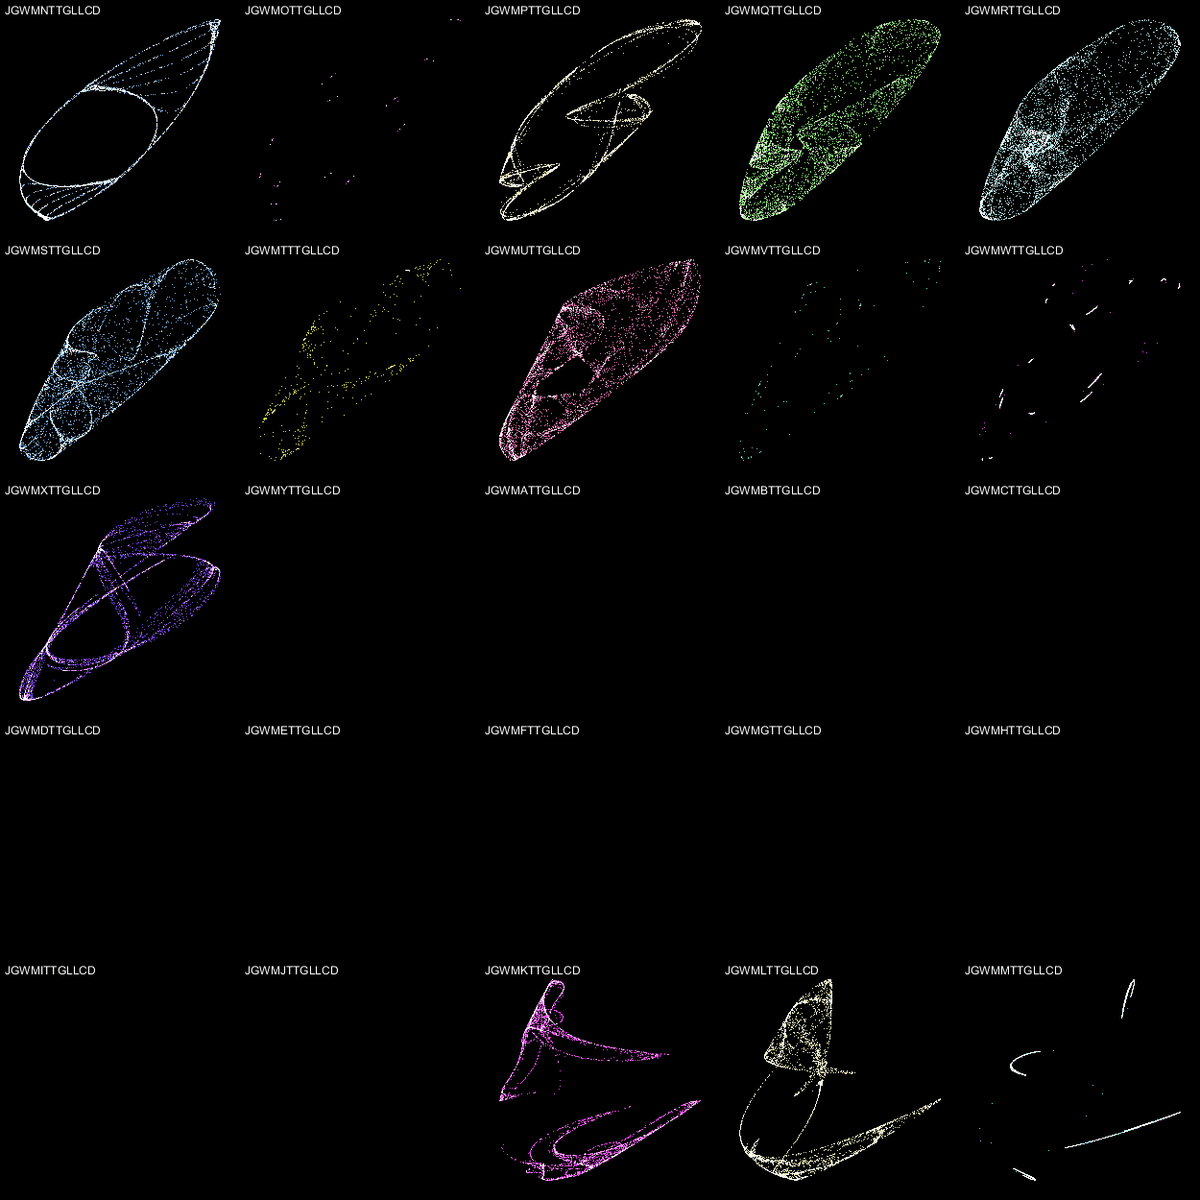
変数 ID を設定した場合は、そのIDの中で一文字だけ変更した画像を探索します。
使用方法
Processing3 (Python mode) にコードを貼り付けてください。探索したい ID を変数に代入します。実行すると、ID の最初の一文字だけ変更した25枚の画像が表示されます。
面白い図形が表示されたら「s」キーを押して画像を保存できます。「スペース」キーを押すと、ID の次の文字だけを変更した25枚の図形を探索します。ID は12文字ですから、12種類の画像を生成でき、周辺を網羅的に調べ上げることが可能です。
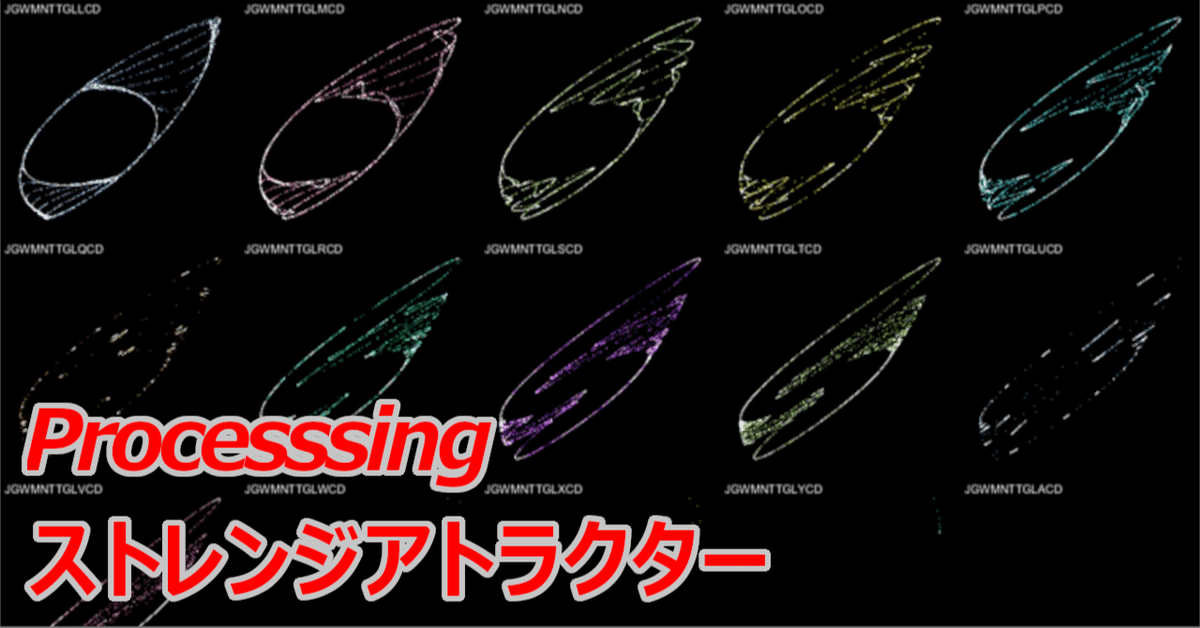
以下は、1文字目を変更したもの、2文字目を変更したもの、3文字目を変更したもの、そして12文字目を変更したものを掲載します(12枚)。12 x 24枚の周辺のストレンジアトラクターのカタログが完成しました。


ストレンジアトラクターの宇宙へ
ストレンジアトラクターは面白い。マンデルブロ集合と並んで、私の大好きな図形が増えました。J. C. Sprott氏と @KojiSaito様に、素晴らしい世界を開いてくれたことに感謝いたします。私の「改造版のコード」がストレンジアトラクター研究の一助になればうれしく思います。
前の記事
Processing でグラフを描く⑬ 行列による3次元グラフの変換
次の記事
Processing でグラフを描く⑮ ストレンジアトラクターのアニメーション
その他のタイトルはこちら