
【マイクロサービスの安定的設定管理】Spring Cloud Bus, Docker, RabbitMQ - Springboot3 第7回

はじめに
こんにちは、今日はマイクロサービスの安定的設定管理として、「Spring Cloud Bus」を勉強します。キーワドは「メッセージブローカ(Message Broker)」になります!
「Spring Cloud Bus」とは?
「Spring Cloud Config Server」は一つの問題点がありますが、それは設定変化をリロードするためには「/refresh」エンドポイントを手動で行う必要があるということです。 これは、複数のアプリケーションがある場合はまったく実用的ではありません。 100個のマイクロサービスがあるとしましょう。 いちいち100個の「/refresh」エンドポイントを呼び出すべきでしょうか? 誰でも考えてみても無理です。
この時に使われるのが「Spring Cloud Bus」モジュールです。 「Spring Cloud Bus」モジュールは、「メッセージブローカー」を通じて多数のアプリケーションと接続するために使用されます。 また、設定変化をブロードキャストすることができる。

メッセージコンポーネントブローカーとして「RabbitMQ」と「Apache Kafka」が広く使われます。 マイクロサービスはメッセージブロッカーを「Subscribe」し、一つのマイクロサービスに設定変化が発生すると、メッセージブロッカーは自分を「subscribe」している他のマイクロサービスにその変化を「broadcast」します。 この時、「busrefresh」というエンドポイントを使います。
実装手順
1. bus AMQP 依存性追加
department-service/pom.xml
employee-service/pom.xml
		<dependency>
			<groupId>org.springframework.cloud</groupId>
			<artifactId>spring-cloud-starter-bus-amqp</artifactId>
		</dependency>
2. Dockerを通じてRabbitMQインストール
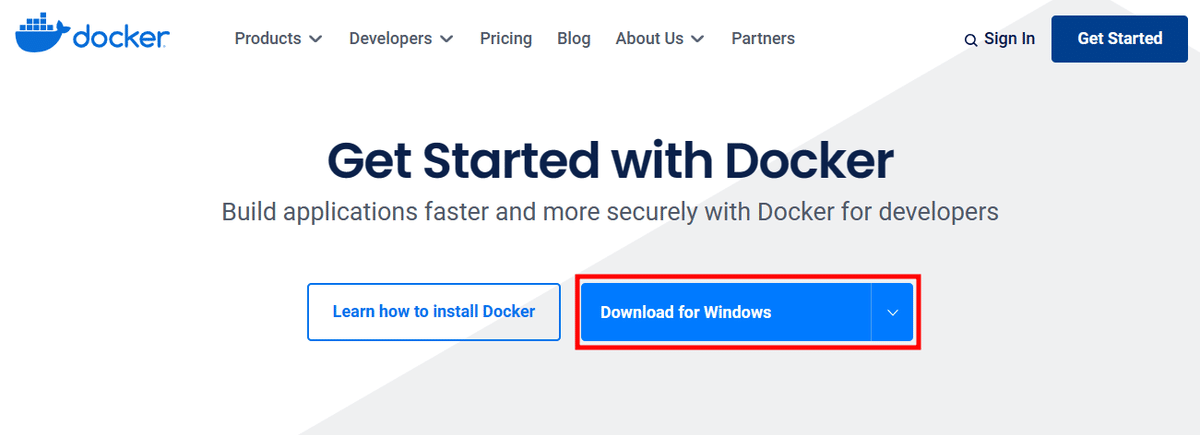
Dockerインストール


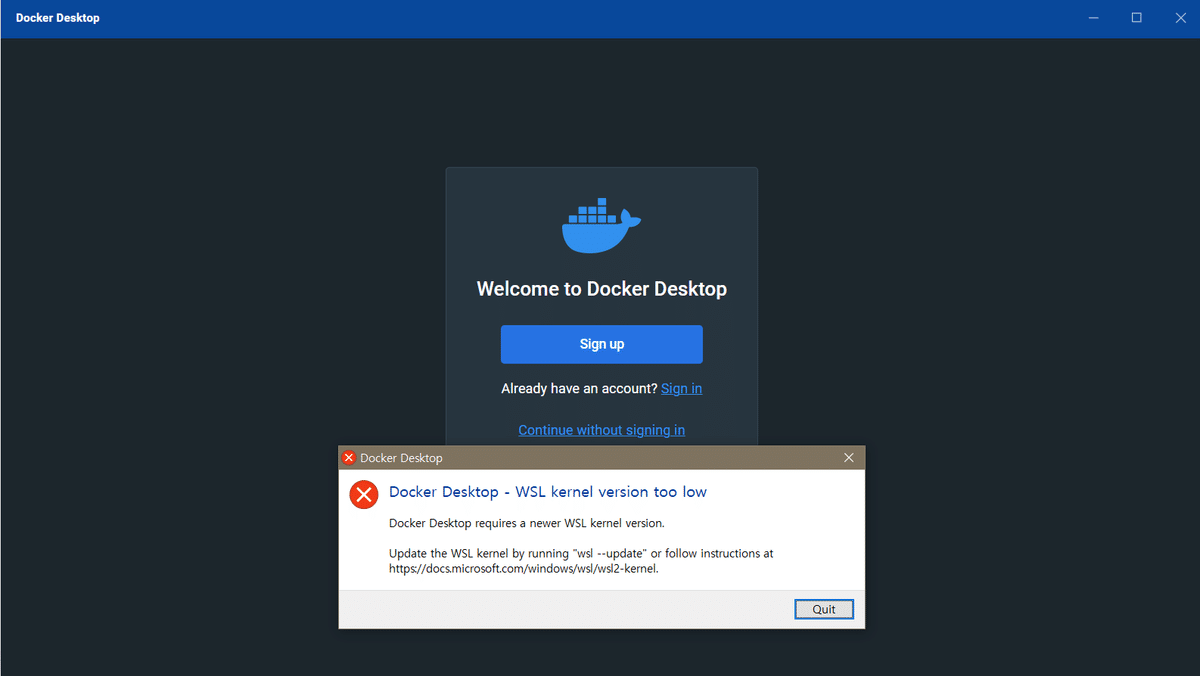
インストール中いろいろ問題がありました;;;
Docker Desktopは起動するがカーネルが古いと怒られた。


「Sign In」ボタンを押して、IDを登録して、ログインします。
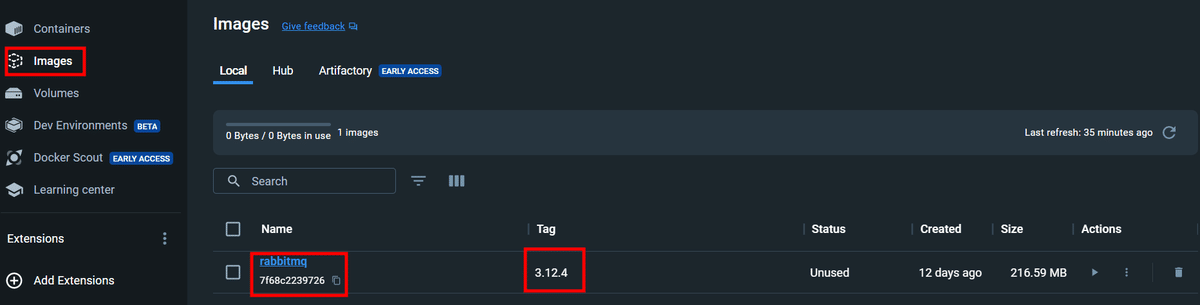
「https://hub.docker.com/」で 「rabbitmq」のバージョンをチェックします。


3. RabbitMQ 設定
department-serviceのapplication.properties

spring.rabbitmq.host=localhost
spring.rabbitmq.port=5672
spring.rabbitmq.username=guest
spring.rabbitmq.password=guest
employee-serviceのapplication.properties
spring.rabbitmq.host=localhost
spring.rabbitmq.port=5672
spring.rabbitmq.username=guest
spring.rabbitmq.password=guest
4. employee-serviceのREST API 生成

department-serviceの「MessageController」のコード
@RefreshScope
@RestController
public class MessageController {

    @Value("${spring.boot.message}")
    private String message;

    @GetMapping("message")
    public String message() {
        return message;
    }
}
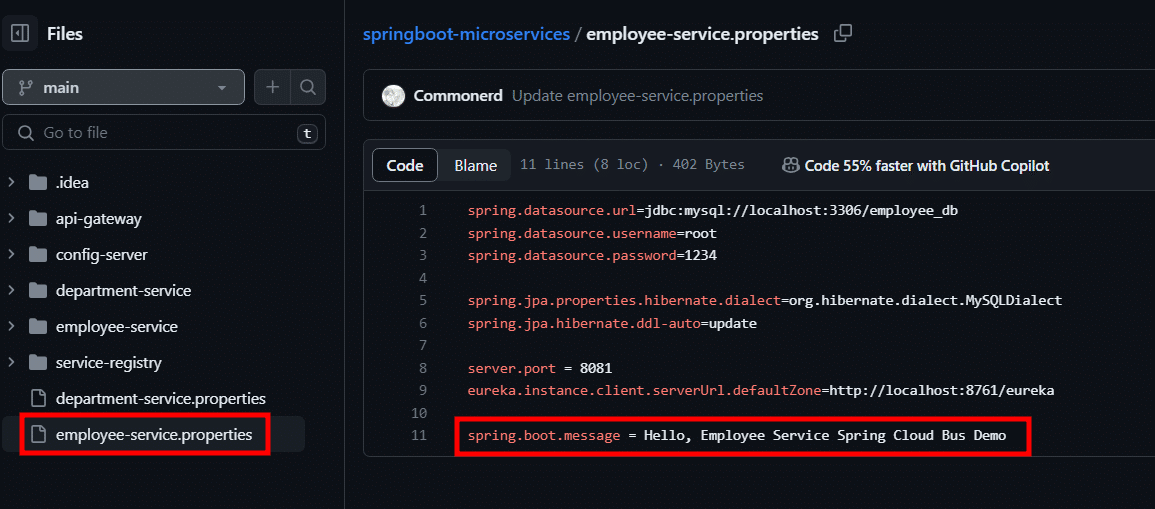
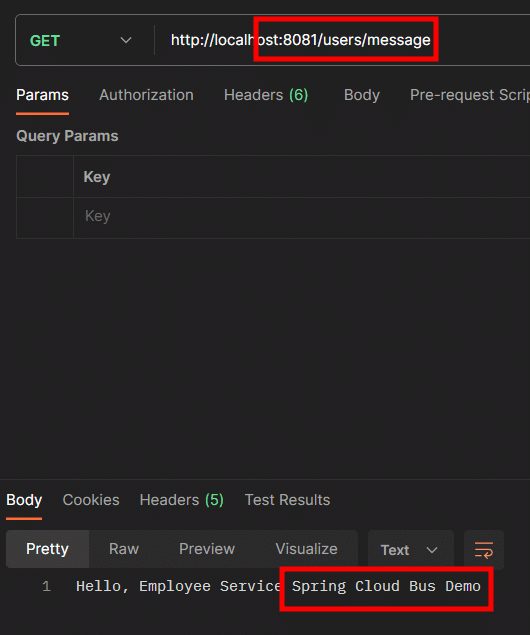
employee-serviceの「MessageController」のコード。エンドポイントが少し変更されました。
@RefreshScope
@RestController
public class MessageController {

    @Value("${spring.boot.message}")
    private String message;

    @GetMapping("/users/message")
    public String message() {
        return message;
    }
}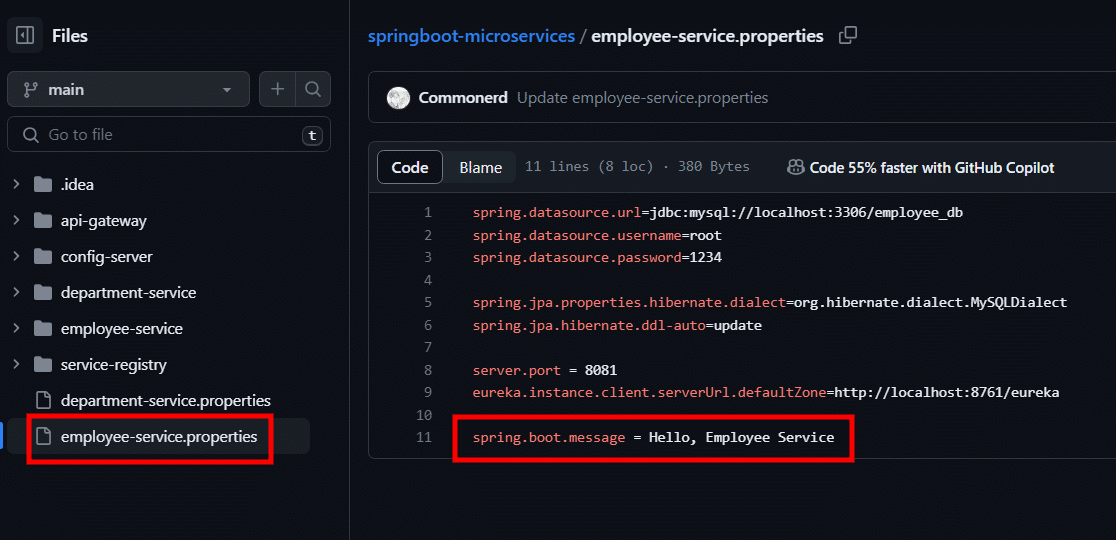

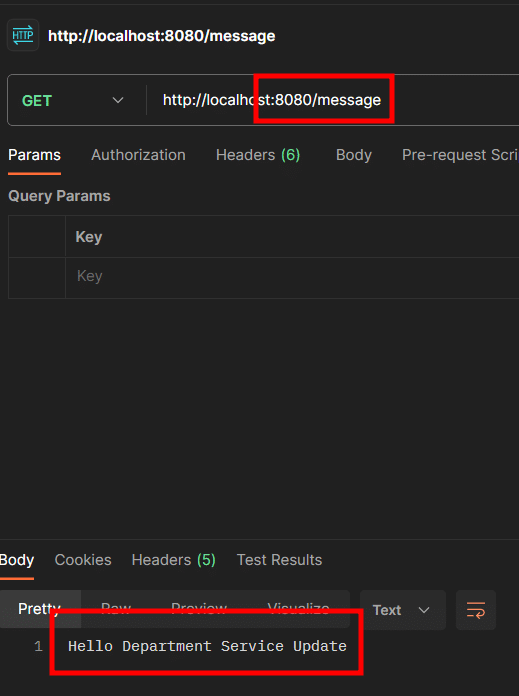
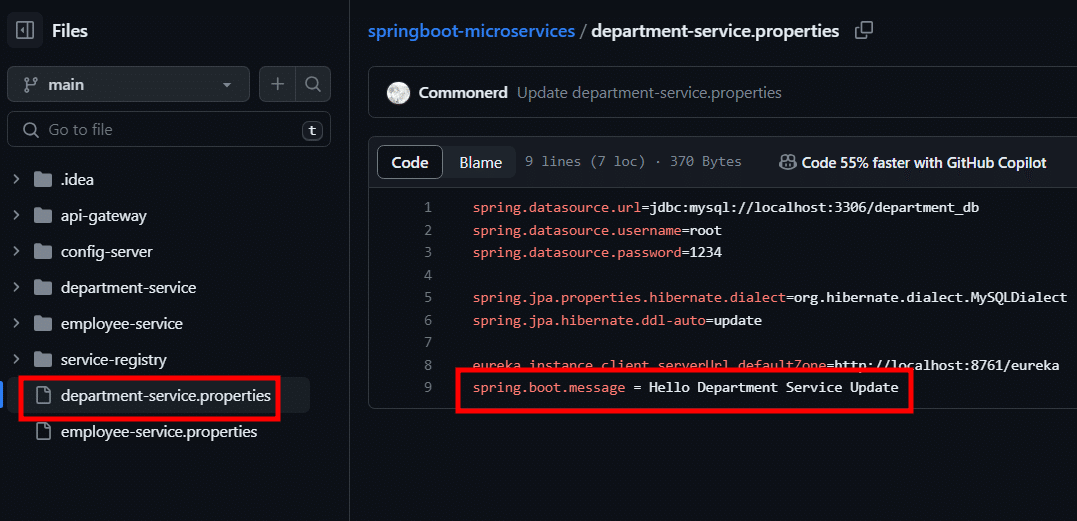

5. department-serviceとemployee-service設定変更後、「/busrefresh」


最後に
「Spring Cloud Bus」を使用することで、マイクロサービスアーキテクチャの設定管理を効率的に行う方法を学びました。これにより、複数のアプリケーションがある場合でも設定変更を手動で更新する手間を省くことができ、スムーズな運用が可能となります。また、「RabbitMQ」や「Apache Kafka」などのメッセージブローカーを活用することで、設定変更をブロードキャストし、各マイクロサービスに即座に反映させることができます。これにより、システム全体の安定性と信頼性が向上し、開発者は設定管理にかかる負担を軽減できます。
このように、「Spring Cloud Bus」はマイクロサービスアーキテクチャの設定管理において強力なツールとなり、効果的な運用をサポートします。私も、今後は複数のサービスを連動して開発するときは、こんな方法をつかって安定的な設定管理をしたいと思います!
エンジニアファーストの会社 株式会社CRE-CO
ソンさん
【参考】
[Udemy] Building Microservices with Spring Boot & Spring Cloud