数年ぶりにFlutterで遊んでみた

こんにちは、トリです。
年末に、社内のアプリチームで技術投資Daysという取り組みをしました。業務とは無関係の内容で技術投資する会です。
テーマは自由なので、Flutterで何かを作ることにしました。最後にFlutterで遊んだのは2021年あたりです。
今回は何を作ったの?
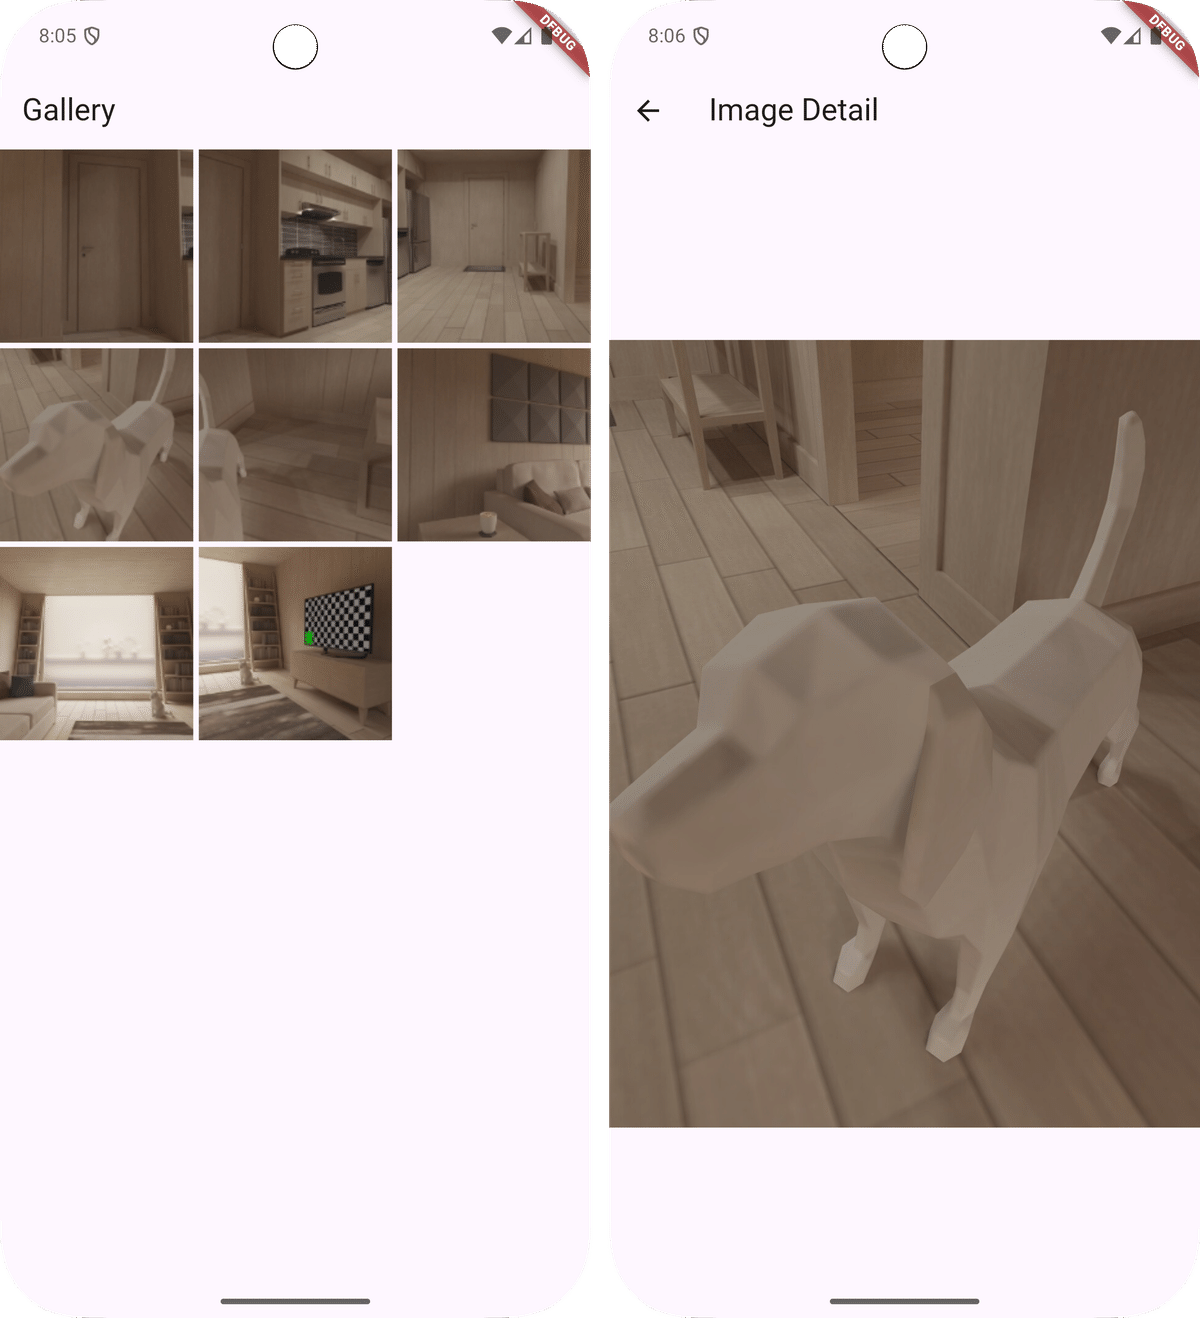
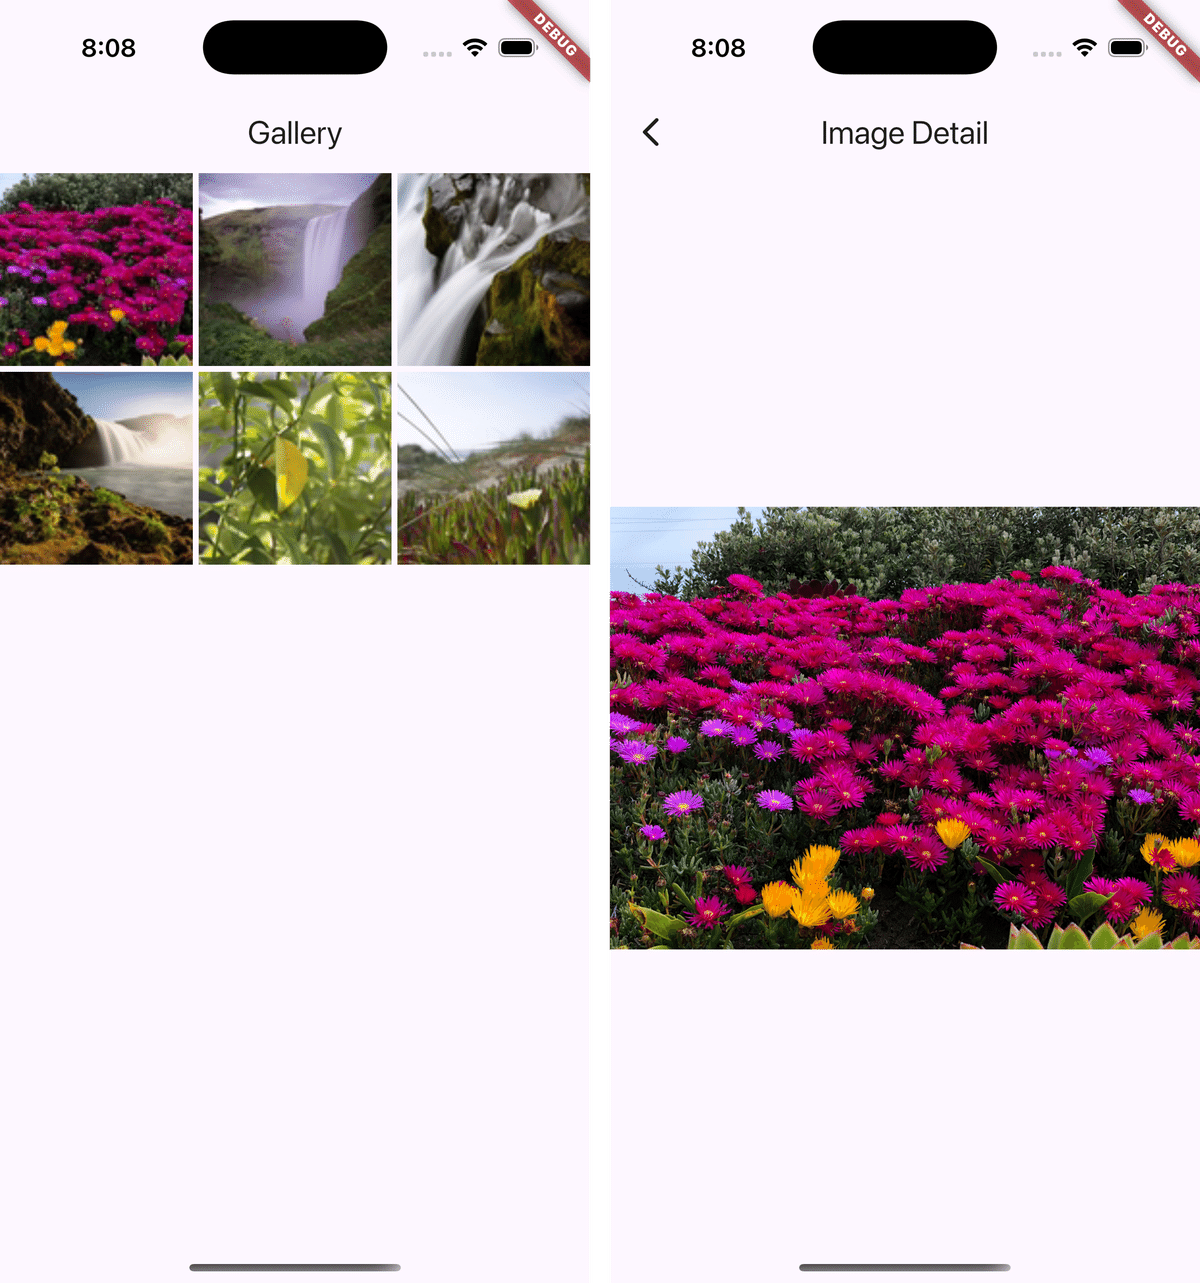
簡単な画像のギャラリーを作りました。
ギャラリーでできること
端末内の画像を一覧表示できる
タップすると拡大表示できる
セットアップ手順
初心にかえって、公式ドキュメント通りにセットアップから始めます。
ドキュメントにはVSCode推奨と記載されていますが、AndroidエンジニアなのでAndroidStudioで進めました。
1.AndroidStudioとGitをインストールします(インストール済)
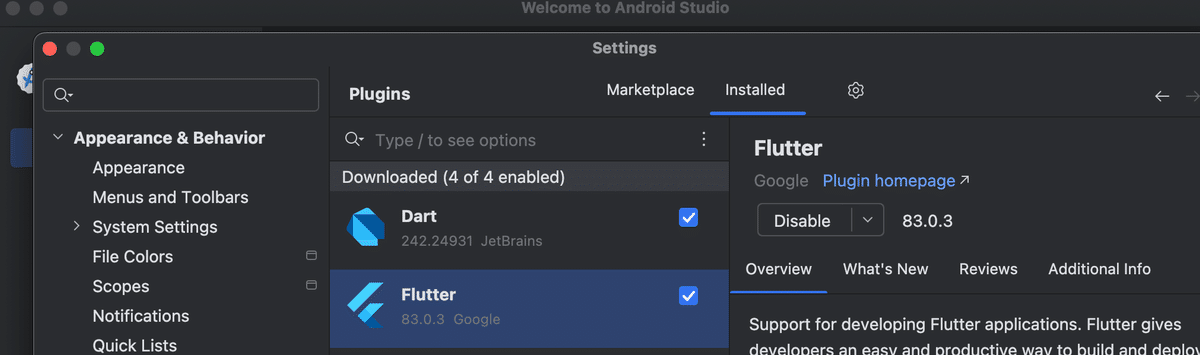
2.AndroidStudioでFlutterプラグインを入れます
3.Flutter SDKをインストールします(今回は3.27.1)
・Homebrewでも入れられます
・FVM(バージョン管理ツール)もあります
4.FlutterSDKのパスを通します
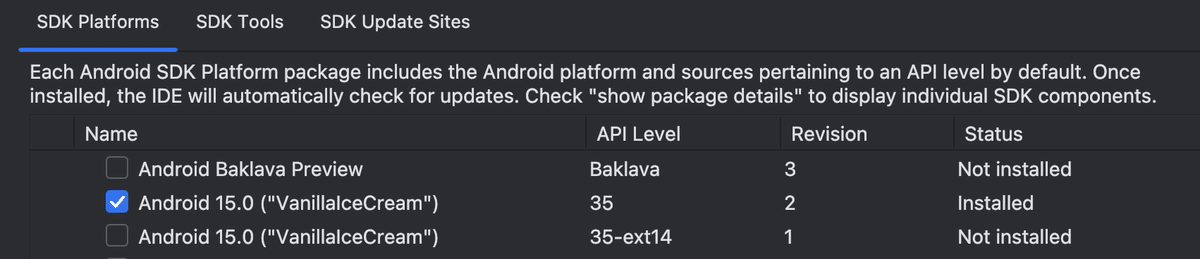
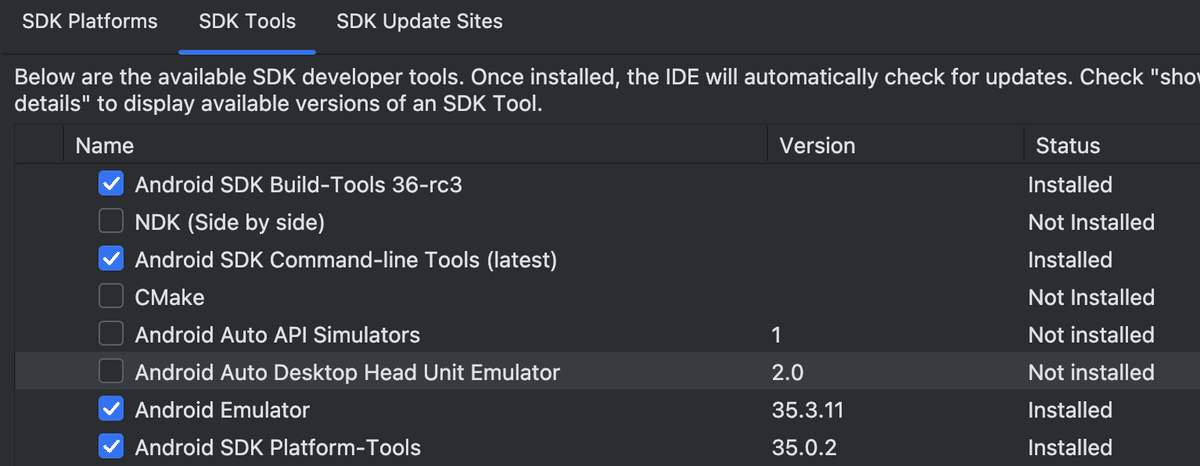
5.AndroidStudioに必要なSDKやツールを入れます
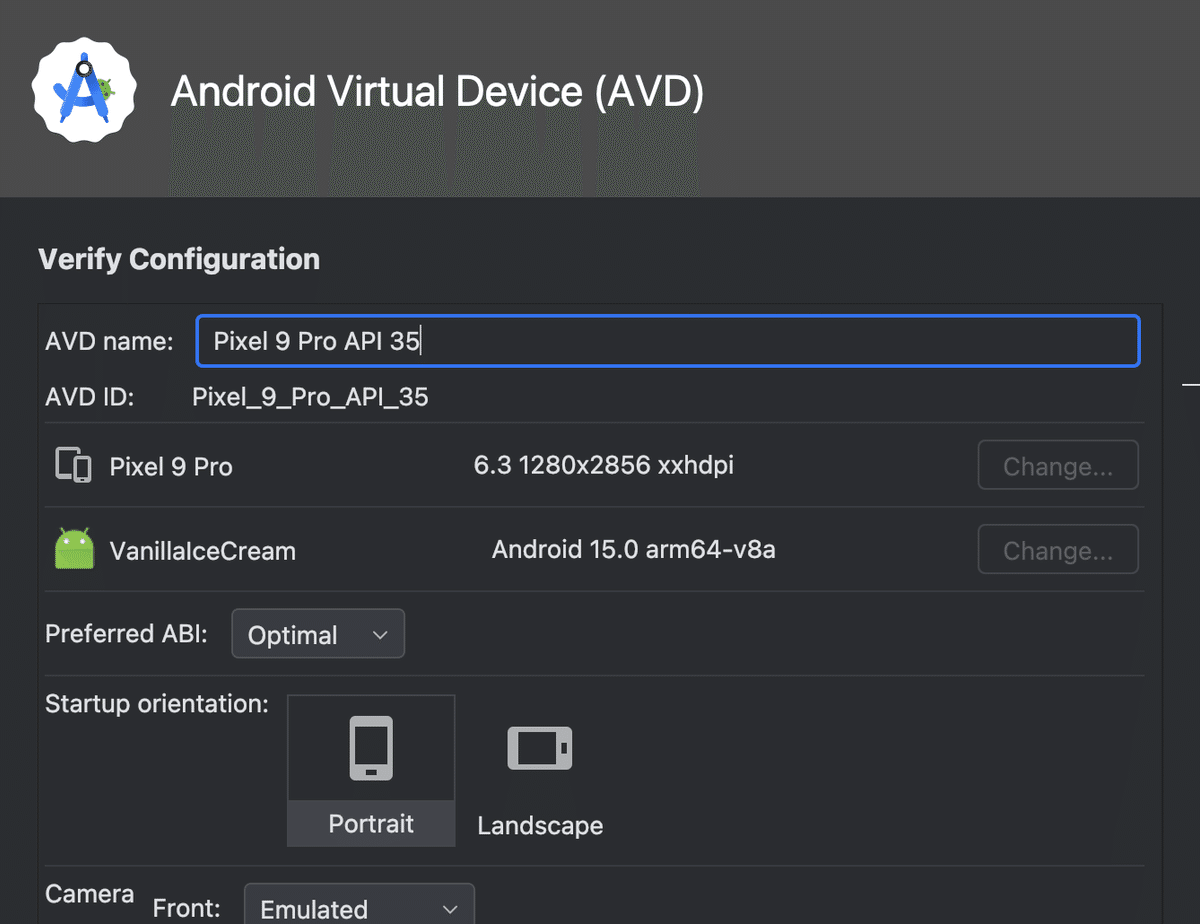
6.動作確認のためにAndroid端末をセットアップします
AndroidEmulatorをセットアップ
7.Android SDK platformのライセンスに同意しておきます
% flutter doctor --android-licenses
...
[=======================================] 100% Computing updates...
All SDK package licenses accepted.
8.開発環境を検証します
「flutter doctor」コマンドでFlutterの開発環境が整っているか検証できます。
% flutter doctor
[✓] Flutter (Channel stable, 3.27.1, on macOS 15.2 24C101 darwin-arm64, locale ja-JP)
[✓] Android toolchain - develop for Android devices (Android SDK version 36.0.0-rc3)
[!] Xcode - develop for iOS and macOS (Xcode 16.2)
    ! CocoaPods 1.11.3 out of date (1.13.0 is recommended).
        CocoaPods is a package manager for iOS or macOS platform code.
        Without CocoaPods, plugins will not work on iOS or macOS.
        For more info, see https://flutter.dev/to/platform-plugins
      To update CocoaPods, see
      https://guides.cocoapods.org/using/getting-started.html#updating-cocoapods
[✓] Chrome - develop for the web
[✓] Android Studio (version 2024.2)
[✓] Connected device (1 available)
[✓] Network resources
Xcodeで問題があったのでCocoaPodsをアップデートしておきます。
iOSアプリを開発するための設定も確認して、エラーなどあれば対処しておきましょう。
Flutterでギャラリーアプリを作る
開発環境が構築できたので、ギャラリーアプリを開発していきます。
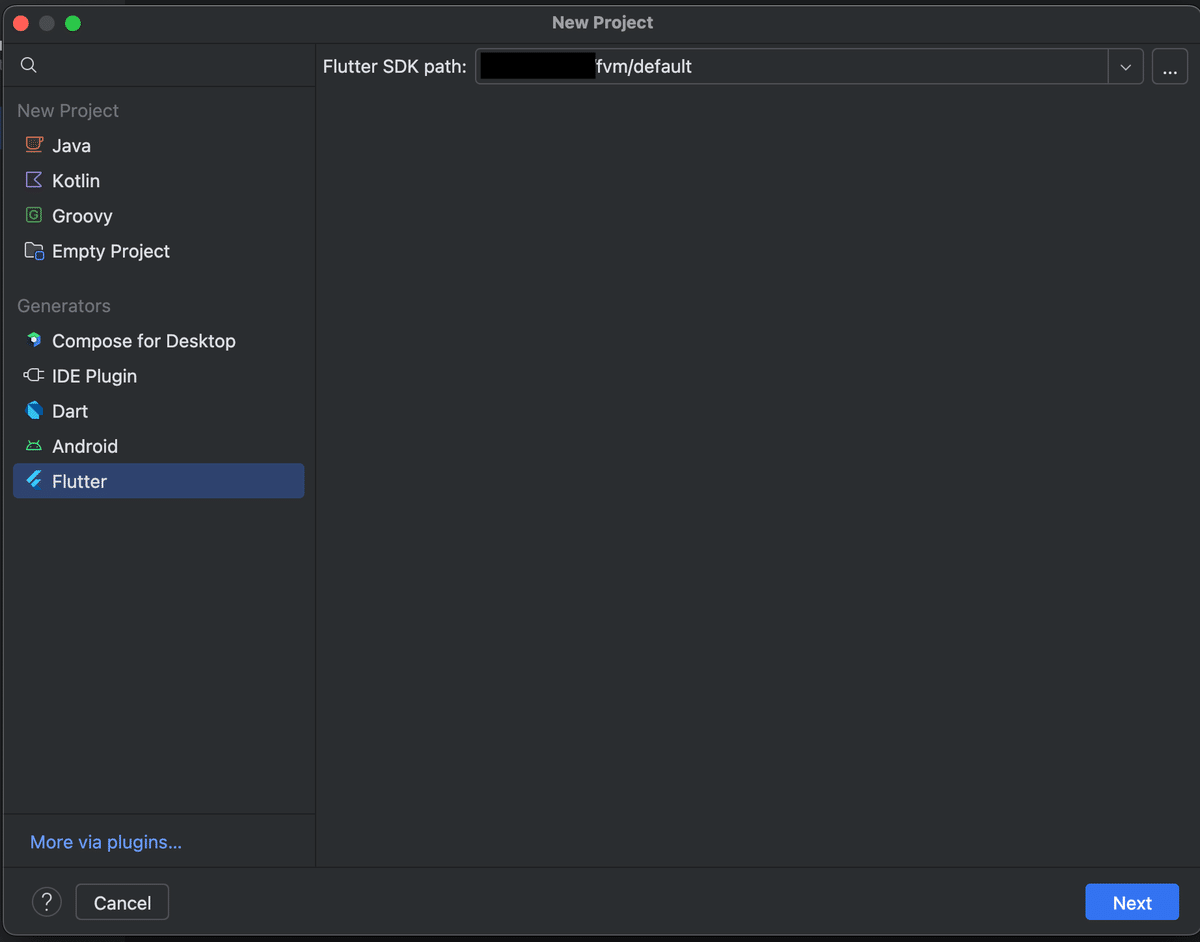
1.新規Flutterプロジェクトを作ります

New Projectを開いたら「Generators > Flutter」を選択します。

各項目を設定します。今回は「Android」と「iOS」対応です。
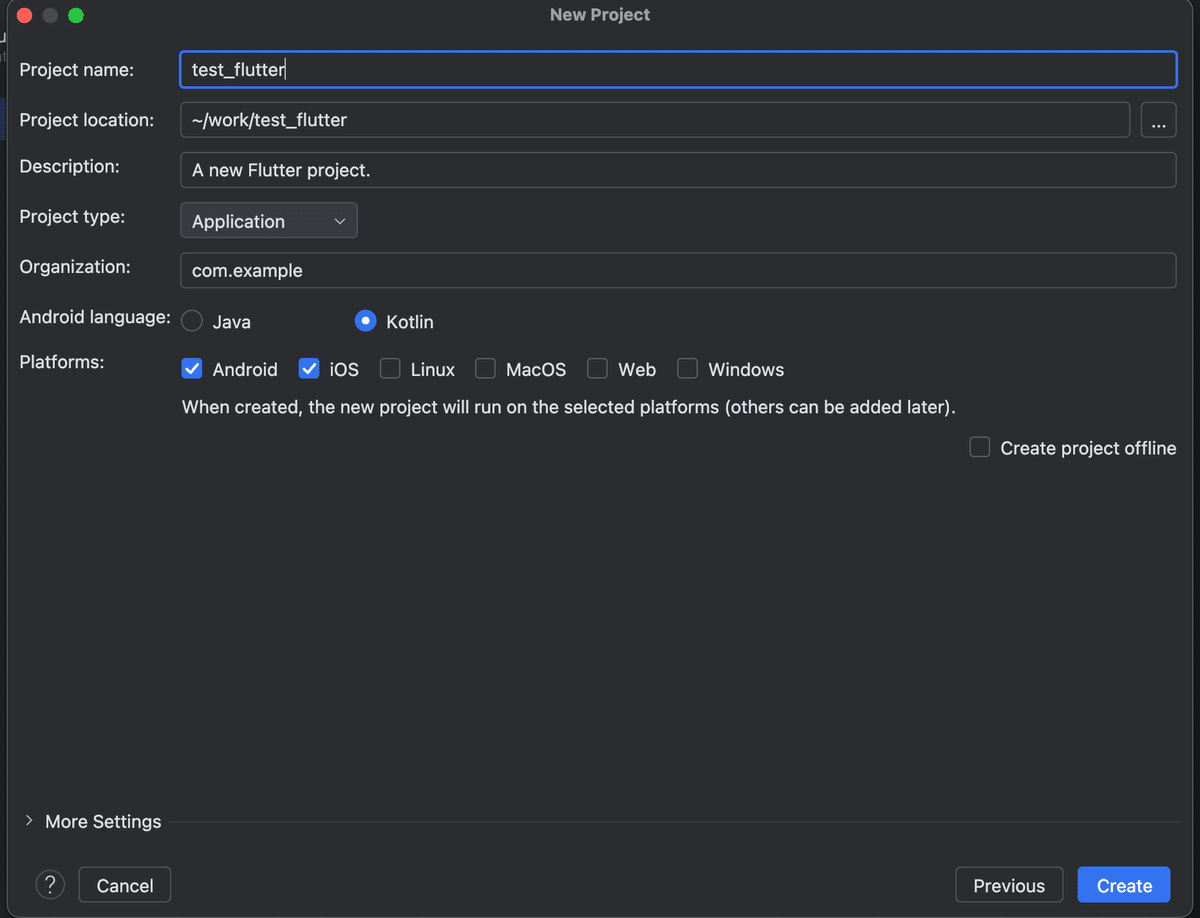
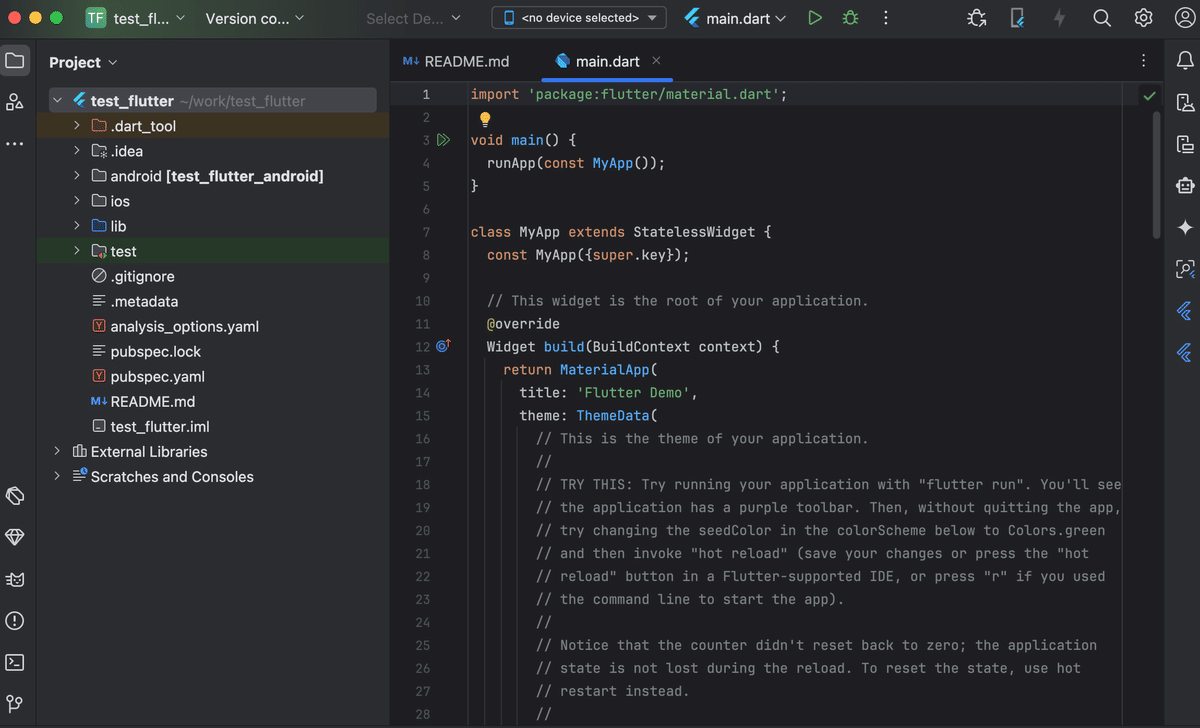
最後にCreateボタンを押せば、Flutterプロジェクトの出来上がりです。
2.プラグインを入れます
端末内の画像表示をゼロから作るとプラットフォームごとの実装が必要なので、「photo_manager」というプラグインを使用します。
% flutter pub add photo_manager上記のコマンドを実行すると「pubspec.yaml」に以下の設定が追加されて、プラグインが利用できるようになります。
dependencies:
    photo_manager: ^3.6.3
3.AndroidとiOSの設定を変更します
ドキュメントを参考に設定を変更しておきます。
4.サンプルを参考にコードを書きます
まず、最初に実行される「main」とギャラリーを表示するための「GalleryPage」を実装します。
void main() {
  runZonedGuarded(
        () => runApp(const MyApp()),
        (Object e, StackTrace s) {
      if (kDebugMode) {
        FlutterError.reportError(FlutterErrorDetails(exception: e, stack: s));
      }
      logger.e('$e\n$s');
    },
  );
  SystemChrome.setSystemUIOverlayStyle(
    const SystemUiOverlayStyle(
      statusBarColor: Colors.transparent,
      systemNavigationBarColor: Colors.transparent,
    ),
  );
}

class MyApp extends StatelessWidget {
  const MyApp({super.key});

  // This widget is the root of your application.
  @override
  Widget build(BuildContext context) {
    return MaterialApp(
      title: 'Gallery App',
      theme: ThemeData(
        primarySwatch: Colors.blue,
      ),
      home: GalleryPage(),
    );
  }
}

class GalleryPage extends StatefulWidget {
  const GalleryPage({super.key});

  @override
  State<GalleryPage> createState() => _GalleryPageState();
}
画面を描画するための「GalleryPageState」を用意します。
GalleryPageStateで「画像アクセスの許可」「画像情報の取得」「画像の一覧表示」を実装していきます。
class _GalleryPageState extends State<GalleryPage> {
  List<AssetEntity> _images = [];

  @override
  void initState() {
    super.initState();
    _fetchImages();
  }

  Future<void> _fetchImages() async {
    // 画像アクセスのパーミッションをリクエスト
  }

  @override
  Widget build(BuildContext context) {
    // 画面の描画
  }
}
端末の画像を表示するためには、画像アクセスの許可が必要です。
画像アクセスのパーミッションをリクエストします。
@override
void initState() {
  super.initState();
  _fetchImages();
}

Future<void> _fetchImages() async {
  // 画像アクセスのパーミッションをリクエスト
  final PermissionState ps = await PhotoManager.requestPermissionExtend();
  if (ps.hasAccess) {
    // 画像を取得
  } else {
    // パーミッションが拒否された場合の処理
    // 端末のアプリ権限を開く
    PhotoManager.openSetting();
  }
}
画像のアクセス権を得られたら、端末内の画像情報を取得します。
画像情報のデータはGalleryPageState直下の「_images」に渡します。
List<AssetEntity> _images = [];

...

final PermissionState ps = await PhotoManager.requestPermissionExtend();
if (ps.hasAccess) {
  // 画像を取得
  List<AssetPathEntity> albums = await PhotoManager.getAssetPathList(
    onlyAll: true,
    type: RequestType.image,
  );
  // 1つのアルバムから全画像を取得してみる
  List<AssetEntity> images = await albums[0].getAssetListPaged(
      page: 0, size: 100);

  setState(() {
    _images = images;
  });
}
「build」に画像一覧の描画処理を書きます。
まず画像を一覧表示するための「GridView」を設定します。「_images」にデータがない場合はProgressを表示します。
@override
Widget build(BuildContext context) {
  return Scaffold(
    appBar: AppBar(
      title: Text('Gallery'),
    ),
    // imagesが空だったらProgressを表示
    // 空ではなくなったタイミングで、1行に3枚の画像をGridレイアウトで表示
    body: _images.isEmpty
        ? Center(child: CircularProgressIndicator())
        : GridView.builder(
      gridDelegate: SliverGridDelegateWithFixedCrossAxisCount(
        crossAxisCount: 3,
        crossAxisSpacing: 4.0,
        mainAxisSpacing: 4.0,
      ),
      itemCount: _images.length,
      itemBuilder: (context, index) {
        // 画像の描画処理
      },
    ),
  );
}「itemBuilder」に「FutureBuilder」を使用して画像の描画処理を実装します。
itemBuilder: (context, index) {
  return FutureBuilder<Widget>(
    future: _images[index].thumbnailData.then(
          (data) => Image.memory(data!, fit: BoxFit.cover),
    ),
    builder: (context, snapshot) {
      if (snapshot.connectionState == ConnectionState.done) {
        return snapshot.data!;
      } else {
        return Center(child: CircularProgressIndicator());
      }
    },
  );
},
タップを検出したいので「GestureDetector」を設定します。
builder: (context, snapshot) {
  if (snapshot.connectionState == ConnectionState.done) {
    // 画像のタップを検知する
    return GestureDetector(
      onTap: () {
        // 画面遷移
      },
      child: snapshot.data!,
    );
  } else {
    return Center(child: CircularProgressIndicator());
  }
},
「Navigator.push」で「ImageDetailScreen(画像拡大画面)」へ遷移させます。遷移する際は、タップした画像のデータを渡します。
onTap: () {
  // 画像拡大画面へ遷移
  Navigator.push(
    context,
    MaterialPageRoute(
      builder: (context) => ImageDetailScreen(image: _images[index]),
    ),
  );
},
「ImageDetailScreen」で受け取った画像データの「originBytes」を読み込み、「Image.memory」で表示します。
class ImageDetailScreen extends StatelessWidget {
  final AssetEntity image;

  const ImageDetailScreen({super.key, required this.image});

  @override
  Widget build(BuildContext context) {
    return Scaffold(
      appBar: AppBar(title: Text('Image Detail')),
      body: FutureBuilder<Uint8List?>(
        future: image.originBytes,
        builder: (context, snapshot) {
          if (snapshot.connectionState == ConnectionState.done &&
              snapshot.data != null) {
            return Center(
              child: Image.memory(snapshot.data!),
            );
          }
          return Center(child: CircularProgressIndicator());
        },
      ),
    );
  }
}
以上で完成です!
終わりに
技術投資ということで久しぶりにFlutterでアプリ開発しましたが、環境構築やプラグインを入れた後のネイティブ設定で結構時間がかかってしまいました。
折を見てまた何か作り、じっくり復習していければと思います。