
MRKL(Multi-Round Knowledge Loop)システムの実現方法理解し、ChatGPTを自社のためにカスタマイズする方法とは(第二回)

はじめに
前回は理論を中心に説明しましたので、いよいよ今回は実装編ということで、実際に動かして確認して見ましょう。
今回は、特にスクラッチで実装はせずにあらかじめLangChainに用意されているものだけで、実装を行います。
準備編
pip install
pip install langchain==0.0.138
pip install OpenAI
pip install load_dotenv
`langchain`と.envファイルから直接、環境変数にAPIキーなどの情報を書き込める便利なライブラリ`load_dotenv`をインストールします。またChatGPTを使用するためにOpenAIをインストールします。
設定ファイルを作成します
今回はOpenAIのAPI KEYとSERPAPIのAPI KEYが必要です。これらのAPIを取得し、設定ファイルを作成します。
OpenAIのAPI KEYの取得方法
こちらで確認してください。
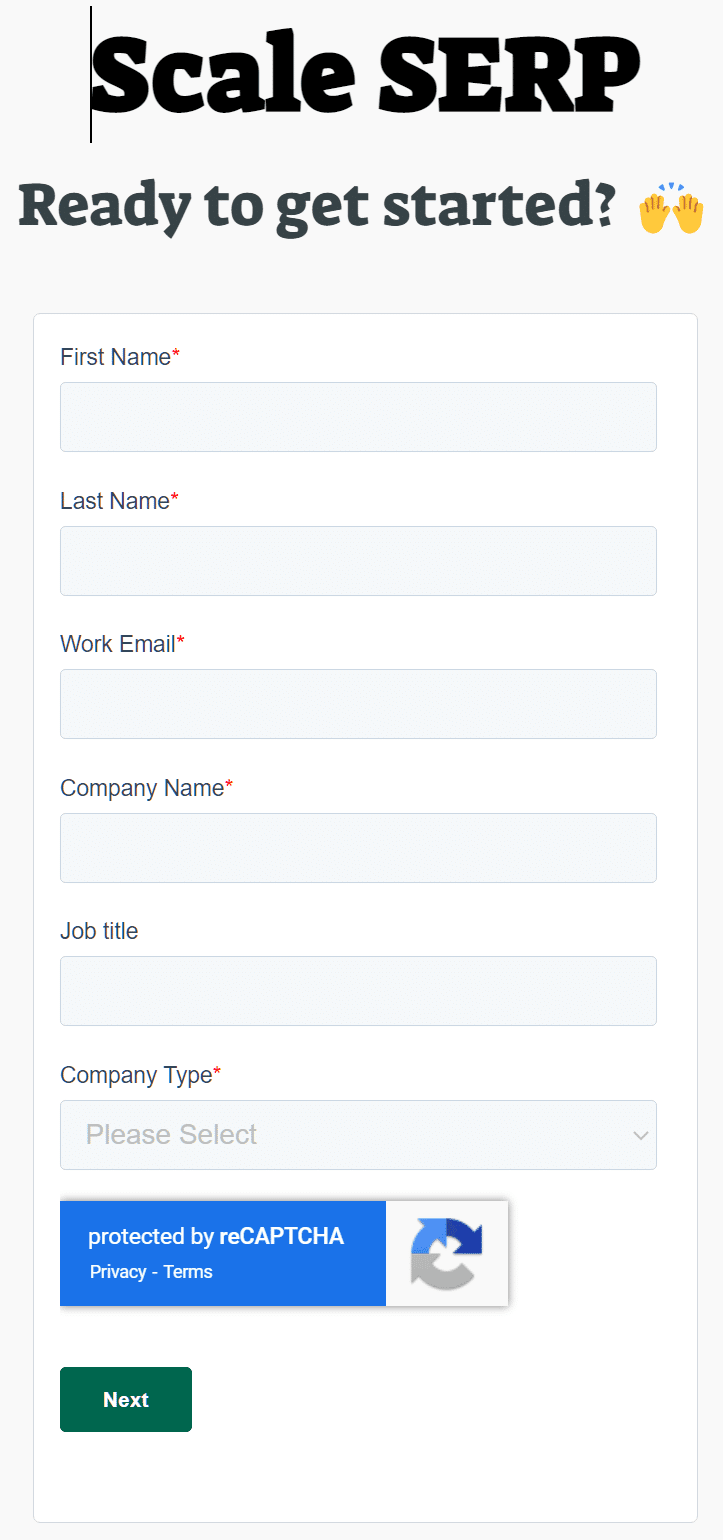
Scale SERPのAPI KEYを取得する
Scale SERPは、複数の検索エンジンAPIを一元的に利用できる便利なAPIサービスを提供しています。個人で利用する分には、ずっと無料で利用可能なので、おすすめです。


.envファイルを作成する
`.env`というファイル名のファイルを作成して以下のように取得したAPIを入力します。
「OPENAI_API_KEY」「SERPAPI_API_KEY 」の変数名は重要です。これらの変数名をKeyとした環境変数が、後ほど作成されます。最終的には、以下のように処理されるとイメージするとわかりやすいでしょう。
env['OPENAI_API_KEY']='sk-tbnwI3DATvzzwxisdalfjalsdjfasdlfjaf'
そして、環境変数にAPI_KEYが設定されると、LangChainは特にコーディングせずにAPI_KEYを読み込んで処理を実行します。
OPENAI_API_KEY = 'sk-tbnwI3DATvzzwxisdalfjalsdjfasdlfjaf'
SERPAPI_API_KEY = 'f0754546565b64b66464b64b6464b6z6s55d46b4654bababa'
Main.pyの実装
main.pyの実装に入りましょう。
Import部分
from dotenv import load_dotenv
from langchain.agents import load_tools
from langchain.agents import initialize_agent
from langchain.agents import AgentType
from langchain.llms import OpenAI
.envファイルを環境変数に読み込む
load_dotenv()これで、OpenAIとSERPAPIのAPI KEYが設定されました。
Actionするためのツールの準備
前回の理論編で説明したように、ChatGPTにツールが使えることを伝えます。LangChainではあらかじめ便利なツールが用意されています。
# First, let's load the language model we're going to use to control the agent.
llm = OpenAI(temperature=0)

# Next, let's load some tools to use. Note that the `llm-math` tool uses an LLM, so we need to pass that in.
tools = load_tools(["serpapi", "llm-math"], llm)ここでは、Actionで使用するツールを定義します。llm = OpenAI(temperature=0)は、ChatGPT3.5を使用することを意味します。これはツールではなく、ChatGPTをllmとして指定しています。ツールは、内部的に文字列によるツール名と実装するclassがdictionary形式で紐づけられています。したがって、以下のように文字列で使用するツールを指定することができます。
serpapi
Googleへの検索ツールを提供します
lm-math
ChatGPTは計算が苦手といわれています。このため計算ライブラリのツールを提供します
"serpapi"の仕組み
少し内部の処理を見てみましょう。load_toolsにより、"serpapi"でツールを指定すると、_get_serpapi関数によりToolクラスが返されます。これらのパラメータについて説明します。
#agents->load_tools.py

def _get_serpapi(**kwargs: Any) -> BaseTool:
    return Tool(
        name="Search",
        description="A search engine. Useful for when you need to answer questions about current events. Input should be a search query.",
        func=SerpAPIWrapper(**kwargs).run,
        coroutine=SerpAPIWrapper(**kwargs).arun,
)前回解説したように、ChatGPTにツール名とユースケースを伝えるために、LangChainではToolクラスを生成し、後のプロンプト生成のために以下のパラメータを指定しています。これらのパラメータを利用してChatGPTにツールが使えることを伝えます。
name="Search"
descripition = ”A search engine. Useful for when you need to answer questions about current events. Input should be a search query."
上記のパラメータを利用して、以下のようなプロンプトが生成されます。
Answer the following questions as best you can.
 You have access to the following tools:\n\n

Search: A search engine. Useful for when you need to answer questions about current events. Input should be a search query.\n
Calculator: Useful for when you need to answer questions about math.\n\n
Action時のハンドラを定義する
以下の部分で、SerpAPIWrapperクラスのクラスメソッドが渡されています。ChatGPTがアクションを考えAction:Searchとなった場合に、呼び出されるメソッドがrunメソッドになります。ちなみにarunの"a"はasynchronous(非同期)の意味で、非同期の実行に対応しているメソッドになります。
func=SerpAPIWrapper(**kwargs).run
coroutine=SerpAPIWrapper(**kwargs).arun,
次にAgentを初期化します
Agentの仕組み
LangChainには、一連のタスクをまとめて実行するAgentという仕組みがあります。Aタスクが終わったらAの結果を利用してB、そしてCを実行するなどが抽象化され、簡単に定義し、実行できる仕組みです。以下の例のように1行で済んでしまいます。一方で、独自のAgentを作成する場合、コードがかなり抽象化されているため、コードを読み解くのが難しいかもしれません。
準備したツールを使用してAgentを初期化します。
agent = initialize_agent(tools, llm, agent=AgentType.ZERO_SHOT_REACT_DESCRIPTION, verbose=True)initialize_agent関数では、準備したtoolsとllm(OpenAI=ChatGPT)を渡して、エージェントの種類を指定しています。
LangChainでは、あらかじめMRKLを実現するためのAgentクラスが用意されており、AgentTypeでAgentの種類を指定することができます。今回はZERO_SHOT_REACT_DESCRIPTIONを使用しています。このタイプを指定することで、MRKLを実現するためのプロンプトが準備され、Actionを実行するための仕組みがあらかじめ用意されます。以下がZeroShotAgentクラスです。ここではPrompt.pyに従ってプロンプトを構築しています。
プロンプトはAgentクラスのdef create_promptメソッドで作成されます。
AgentクラスはAbstractクラスなので、実際には今回はZeroShotAgentクラスでプロンプトが作成されます。
実際の作成方法は出来上がったプロンプトを理解してから、コードを見た方が理解が進むと思います。
完成したプロンプト
#
#出来上がったプロンプト
#

Answer the following questions as best you can.
You have access to the following tools:\n\n

Search: A search engine. Useful for when you need to answer questions about current events. Input should be a search query.\n
Calculator: Useful for when you need to answer questions about math.\n\n

Use the following format:\n\n

Question: the input question you must answer\n
Thought: you should always think about what to do\n
Action: the action to take, should be one of [Search, Calculator]\n
Action Input: the input to the action\n
Observation: the result of the action\n
... (this Thought/Action/Action Input/Observation can repeat N times)\n
Thought: I now know the final answer\n
Final Answer: the final answer to the original input question\n\n

Begin!\n\n


Question: 現在の日本の首相の年齢から現在のフランスの首相の年齢を引いたらいくつですか? 計算してください\nThought:')
ZeroShotAgentクラス
#
#ZeroShotAgentクラス
#
  def create_prompt(
        cls,
        tools: Sequence[BaseTool],
        prefix: str = PREFIX,
        suffix: str = SUFFIX,
        format_instructions: str = FORMAT_INSTRUCTIONS,
        input_variables: Optional[List[str]] = None,
    ) -> PromptTemplate:
        """Create prompt in the style of the zero shot agent.
        Args:
            tools: List of tools the agent will have access to, used to format the
                prompt.
            prefix: String to put before the list of tools.
            suffix: String to put after the list of tools.
            input_variables: List of input variables the final prompt will expect.
        Returns:
            A PromptTemplate with the template assembled from the pieces here.
        """
        tool_strings = "\n".join([f"{tool.name}: {tool.description}" for tool in tools])
        tool_names = ", ".join([tool.name for tool in tools])
        format_instructions = format_instructions.format(tool_names=tool_names)
        template = "\n\n".join([prefix, tool_strings, format_instructions, suffix])
        if input_variables is None:
            input_variables = ["input", "agent_scratchpad"]
        return PromptTemplate(template=template, input_variables=input_variables)
MLKLのAgentクラス

#
#プロンプトのコード
#
#https://github.com/hwchase17/langchain/blob/master/langchain/agents/mrkl/prompt.py

# flake8:
PREFIX = """Answer the following questions as best you can. You have access to the following tools:"""
FORMAT_INSTRUCTIONS = """Use the following format:
Question: the input question you must answer
Thought: you should always think about what to do
Action: the action to take, should be one of [{tool_names}]
Action Input: the input to the action
Observation: the result of the action
... (this Thought/Action/Action Input/Observation can repeat N times)
Thought: I now know the final answer
Final Answer: the final answer to the original input question"""
SUFFIX = """Begin!
Question: {input}
Thought:{agent_scratchpad}"""
最後にverbose=Trueでログを出力をすることを指定します。
完成したコード
以下のようなコードになります。
.env
OPENAI_API_KEY = 'sk-tbnwI3DATvzzwxisdalfjalsdjfasdlfjaf'
SERPAPI_API_KEY = 'f0754546565b64b66464b64b6464b6z6s55d46b4654bababa'
main.py
from dotenv import load_dotenv
from langchain.agents import load_tools
from langchain.agents import initialize_agent
from langchain.agents import AgentType
from langchain.llms import OpenAI

load_dotenv()

# First, let's load the language model we're going to use to control the agent.
llm = OpenAI(temperature=0)

# Next, let's load some tools to use. Note that the `llm-math` tool uses an LLM, so we need to pass that in.
tools = load_tools(["serpapi", "llm-math"], llm)

# Finally, let's initialize an agent with the tools, the language model, and the type of agent we want to use.
agent = initialize_agent(tools, llm, agent=AgentType.ZERO_SHOT_REACT_DESCRIPTION, verbose=True)

# Now let's test it out!
agent.run("現在の日本の首相の年齢から現在のフランスの首相の年齢を引いたらいくつですか? 計算してくだい")
実行結果
以下のようになります。
> Entering new AgentExecutor chain...
 I need to find out the age of the current Prime Minister of Japan and the current Prime Minister of France
Action: Search
Action Input: "Current Prime Minister of Japan age"params

Observation: 65歳
Thought: I need to find out the age of the current Prime Minister of France
Action: Search
Action Input: "Current Prime Minister of France age"params

Observation: 61歳
Thought: I now know the final answer
Final Answer: 4歳
次回につづく
今回は、LangChainであらかじめ用意されたツールやAgentを使用して実装を行いました。数行のコードで、MRKLシステムの実装が可能でした。
もし従来のプログラミング方法で実装しようとすると大変ではないでしょうか。例えば検索結果から年齢を抜き出す場合でも、HTMLを解析し、年齢を抜き出すことが必要になりますが、ChatGPTだととそのようなコーディングの必要はなくなっています。
つまりChatGPTは汎用のテキスト処理ライブラリとして機能します。
ChatGPTは抽象的な指示をも理解するため、事細かいコーディングは不要になります。
あるプログラミング言語の習熟、フレームワーク、ライブラリの習熟の勝負であったプログラミングの世界での差別化の基準が変わるのではないかと思いました。
ChatGPTをライブラリとしてどのように使用できるか?このアイデアが差別化になるというパラダイムシフトが起こっていると感じます。
うまく利用できれば、工数がかからず効果的なツールを生み出すことができます。
そして、ツールやAgentは、LangChainのバージョンアップにより増えていっています。例えば最近ではデータベースのデータをベクトル化して、ChatGPTと連携して、検索することも可能になっています。次回は、より自社での活用に向けたカスタマイズや、様々な応用について考えてみたいと思います。