DELTA ANCHOR #1
Hi, everyone! How are you?
Today is How to make a “Delta anchor episode 1”. I write divided into three or four times.
The action of the delta anchor is similar to the backslide anchor. It slides back, but doesn't move sideways. it cornering is fast, it’s good at diving to the corner.
The front roller uses 12-13mm double aluminum rollers. For other chassis, I would be grateful if you could arrange it.
Let’s get started🪛
こんにちはBECKです。Newギミック「デルタアンカー」製作チュートリアルのご紹介です。3〜4回に分けて書こうと思います。
デルタアンカーのアクションはバックスライドアンカーに近くて、後方にスライドしますが横にはほとんど動かないタイプ。コーナーリングが速く、コーナーダイブが得意なギミックです。
フロントローラーは12-13WAで組んでゆきますね。他のシャーシの場合はアレンジしてくださると嬉しいです。
海外勢の方も多いので2カ国語でお届けします。それではどうぞ!

デルタアンカーvsバクスラアンカーを比較してみました。作りやすさとLCはバクスラ。正確なジャンプとしなやかな着地はデルタ。
[後日談]
初代デルタじゃないとダメなんだと、後継機をリリースした今も初代デルタを激推ししてくださるご愛用者様がちらほら…。初代デルタはいいぞっ!(ご愛顧感謝です🙏)
1. Front unit


Finished ✔️
2. Main plate part 1
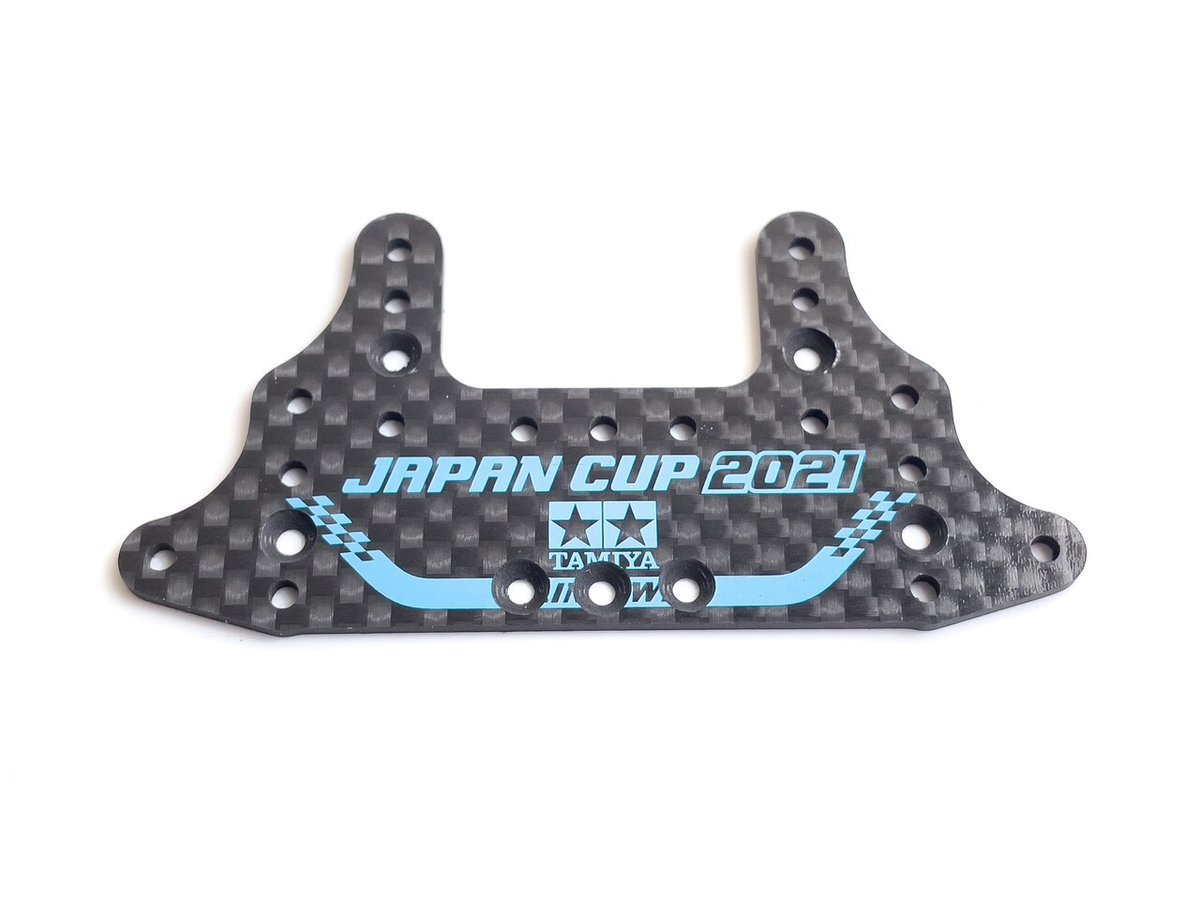
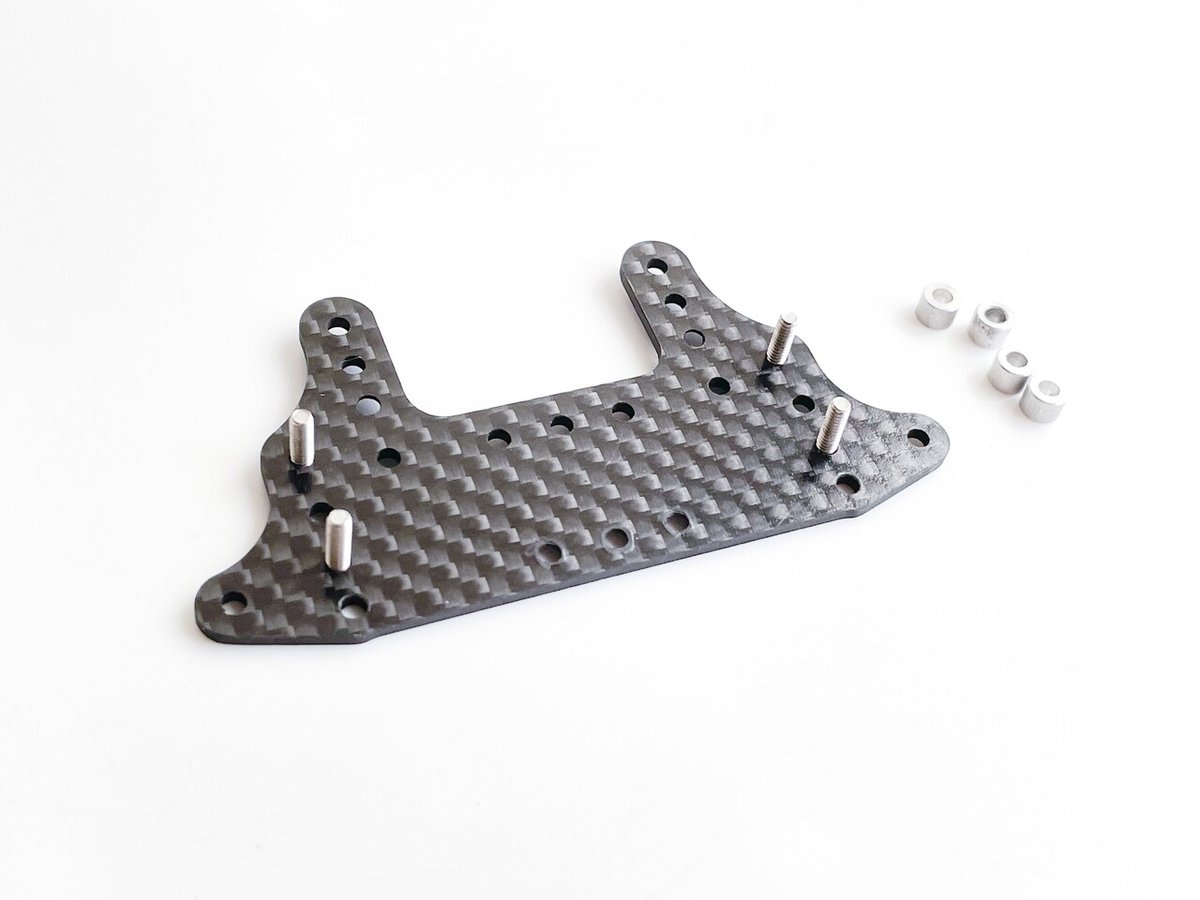
[Main plate]

The FRP plate is also okay. To your liking.
FRPもOKです。お好みで。


Tighten the nut while pulling the Jig and the Main plate in the direction of the arrows
ジグとメインプレートを矢印方向に互いに寄せながらナットを締めます。
Points
If you fix the jig and plate away from each other, the stroke feeling will be harder.
もしジグとプレートを遠ざけて固定するとスライド感が硬めに変化します。結構変わります。お好みでどうぞ。

Make a hole 2.0mm
Note that the guide hole is a little big. Make a hole by moving the cutting edge of the 2.0mm drill in the direction of the arrow.
ジグのガイドホールが少し大きい気がするので、矢印側にドリル刃先を軽く寄せながら2.0mm穴を開けます。
Points
Align the hole positions each time. If the hole position changes, the stroke feeling will change and the reproducibility will decrease.
穴位置は毎回揃えましょう。微妙に穴位置が変わると作動感が変わってしまい再現性が低下します。


These are cutting guides.
カッティングガイドてす。

Tighten the nuts while gently pressing the spacers.
スペーサーを軽く押しながらナットを締めます。


Nice😊
攻めるねぇ…

About the cut line
The purpose is to prevent interference between the main plate and Batman. You can lower the bumper position a little. The height of the front roller in the neutral position is slightly lowered, increasing the degree of freedom in the roller position.
メインプレートとバットマンの干渉を防ぐ目的です。バンパー位置を少し下げることができます。ニュートラル位置のフロントローラー高さが少し低くなり、ローラーポジションの自由度が増えます。


I want to glue the polycarbonate, so cut it with a margin. If necessary, re-cut after bonding.
ポリカを接着したいので余裕を持ってカットしましょう。必要に応じて接着後に再カットしてください。


Cut it so that it doesn't hit the tires. Also, chamfer all sharp edges.
タイヤに当たらないように削ってください。あとシャープエッジは全てメントリしましょう。
[Main plate angle adjustment]


Make creases with carbon bar.
カーボンバーで折り目を付けます。

This is a Super glue hardener. Spray just before gluing polycarbonate.
アルテコ。ポリカは瞬着が効きませんので、ポリカを接着する直前にスプレーしましょう。

Spray super glue hardener on polycarbonate and paste with super glue.
アルテコをスプレーして瞬着で貼り合わせます。
I think 🤔…
It may be better to stick two polycarbonate sheets together without folding one
折り合わさなくても、二枚を貼り合わせた方が良いかも知れません

Dummy screws
ダミーねじ

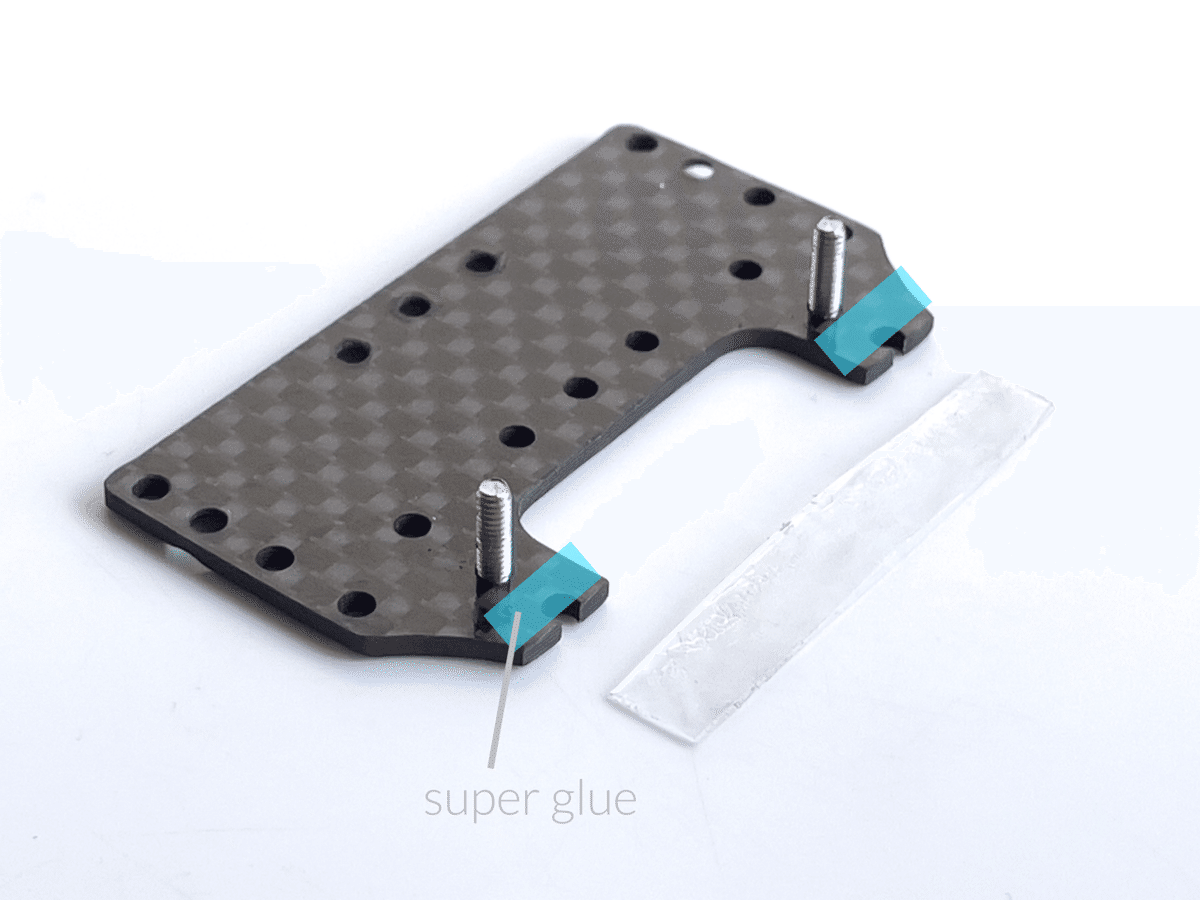
Spray Super Glue Hardener on Polycarbonate. Glue just behind the dummy screws.
ポリカ側にアルテコをスプレーし、カーボン側に瞬着を塗布。先程のポリカを接着します。ダミービスの真後ろに接着します。


File the popped out polycarbonate.
飛び出したポリカを棒ヤスリで修正。

Cut with nippers
ニッパーでカット

Nice!
If it is double-sided tape, it will be misaligned and messed up while running. Super glue is the best. I think this method is very useful when making FMA
もし両面テープだと走行中にズレてめちゃくちゃになります。瞬着最高!この方法はFMAを作るときにとても便利だと思います。

Temporary assembly
仮組み


30 degree bank through. There are many 30 degree banks in the Kansai area of Japan.
今回の30度スルーです。23mm未満の小径車も余裕の余裕です。関西のレースはいつも30度祭りなのです。(でもすぐ慣れます)


Is it uniform on the left and right? Check for gaps. If the plate tilts, a gap will occur.
For example, if the plate on the left is slightly floating, scrape the polycarbonate on the left slightly with a leutor. Adjust so that the gaps are even.
左右均一ですか?隙間がないかチェック。プレートが傾いていると片側に隙間が生じます。
例えば左側のプレートが少し浮いている場合は、左側のポリカをほんの少しリューターで削ります。隙間が均一になるように調整してください。
Points
Scrap the polycarbonate on the side with the gap in the plate a little
浮いていて隙間がある側のポリカを少しだけ削る

Recut if necessary
必要なら再カット

Before attaching the sponge brake, stick thick polycarbonate on the blue part with super double-sided tape.
ブレーキを貼る前で構わないので、青色部分に厚めのポリカを強力両面テープで貼り付けます。

Nitto 5015
This is a Japanese double-sided tape that can also be used with polycarbonate. If you have 3M, you're fine.

Finished ✔️

Delta anchors have polycarbonate pasted to angle the plate. As with the Backslide anchor, it is okay to file the bottom of the unit diagonally. Please choose the one you like.
デルタアンカーはポリカを貼ってプレートに良い感じの角度を付けました。バクスラアンカーと同じようにユニット底面を斜めに削って使用してもOKです。お好きな方を選択してくださいね。
-.-.-.-.-.-.-.-.-.-.-.-.-.-.-.-.-.-.-.-.-.-.-.-.-.-.-.
Today ends here. Next time, I will start with “Main plate part 2”.
See you again👋
今回はここまで。次回は「メインプレート パート2」から始めます。ではまた!
