
Backslide anchor 2

Related article 💁♂️関連記事
Backslide anchor 1
Backslide anchor 2
Backslide anchor 3
Backslide anchor 4
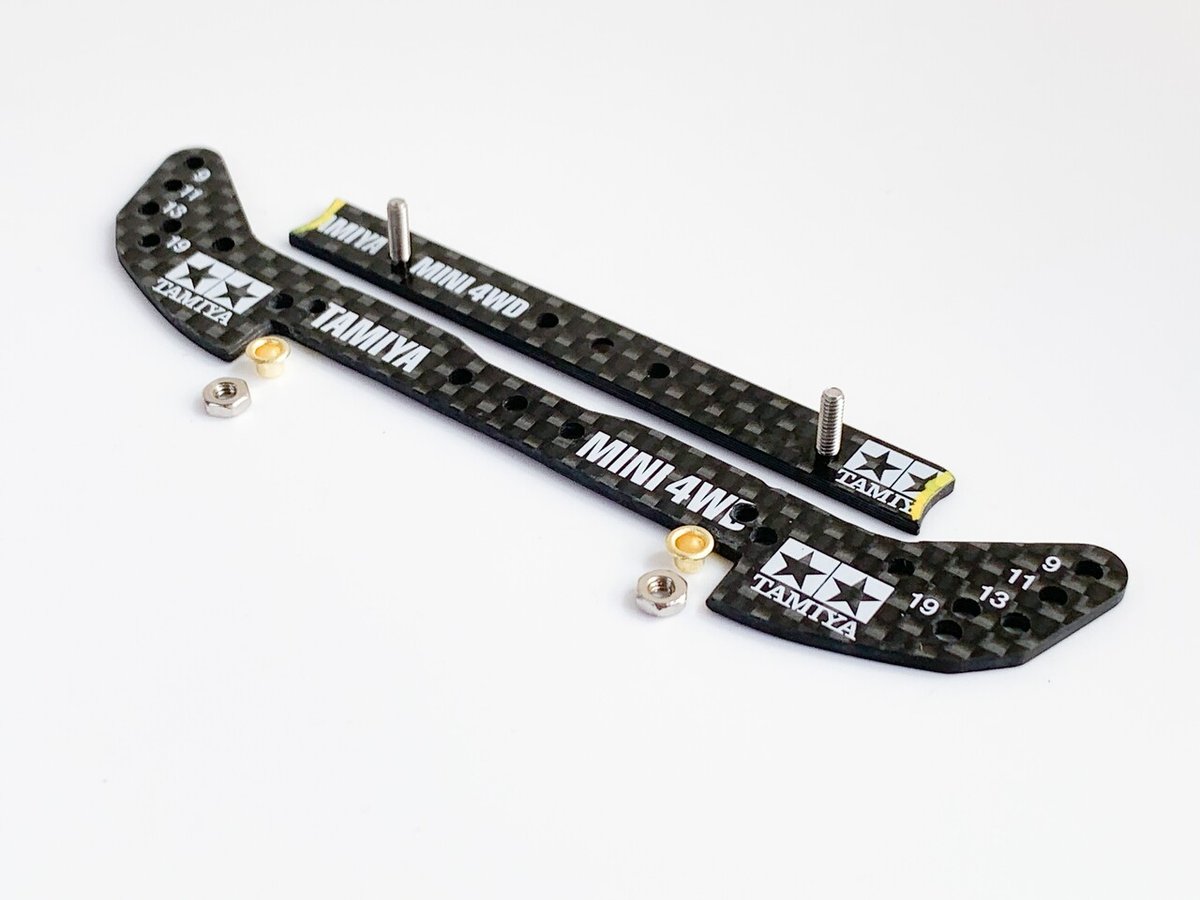
4.Make a front bumper / フロントバンパー作成
[Under plate / アンダープレート]


17mm dish
Postscript
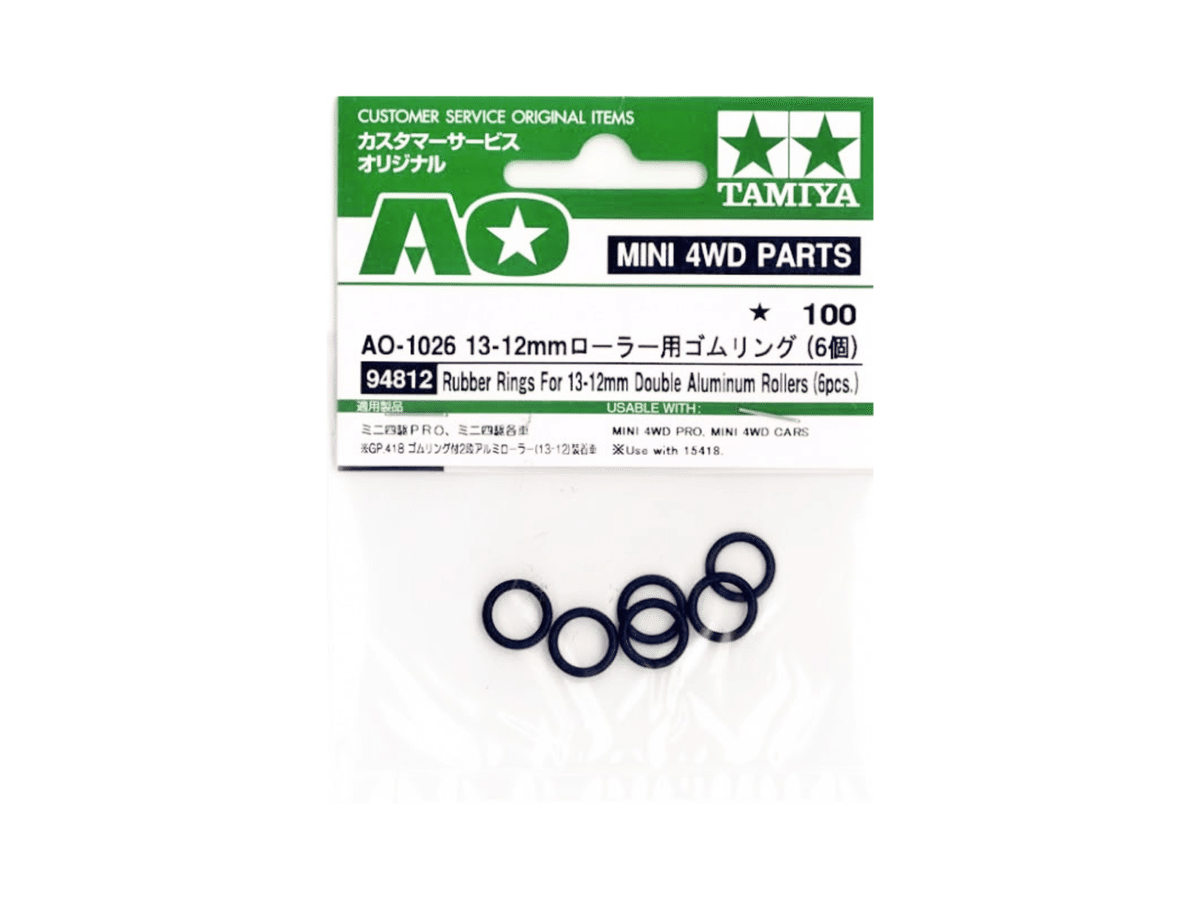
The 17mm under roller slows down when cornering, so 13mm is recommended. Try putting 13mm in the 19mm roller hole. However, it is the fastest without the under roller.
追記
17mmアンダーローラーはコーナーで減速するので13mmがオススメです。19mmローラー穴に13mmを入れてみてください。ですがアンダー無しが一番速いですよ。


Backslide / 裏側皿ビス

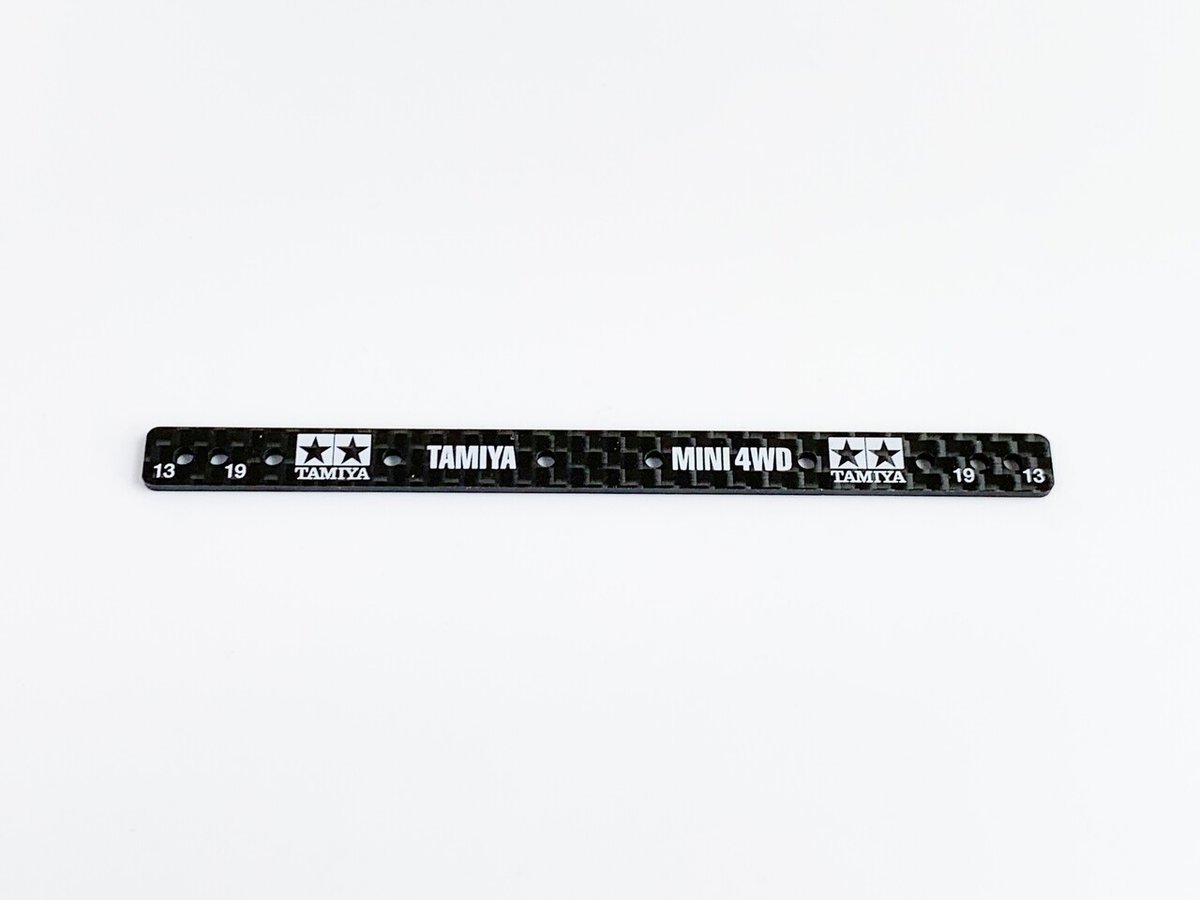
Under plate Finished ✅
アンダープレート完成!
Postscript
The point is the total length of this under plate. In fact, this is exquisite. If you extend the total length, it will be difficult to land. It's okay to glue this underplate to the main bumper.
追記
ポイントはこちらのアンダープレートの全長です。実はこれが絶妙なのです。全長を伸ばすと着地が気難しくなります。このアンダープレートとメインバンパーを瞬着で接着するのは何も問題ありません。
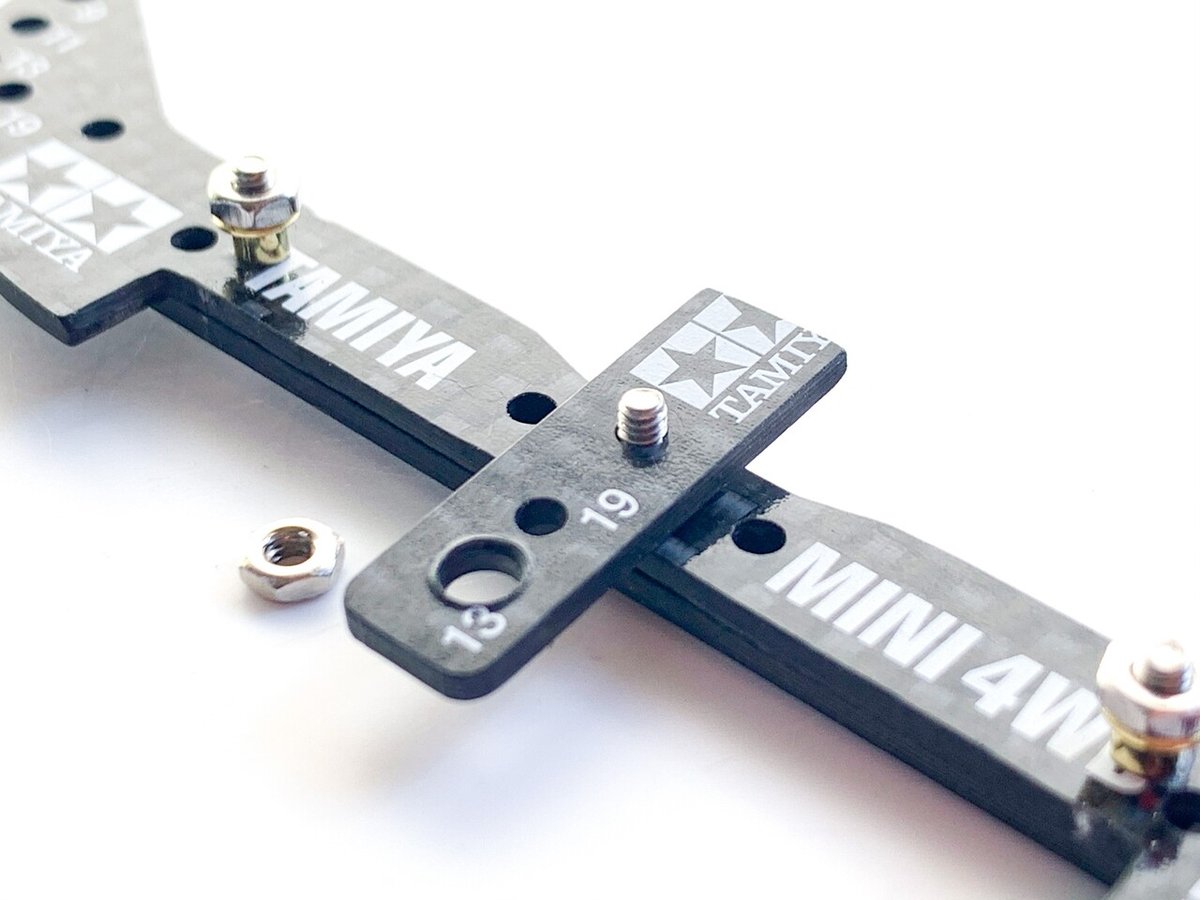
[Front bumper assy / バンパー組み立て]


Finished ✅
ほぼ完!
5. Make an Angle adjuster / スラストアジャスター作成


Small washer / 小ワッシャー


Finished ✅
6.Make a main shaft / メインシャフト作成
Please
Using ordinary countersunk screws will cause malfunction. Please use by processing the 25mm cap screw.
お願い
普通の皿ビスを使うと誤作動を起こします。25mmキャップスクリューを加工してご使用ください。


25mm cap screw

polish out
回しながらピカールで磨きます

Cut to 12mm
12mmにカットしましょう

Finished ✅
You can adjust the bumper angle by turning this tired nut. 📐
くたびれたロックナットを使用すると、レース中に素手でスラスト調整ができます🪛
Postscript
↑ Used nuts loosen in 3 laps lol. Therefore, insert the rubber tube on the loose locknut before use. With this, it will not loosen.
When adjusting, move the rubber tube slightly upward and turn the nut. You can adjust it without tools even during the race. Adjustment please is brought into close contact lightly Te rubber tube and the nut when finished.
追記
↑ボロナットは3周でナット緩みます笑。なのでゴソゴソのロックナットの上にゴム管を挿してご使用ください。これで緩みません。
調整時はゴム管を少し上にずらしてナットを回します。レース中も工具無しで調整できますね。調整が終わったらゴム管を押してナットと軽く密着させてください。

7.Front bumper installed / 前バンパー装着
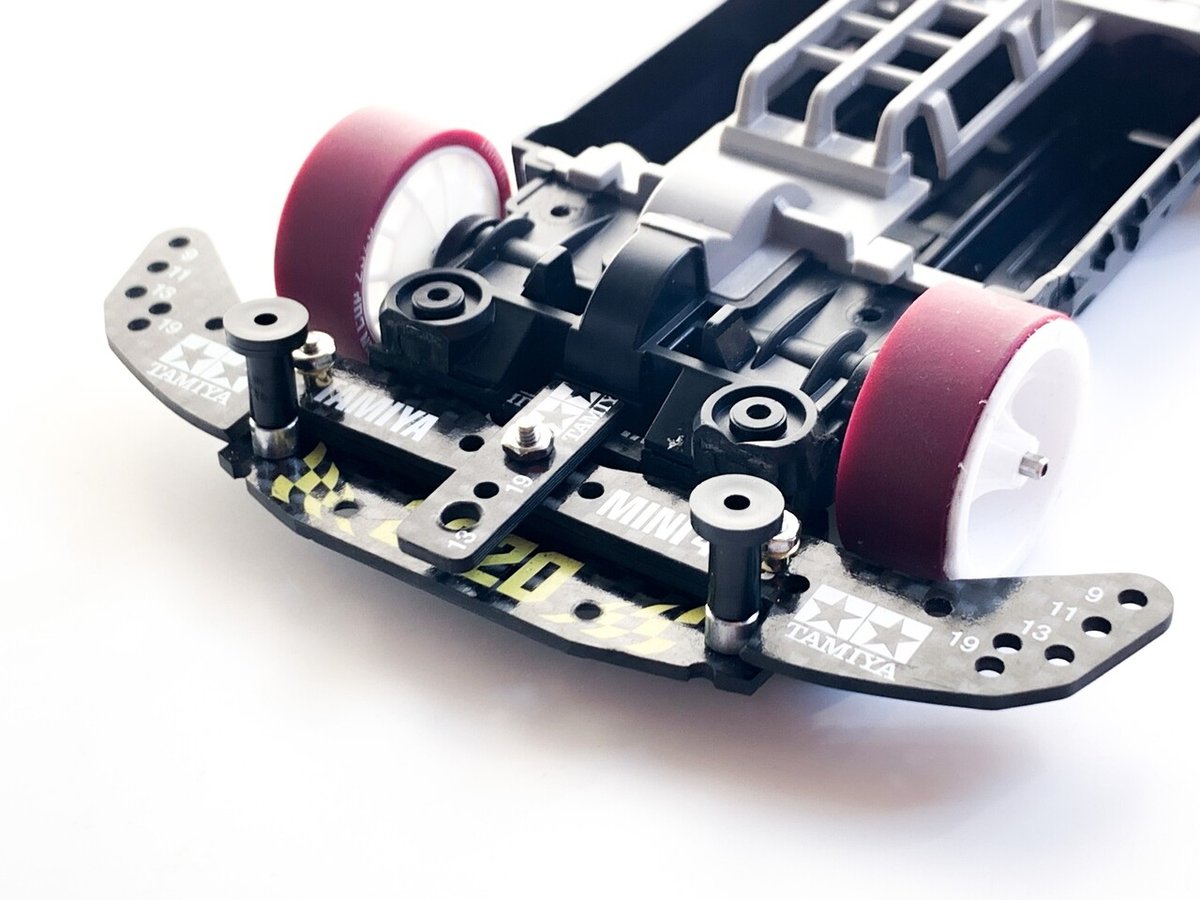
イイネイイネ!
That’s good✨


スラストアジャスター📐


Apply tape / テープ貼ります


Apply polycarbonate with double-sided tape so that the brakes work well. The thickness is about 0.5 mm.
ブレーキがよく効くように両面テープでポリカを貼ります。厚さは0.5mm位。

t2mm brake
2mmブレーキ


Finished ✅
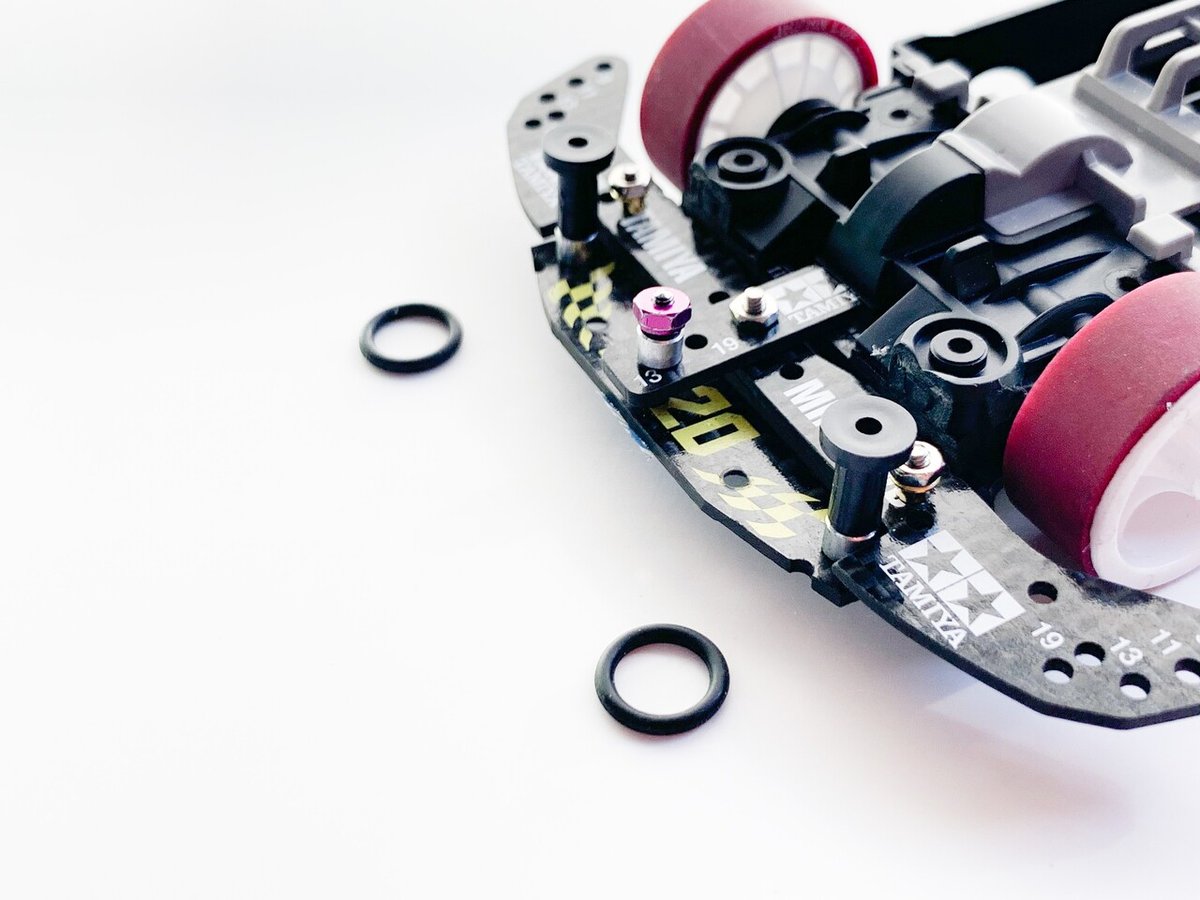
The bumper is lifted by the lifter, but it is normal. When the roller is attached, it returns to the neutral position by its own weight.
バンパーがリフターで持ち上がっていますが正常です。ローラーを装着すると自重でニュートラル位置に戻ります。
Postscript
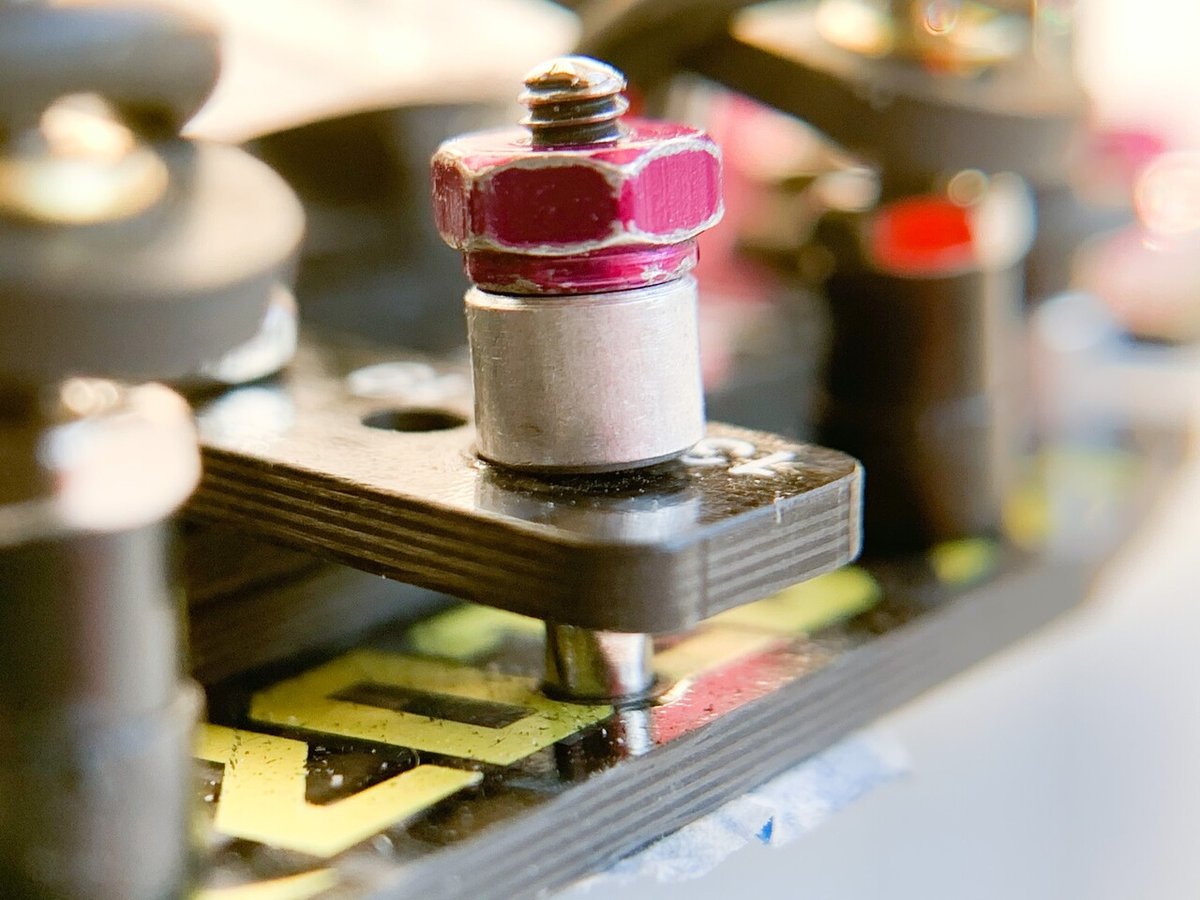
The O-ring may come off while driving, so it is recommended to glue the O-ring to the eyelet.
追記
走行中にOリングが外れる事がありますので、ハトメとOリングを瞬着で接着すると良いでしょう。
It is a specification that moves quickly with a weak input. First, try operating without attenuation💁♂️
今作は初心に帰って弱い入力でサクサク動かしてゆく仕様です。まずは減衰なしで運用してみてくださいね〜
That's all for today. Next time, I will start with roller installation. looking forward to!
今日はここまで。次回はローラー周りから始めます。お楽しみに👋
Related article 💁♂️関連記事
Backslide anchor / バックスライドアンカー
Related article 💁♂️関連記事
2step anchor / 2ステップアンカー
-.-.-.-.-.-.-.-.-.-.-.-.-.-.-.-.-.-.-.-.-.-.-.-.-.-.-.-.-.-.-
Thank you for watching!
I would be happy if you could tap the ♡ mark at the bottom right.
See you again👋 BECK JPN
ご視聴ありがとうございます。
右下の♡ボタンをTAPしてもらえると喜びます。
ではまた!
Feel free to follow me💡
instagram.com/beck.jpn
twitter.com/beckjpn_
YouTube
youtube.com/c/BECKJPN