【素材化】簡単に自動で背景切り抜き・マスク作成するよ[Transparent Background]

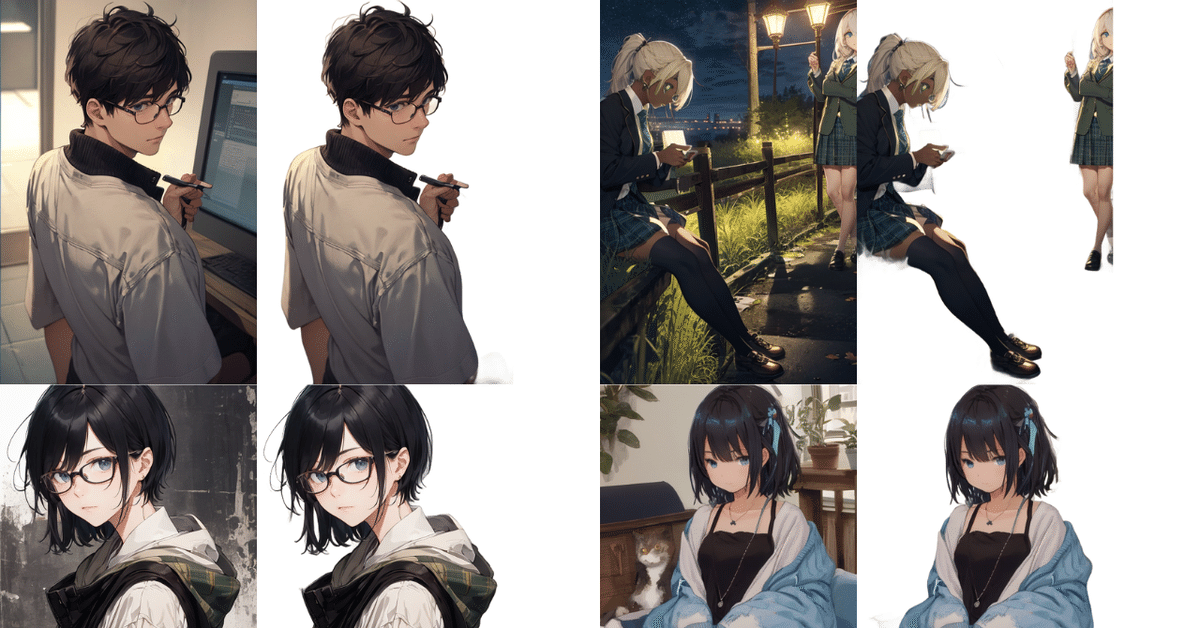
動画や漫画制作してると背景が透明の画像やAI生成してるとマスク画像が欲しい時があります
ネットを探すのもいいですが、自前で準備したほうが結果早かったり、自作の工程の中でそういう処理をすることも多いので、コマンドライン実行にはなりますがTransparent Backgroundを使った方法を記述します
公式GITHUB
インストールはコマンドプロンプトで
pip install transparent-background使い方
①背景透過したい画像を好きなフォルダに入れる

②アドレスに[cmd]と入力しEnter

③コマンドを入力
コマンドプロンプトが立ち上がるので
「transparent-background --source 〇〇」
を入力。〇〇の部分にファイル名を入れる。今回の画像は
「01624-148460380.png」なので
「transparent-background --source 01624-148460380.png」
を入力する
以上で終わりです。簡単ですね


