Pentax ESiiの分解

カメラ転売界では忌み嫌われる不具合多発の困ったカメラ
整備かけても治ることなんてごくわずか。
即クズ箱入りでもいいんだけど、それでも少しいじってしまいたくなるのは、やはりSPゆずりのカッコいいフォルムのせいであろうか。
基礎知識
電池蓋の爪が、一本と二本のタイプがあります。
ただそれだけの違いで何が変わるわけではないです。


ブラックより、シルバーの方がレアです。
それによりシルバーが高い?かというと、そういうことは今のとこないです。
あと、不具合多いと書きましたが、それでも前代のESに比べれば大分マシです。
トップカバー分解
PENTAX SPと分解はほとんど同じなんで、サラッと書いていきます。
参照: Pentax SPの分解

巻上げレバー
カウンターカバーのイモネジを3本緩めます。

フィルムカウンター盤を止めているマイナスネジは逆ネジです。

順番にに抜いていきます。

巻き戻しクランク
フィルム室内の二股を固定しつつ、巻き戻しクランクを左へ回します

ネジが沢山ありますが、抜く必要はないです。
中央リングのカニ目を回します。


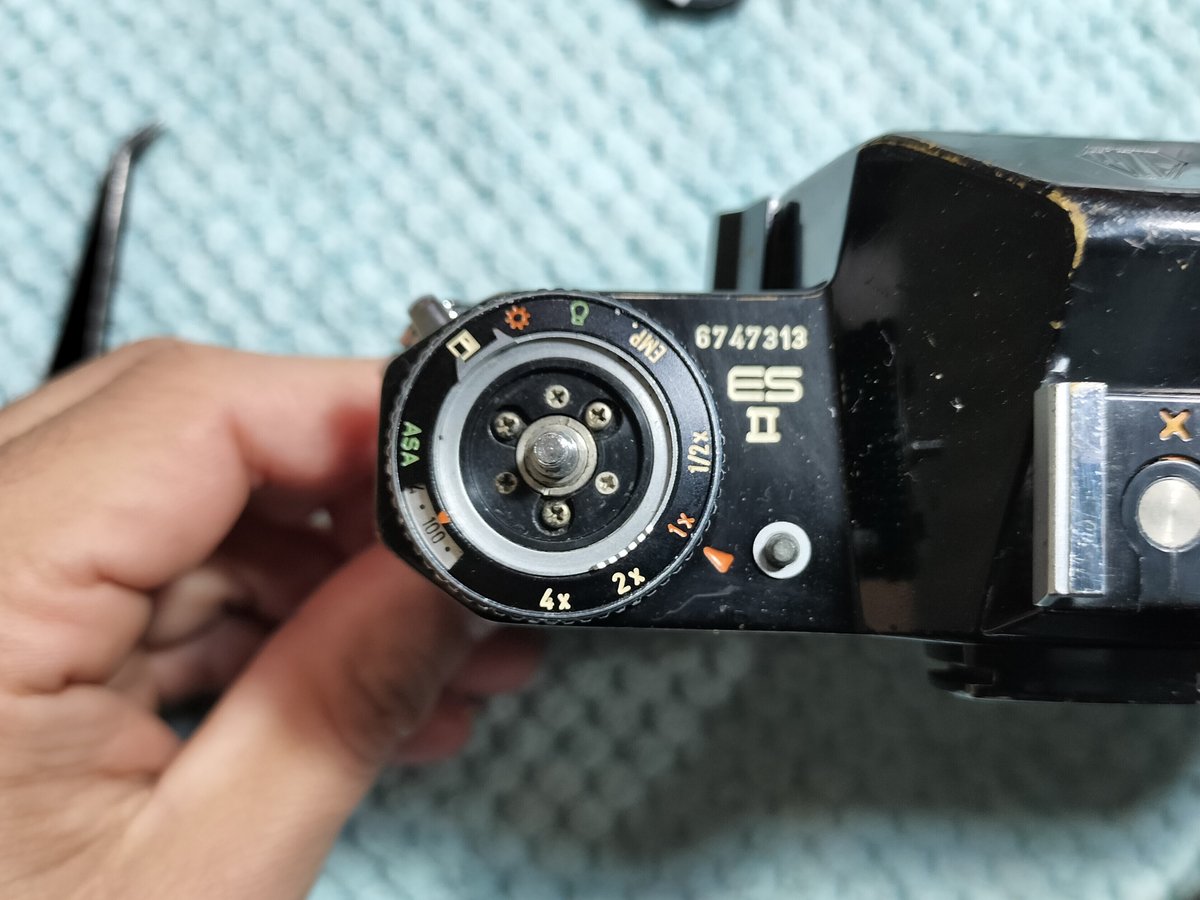
シャッターダイヤル
中央のカニ目のついたカバーを外せば上に抜けます。

トップカバー上面のネジを3本外します。

分解に必要なパーツはすべて外したので、トップカバーを上に引き抜きます。

プリズムの分離
バネ付の金具を外し、プリズム前方の左右にあるイモネジを緩めます。


プリズムの形状は、ペンタックスSPと同じです。
参照: ペンタックス SPの代替プリズム

バッテリーチェックの改善
チェックボタンを押しても反応しないときは、下側にある金具の通電が悪くなっています。
3枚重なっているので、内側を清掃してきます。

オート不良の治し方なんかも書いてもいいんですけど、治る見込みが薄く、パーツ自体が破損していると難解なので、あきらめるとした方が良いかもしれません。
Pentax ESiiの分解は以上です。