Python実行環境の準備

このページでは、Pythonの実行環境として、
Jupyter NotebookとGoogle Colaboratoryの導入方法を紹介します。
①Jupyter Notebook
Anacondaインストーラのダウンロード
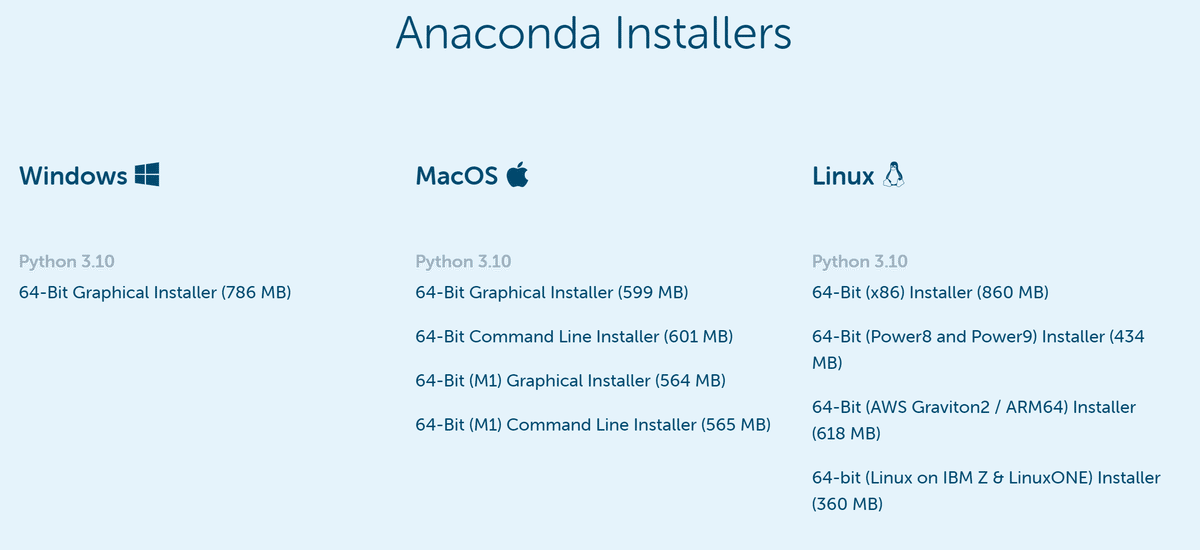
以下サイトからAnacondaディストリビューションをインストールします。
自分のOS環境に合ったインストーラをダウンロードしてください。
インストール方法(Windows10の場合)
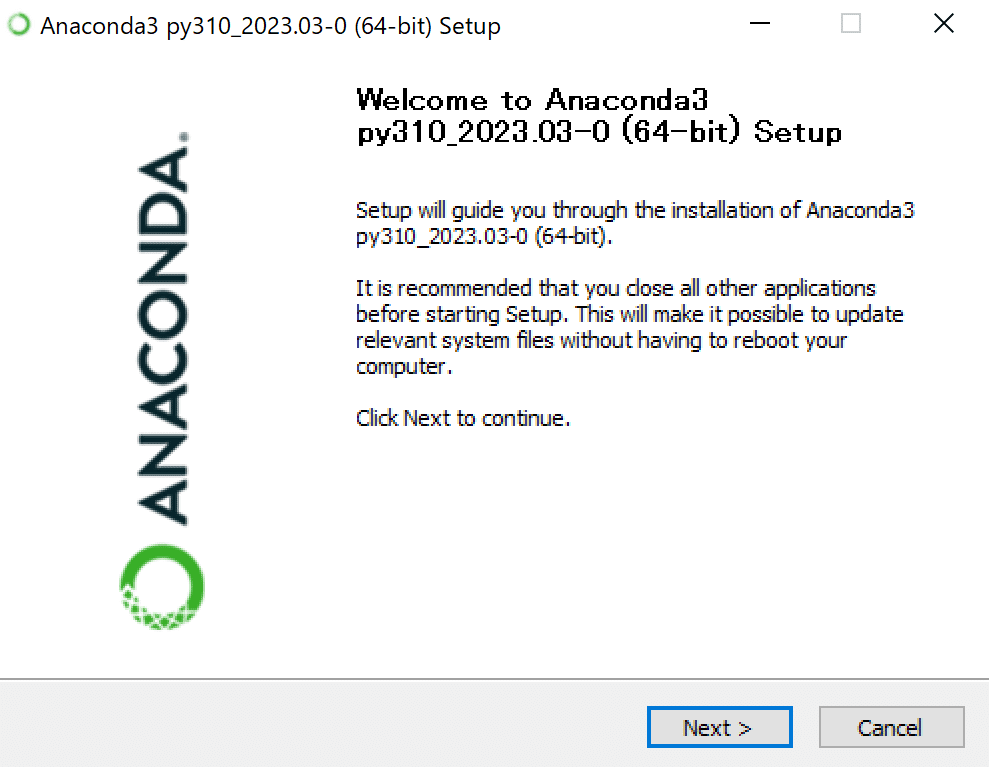
ダウンロードしたexeファイルを実行します。
「Next」をクリックします。
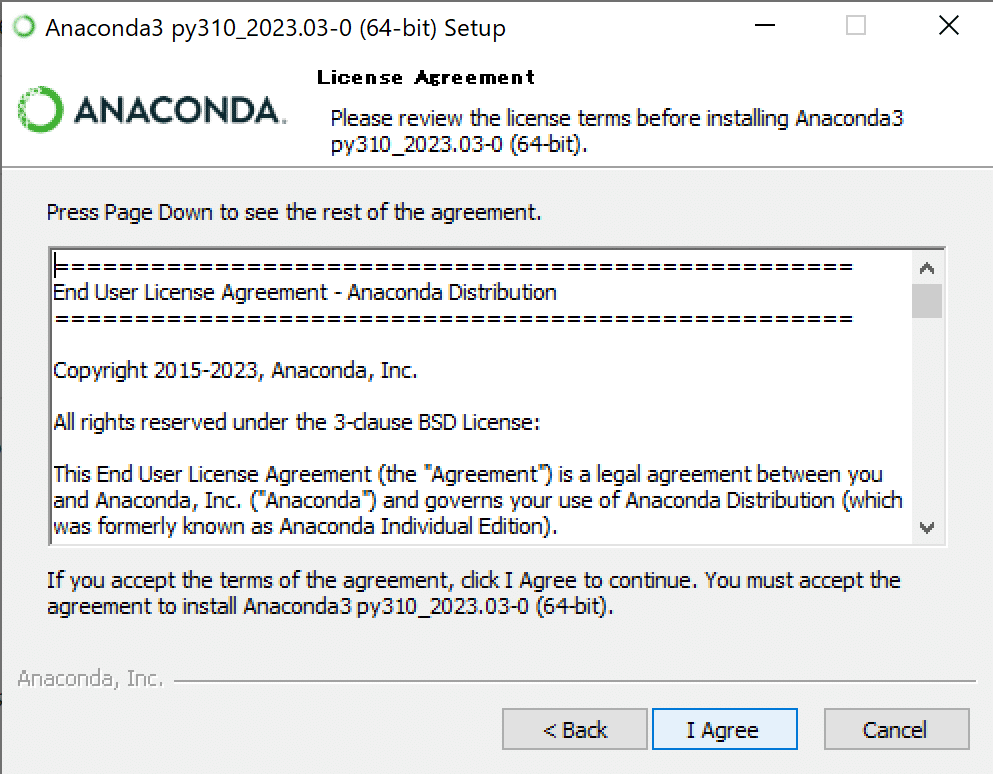
内容確認して同意できる場合は「I Agree」を選択して次に進みます。
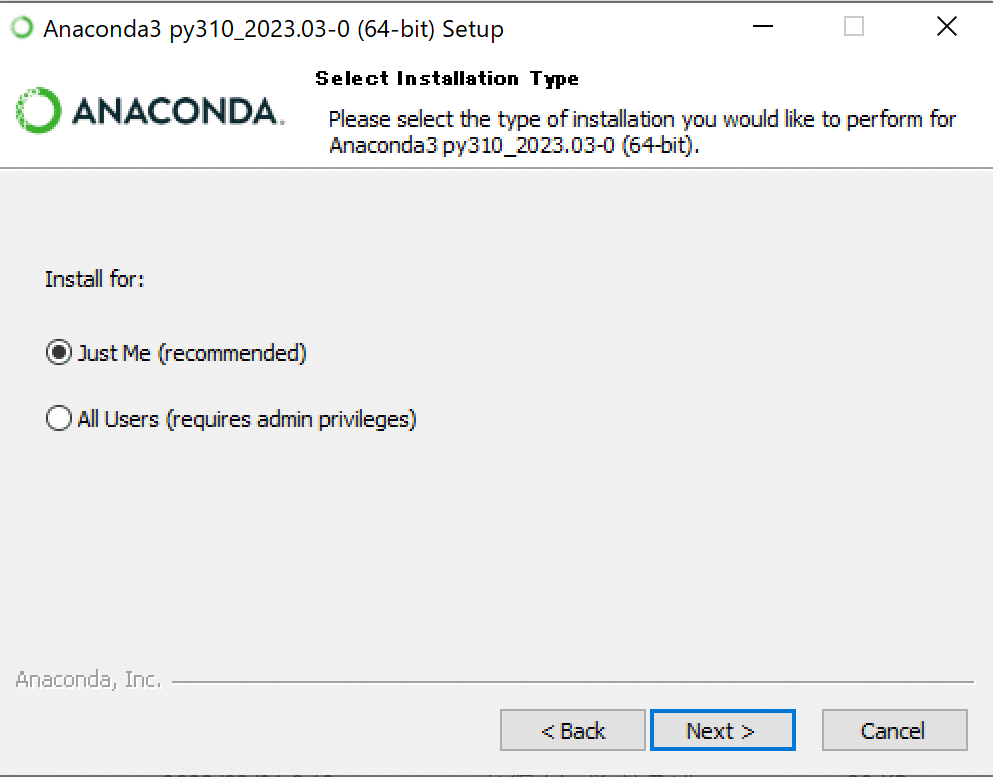
ログイン中のユーザのみで使用するなら「Just Me(recommended)」を選択、
全てのアカウントで使用する場合は「All Users(requires admin privileges)」を選択し、「Next」をクリックします。
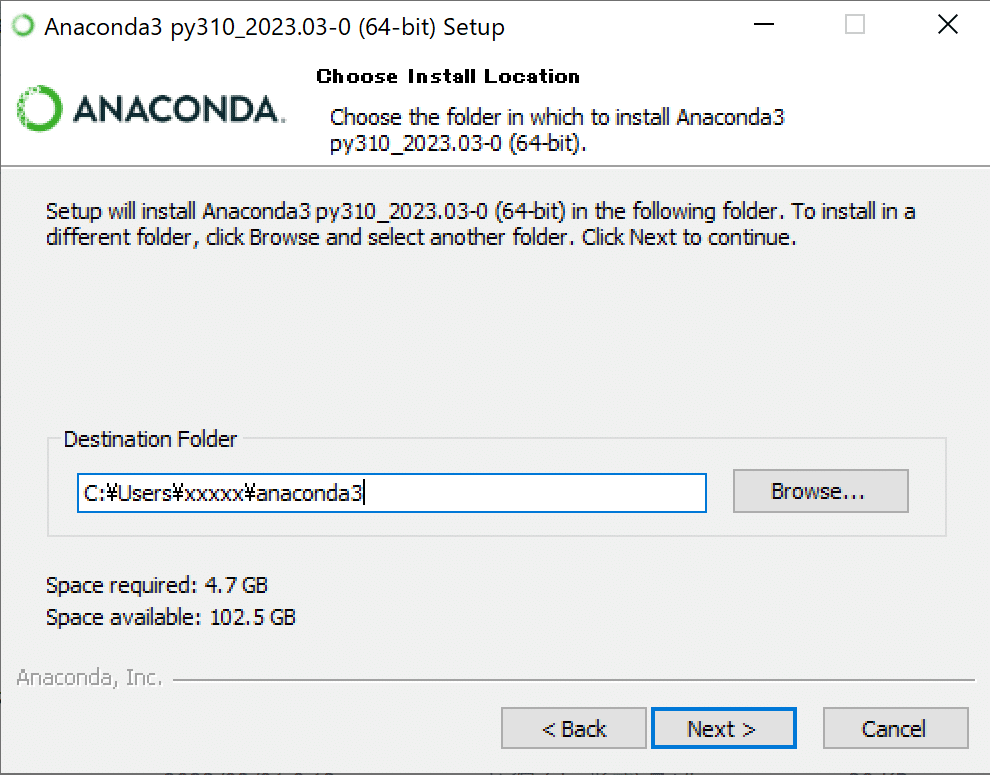
任意のディレクトリを選択し、「Next」をクリックします。
デフォルトはC:¥Users¥ユーザ名の直下にanacondaディレクトリが作成されます。
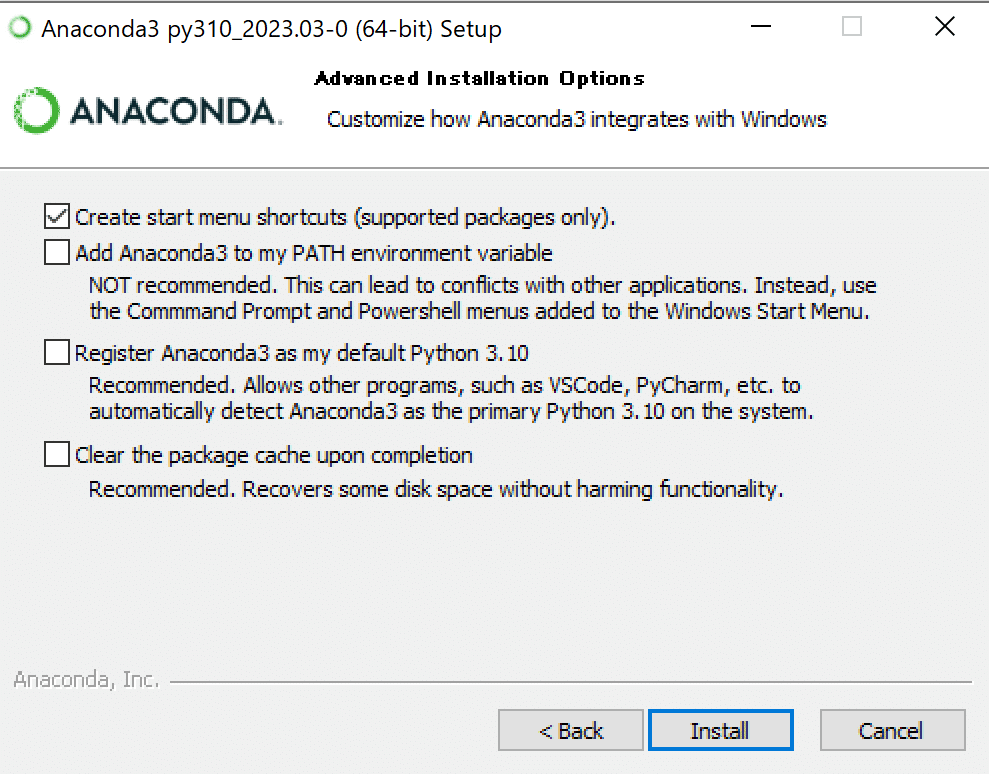
ご自分の環境や使い方に合わせて選択し、「Install」をクリックします。
・スタートメニューにショートカットを作成するか
・Anaconda3を環境変数PATHに追加するか
・Anaconda3をpython3.10のデフォルトとして設定するか
・完了時にキャッシュをクリアするか
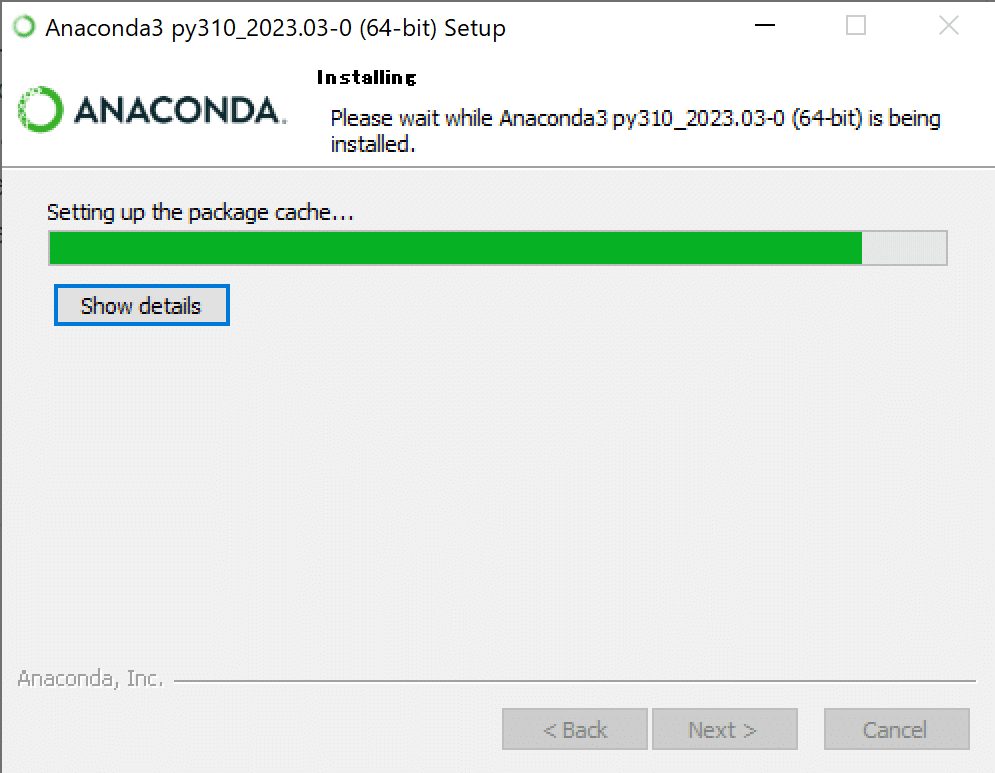
インストールが実行されます。
Completedになったら「Next」をクリックします。
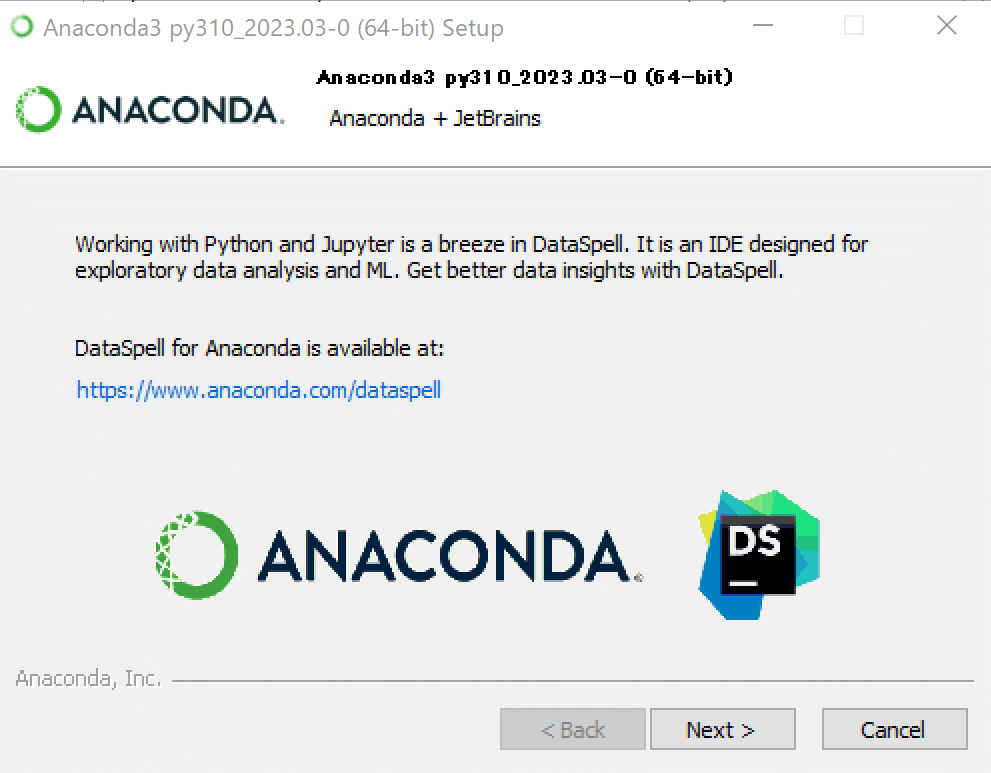
「Next」をクリックします。
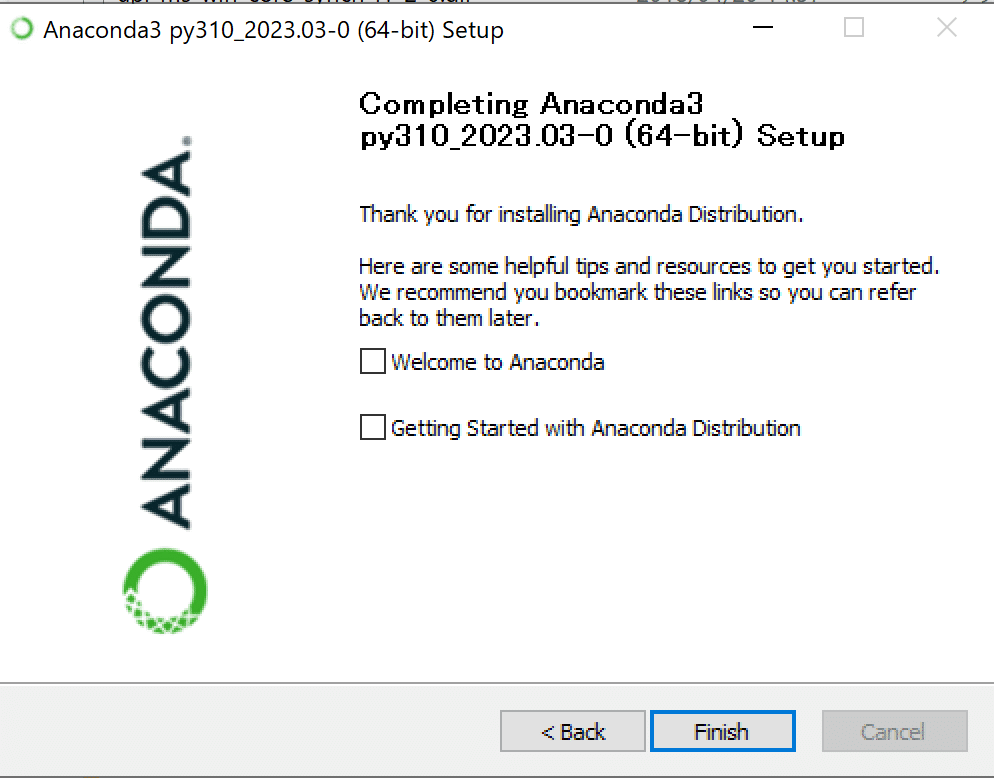
・Anacondaのチュートリアルを確認したい場合 や
・Anacondaディストリビューションをすぐに始めたい場合 はチェックを入れ、必要が無ければチェックを外して「Finish」でインストールを完了します。
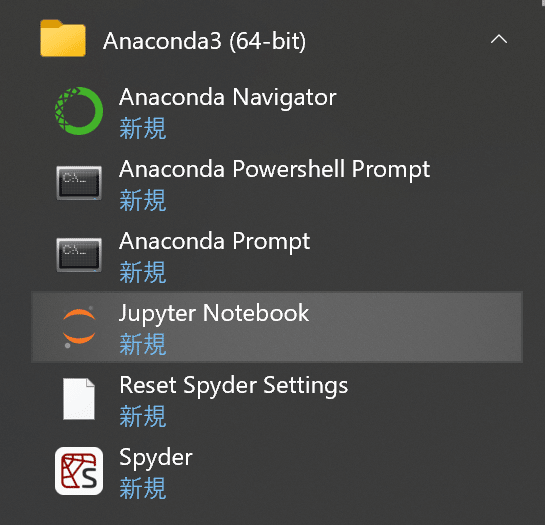
Jupyter Notebookの起動
Anacondaをインストール後、Windowsのスタートメニューに表示される「Jupyter Notebook」をクリックします。
新規ノートブックの作成
Jupyter Notebookが起動されると、Webブラウザで表示されます。
右上にある「New」タブにある「Python 3」をクリックします。
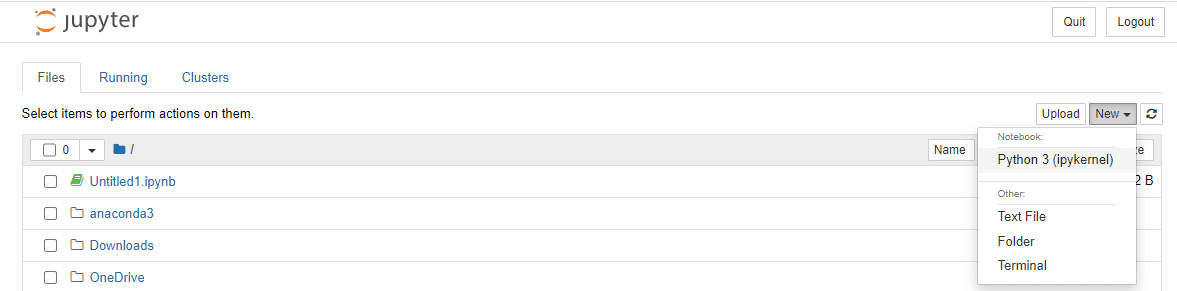
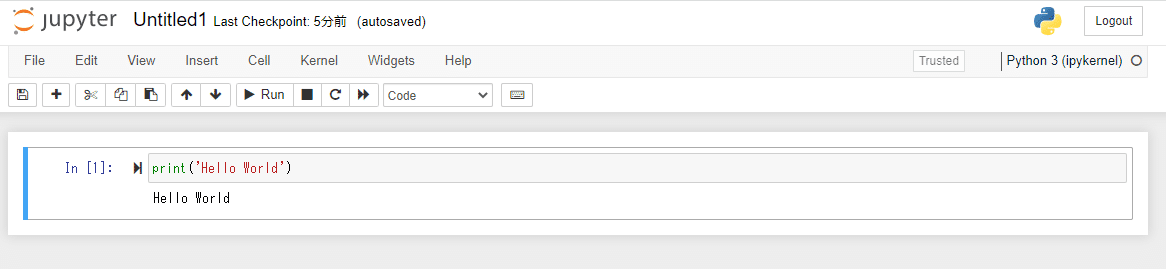
新規ノートブックが作成され、Pythonが実行できる環境が整いました。
②Google Colaboratory
Googleアカウントを持っている場合は、Google ColaboratoryでPythonを実行することができます。
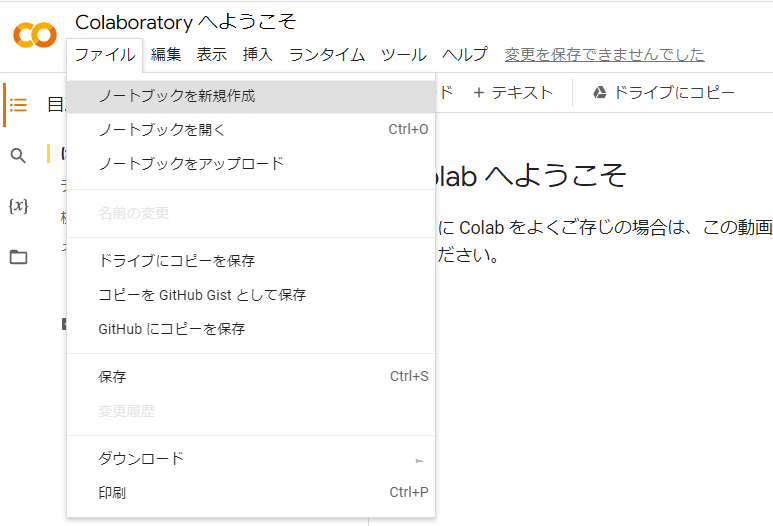
新規ノートブックの作成
「ファイル」にある「ノートブックを新規作成」をクリックします。
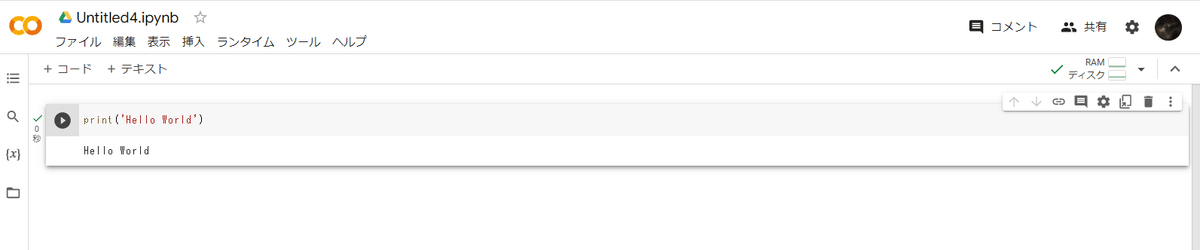
新規ノートブックが作成され、Pythonが実行できる環境が整いました。
Googleドライブのマウント方法
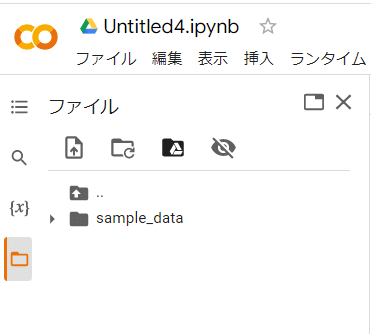
Google Colabの場合、ファイル操作等を行う際は、ファイルを格納したGoogleドライブをマウントする必要があります。
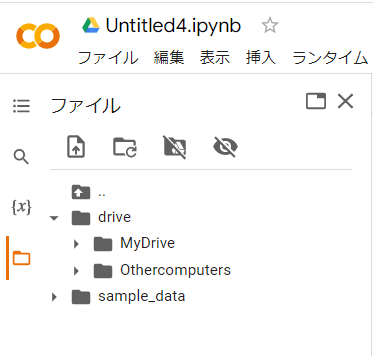
その場合は、左端にあるフォルダアイコンをクリックして表示される、黒いフォルダアイコンをクリックします。
「Googleドライブに接続」をクリックします。
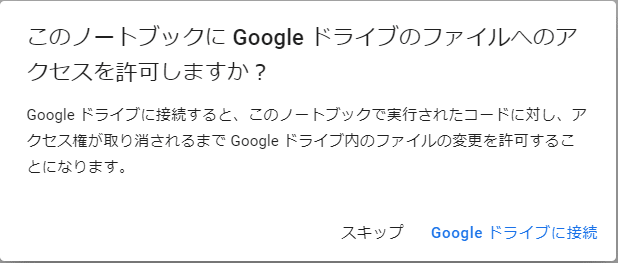
以下のように、アカウントに紐づくGoogleドライブをマウントします。
操作したいファイルをGoogleドライブに格納することで、Colab上で扱えるようになります。