
Power BIで今日の晩ごはんを決める!データで選ぶ最適メニュー ~ 楽天APIにてレシピデータ取得術 ~ (Day2)

概要(目的・背景)
日々の食事作りで「何を作ろうか?」と悩むことはありませんか?特に、食材の価格が日々変動する中、家計に配慮しながら美味しい料理を提供するのは容易ではありません。そこで、東京都中央卸売市場の日報データを活用し、現在の食材価格を把握することで、コストパフォーマンスの高いメニューを提案できるのではないか?と考えました。
さらに、楽天レシピAPIを組み合わせることで、選択した食材に基づいたレシピを自動取得し、具体的なメニューを効率的に選ぶことが可能になります。このダッシュボードを通じて、日々の食事作りの負担を軽減し、家計にも優しい食生活をサポートしたいと考えています。
本記事は楽天レシピAPIを使ってレシピを取得します。過去の「Power BI × Web API入門」と同様の手順になりますので、参考にしてください。
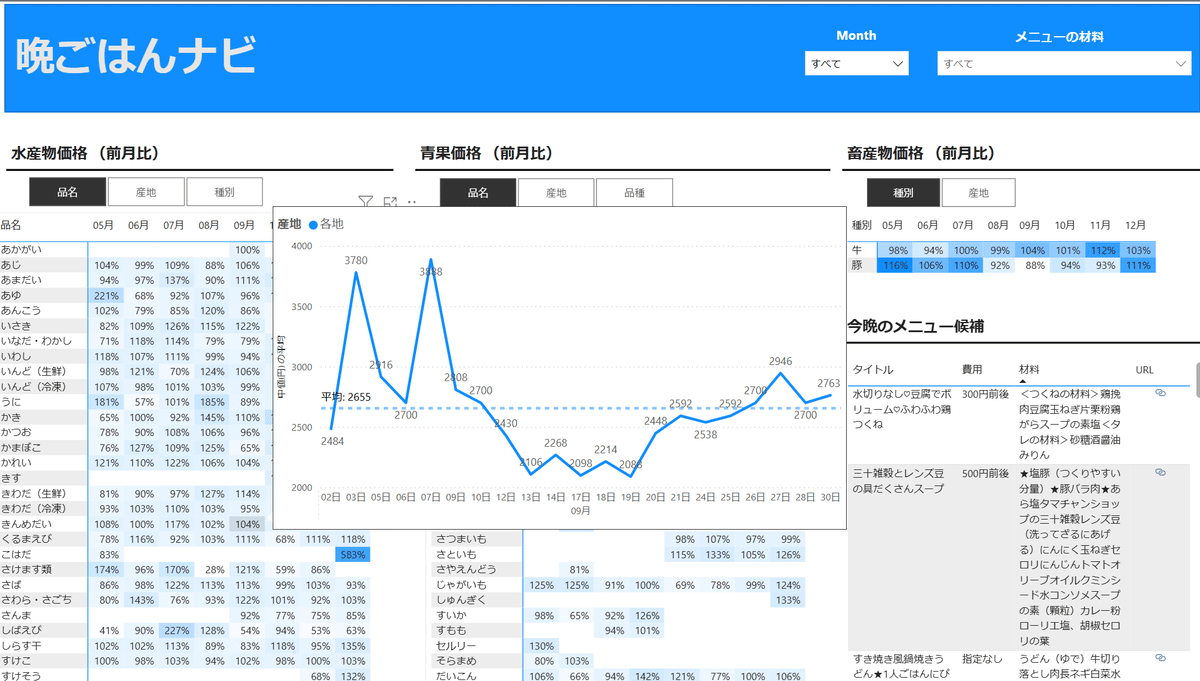
■GOALイメージ
※連載形式で詳しく、ダッシュボード作成手順を解説します。
最終的なGOALは以下のイメージです。
読み手(誰に向けた記事か?)
この記事は、Power BIを使ったデータ分析に興味がある初学者の方や、日常的にデータを活用して業務の効率化を図りたいと考えているエンジニアの方を対象としています。特に、外部のWeb APIとPower BIを連携させて、実用的なダッシュボードを作成したいと考えている方へ有益な情報を提供します。
ブログの目標設定(具体的な目標)
本記事の目標は、以下の通りです。
・楽天レシピAPIの基本的な使い方を理解する。
・Power BIで楽天レシピAPIからデータを取得し、テーブルに格納する。
これらを通じて、読者の皆様がPower BIとWeb APIの連携技術を習得し、日常生活や業務で活用できるスキルを身につけることを目指します。
方法(アプローチ・使用技術)
楽天レシピAPIにてメニューを取得します。
1.「ホーム」タブより「データを取得」ボタンを押下して、「Web」を選択する。

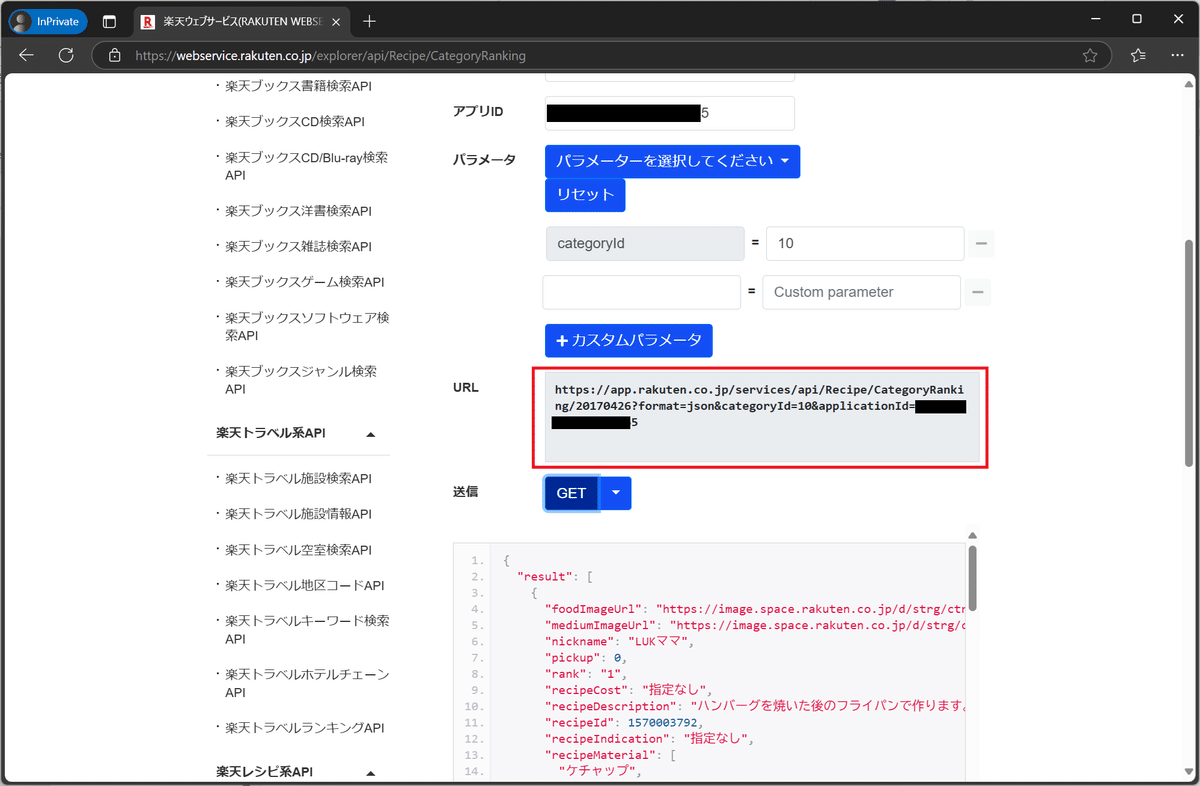
2.Day1で取得した楽天レシピAPIをURLに貼り付けて、「OK」ボタンを押下する。
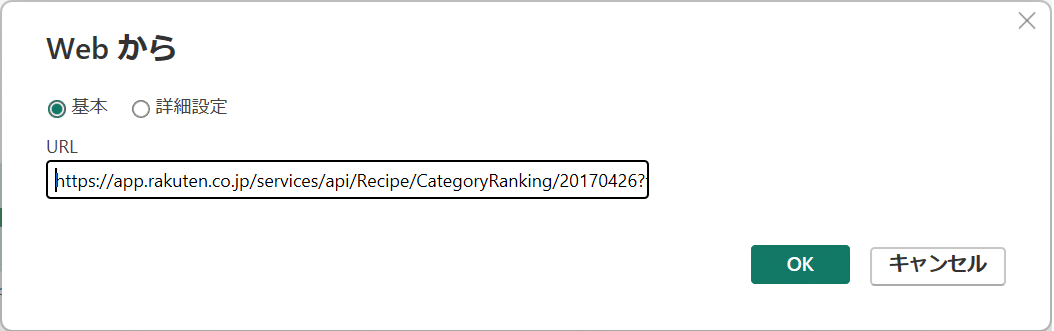
※下記画面の赤枠のURLです。
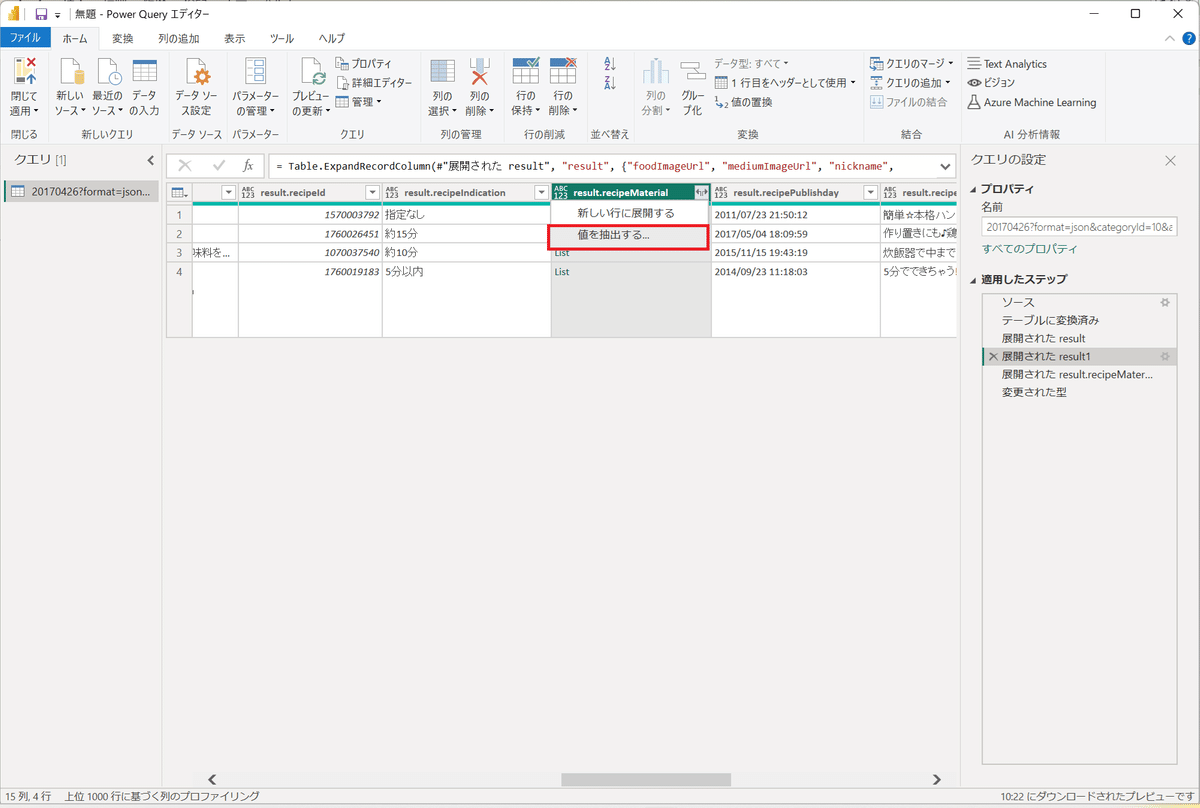
3.適用したステップより、「展開された result1」を選択して、「result.recipeMaterial」のタイトル右側の記号を選択する。
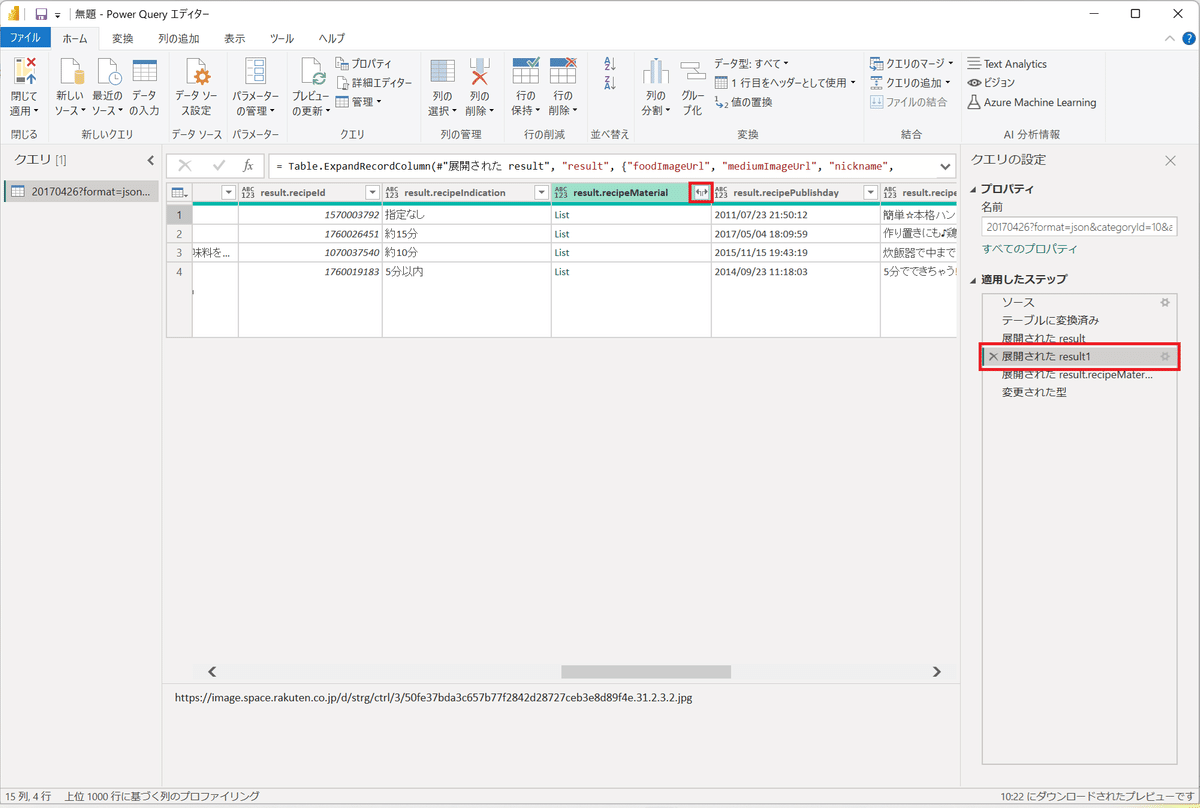
4.「値を抽出する」を選択する。
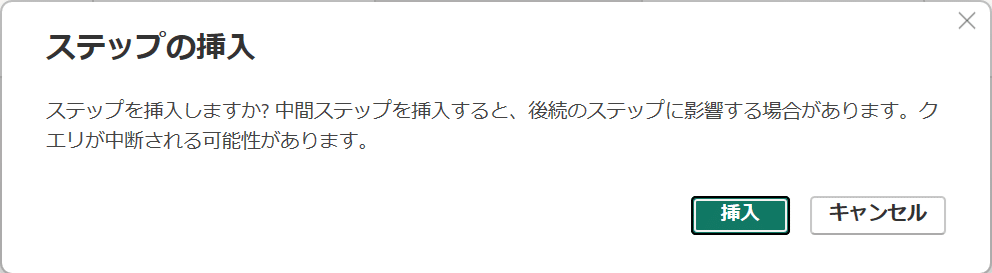
5.「挿入」ボタンを押下する。
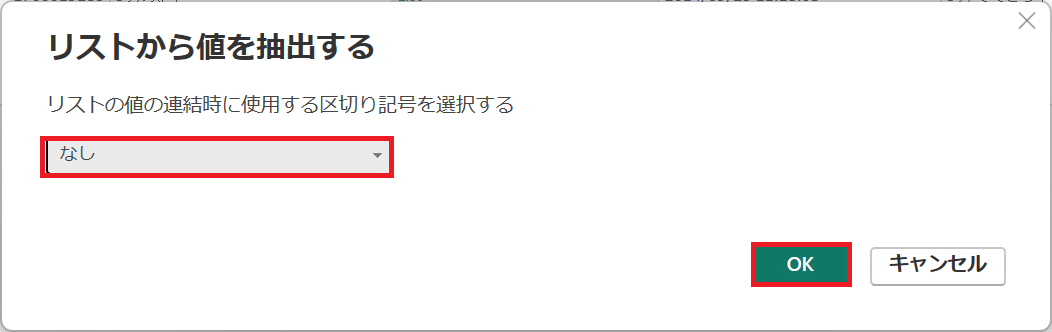
6.「なし」を選択して、「OK」ボタンを押下する。
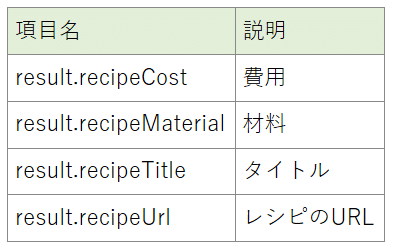
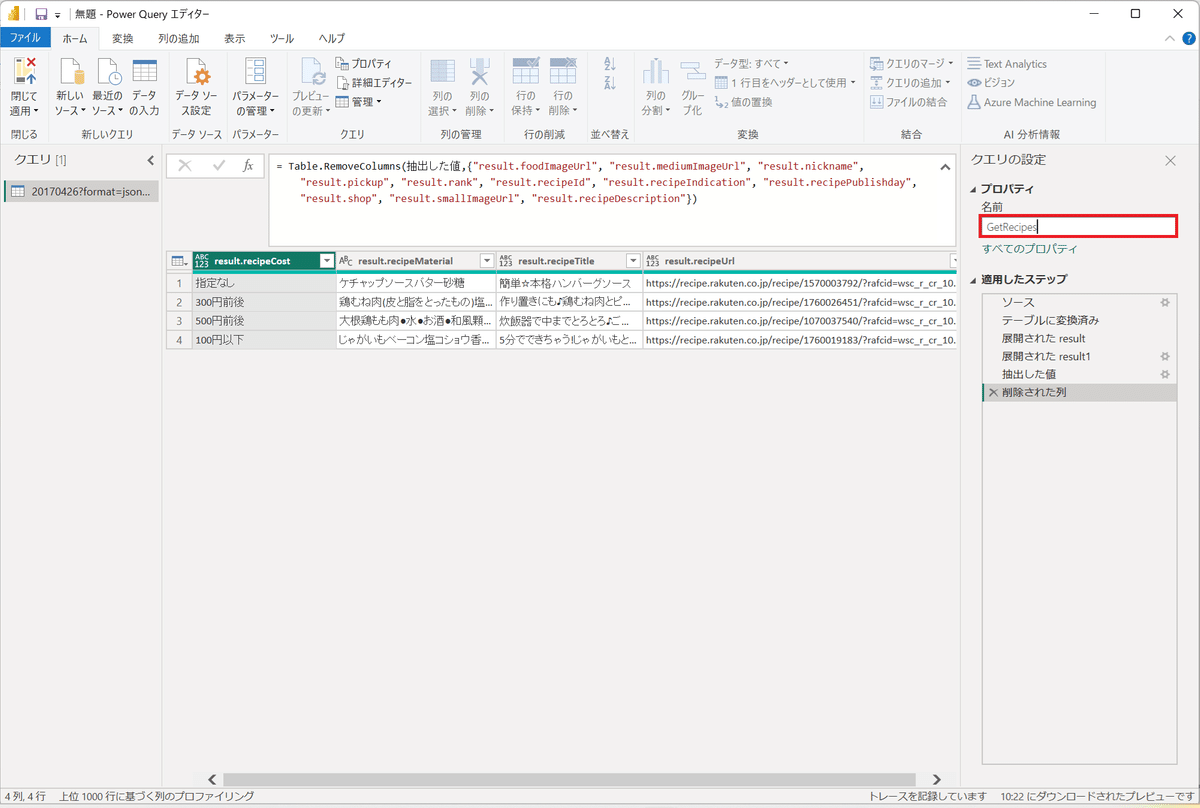
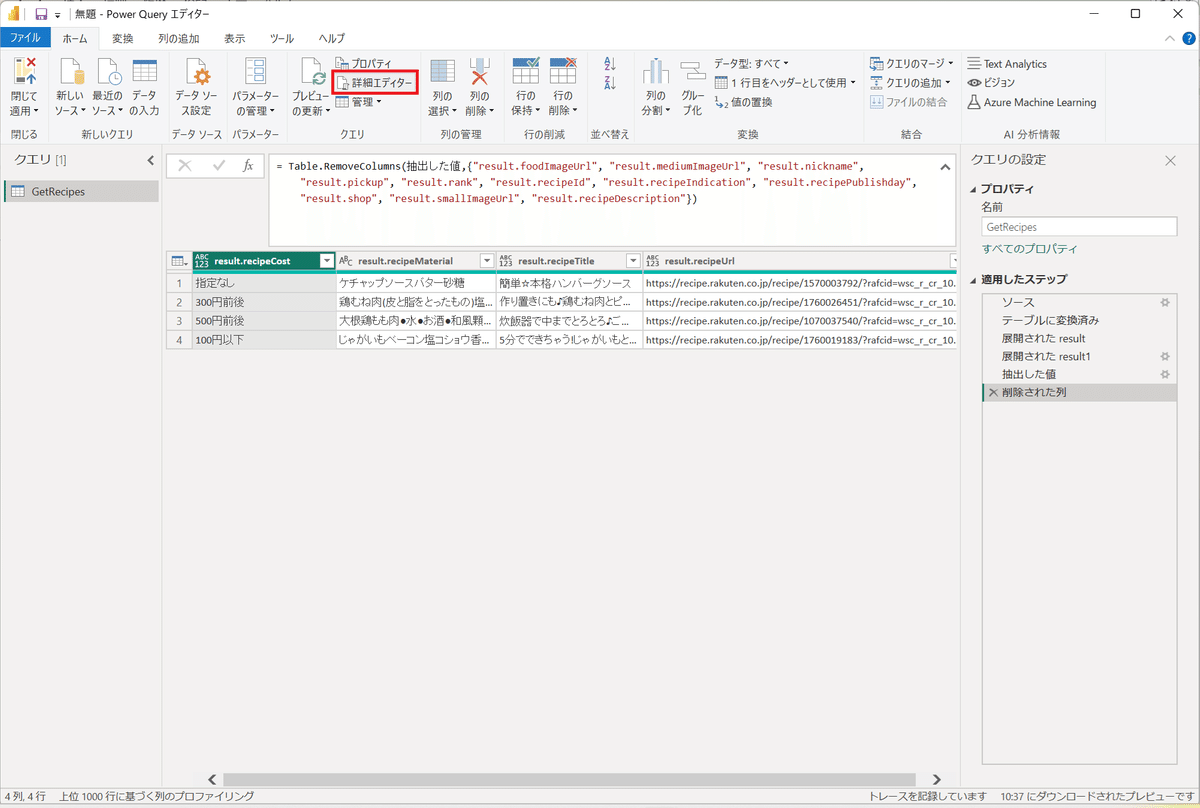
7.下記4項目を残し、不要な列は削除する。

8.「展開された result.recipeMaterial」を×ボタンで削除する。
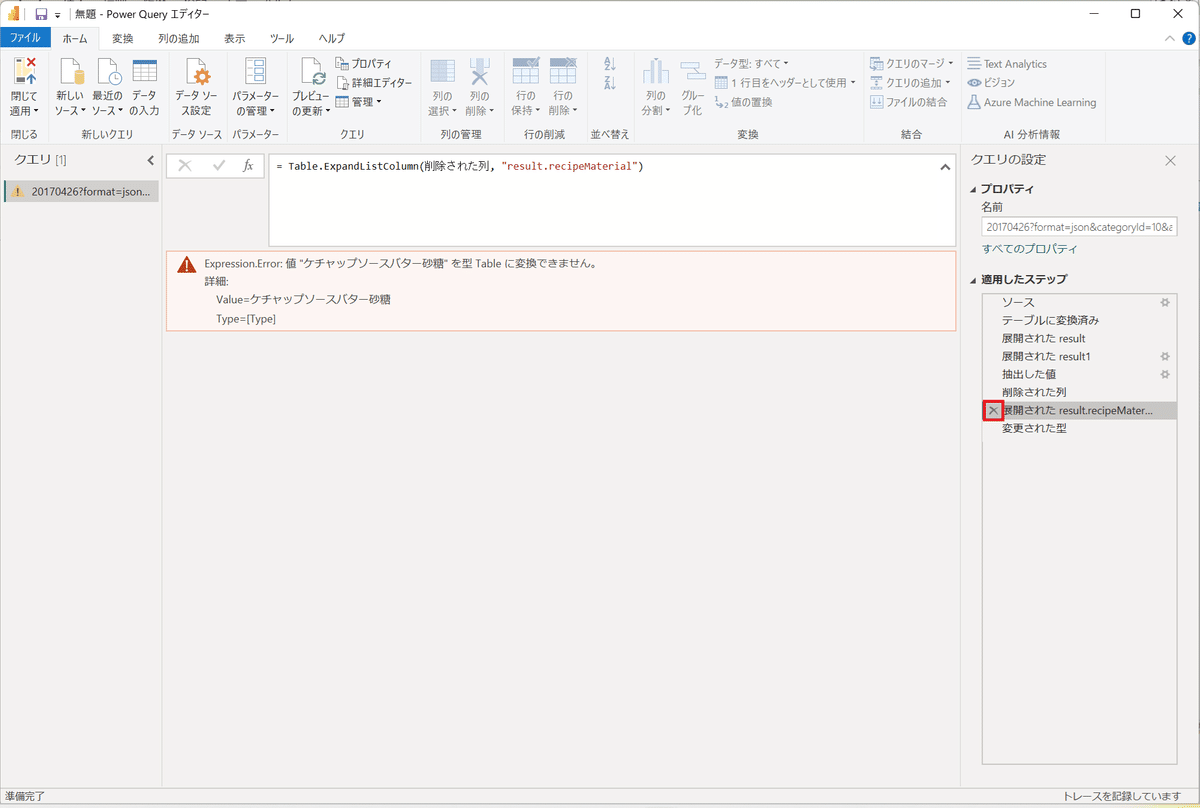
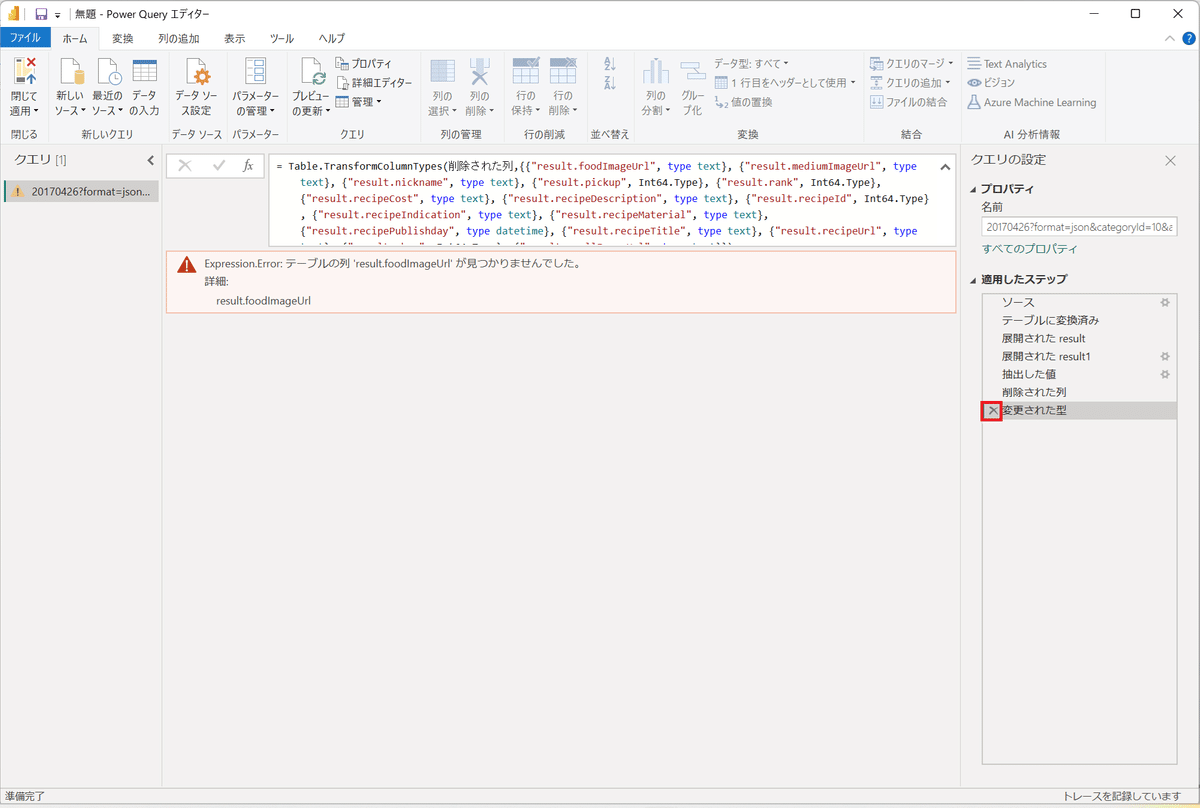
9.「削除」ボタンを押下する。
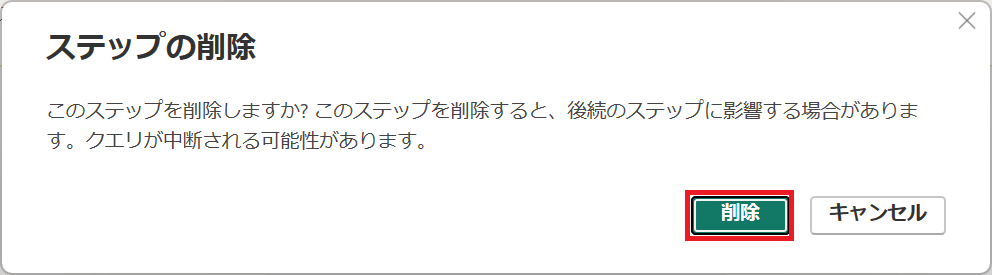
10.「変更された型」を×ボタンで削除する。
11.プロパティの名前を「GetRecipes」に変更する。
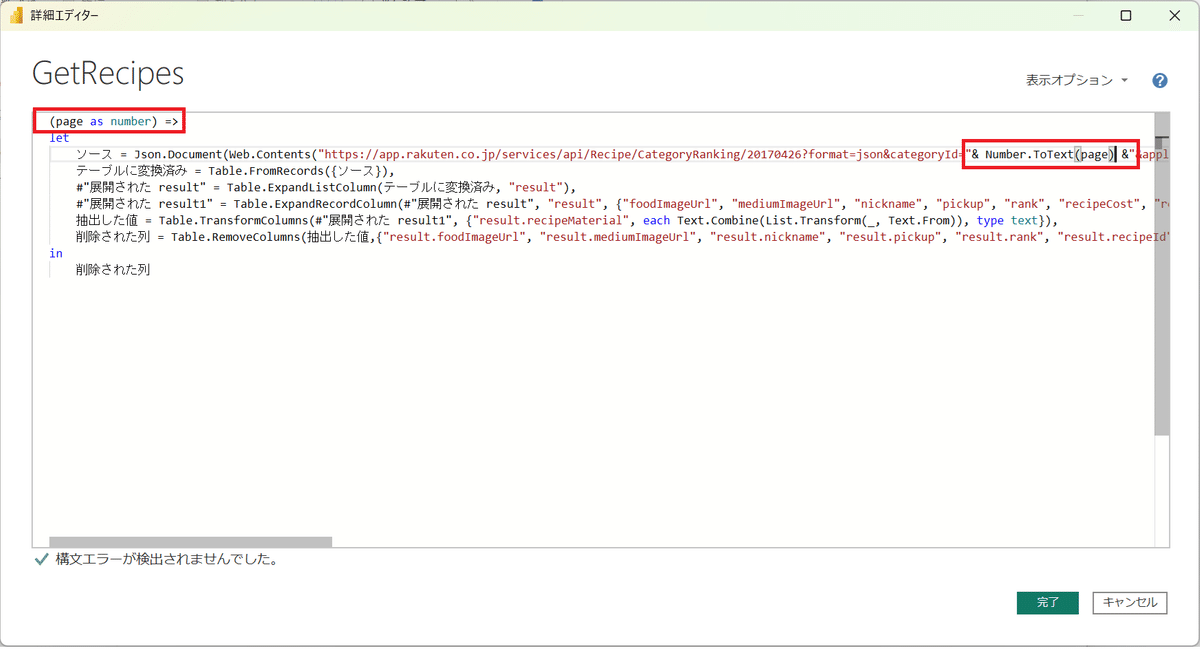
12.「ホーム」タブから「詳細エディター」を選択する。
13.2か所変更する。
1行目に「 (page as number) => 」を追記する。
3行目のcategoryId=「10」を「"& Number.ToText(page) &"」へ変更する。
変更前:ソース = Json.Document(Web.Contents("https://(略)/20170426?format=json&categoryId=10&applicationId=(略)")),
変更後:ソース = Json.Document(Web.Contents("https://(略)/20170426?format=json&categoryId="& Number.ToText(page) &"&applicationId=(略)")),
設定変更後「完了」ボタンを押下する。
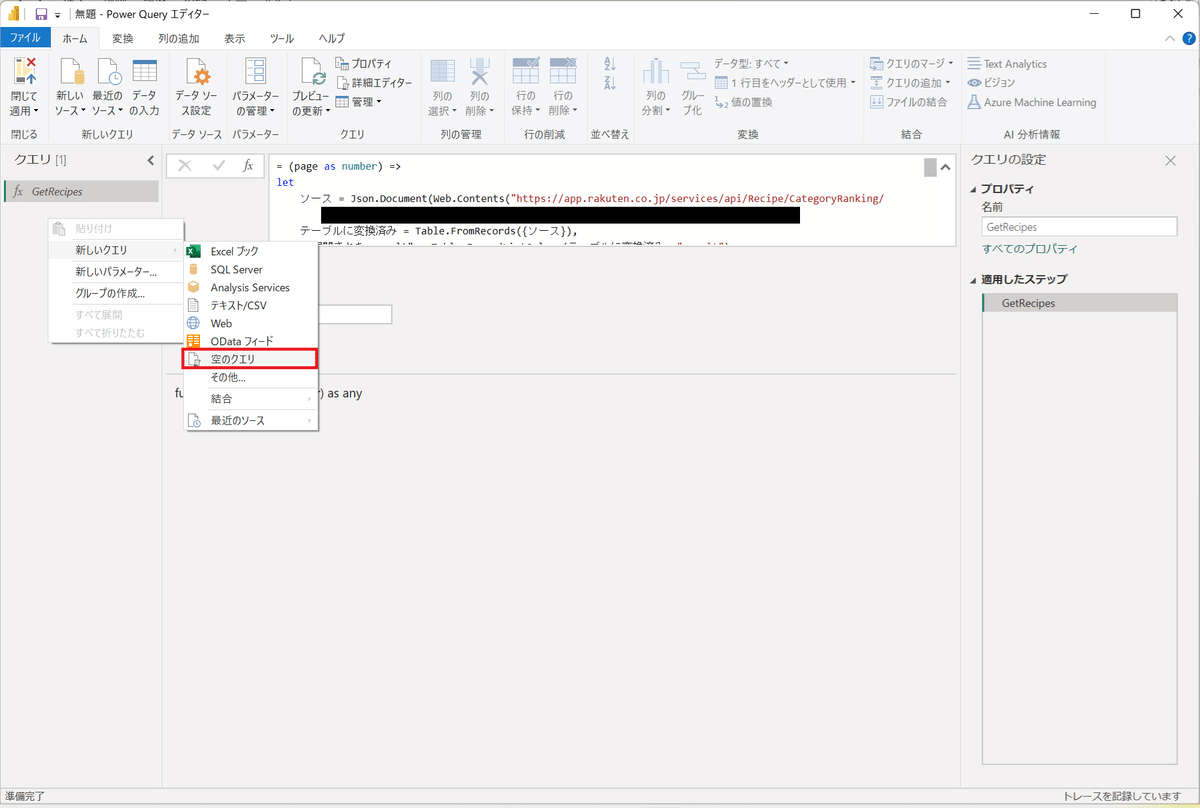
14.「新しいクエリ」より「空のクエリ」を選択する。
15.以下のcategoryIdを入力する。
= {10..24,30,31,32,33,41,42,43,44,46,47}
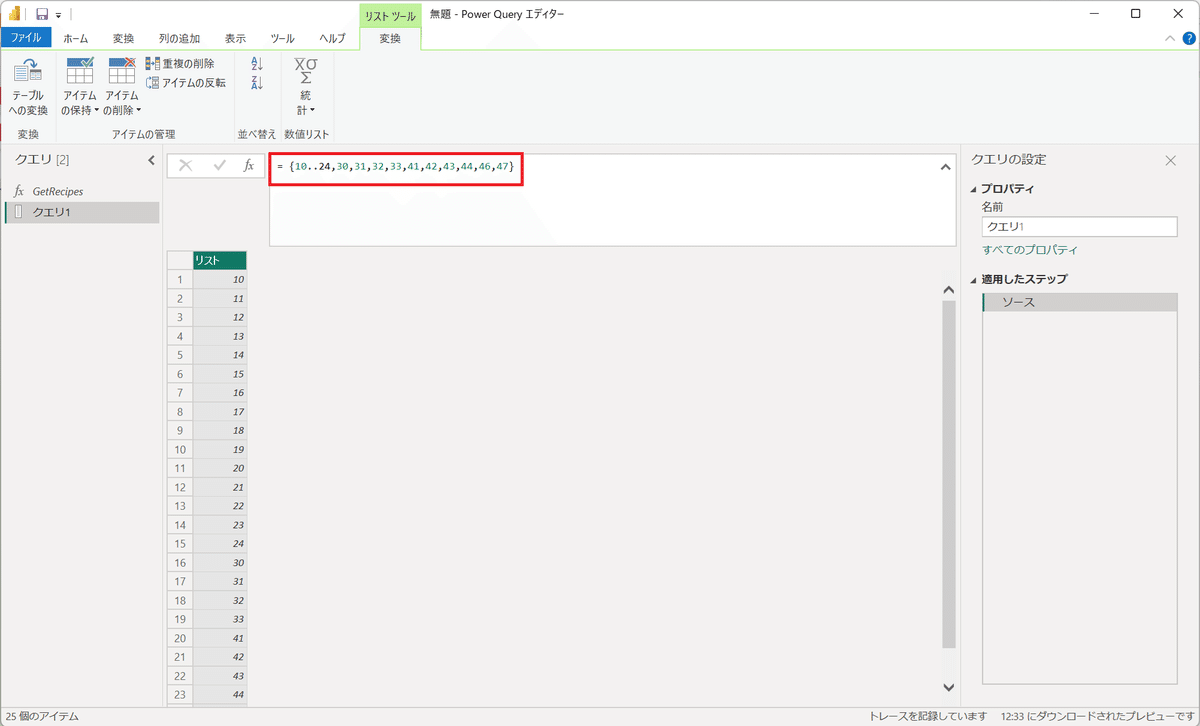
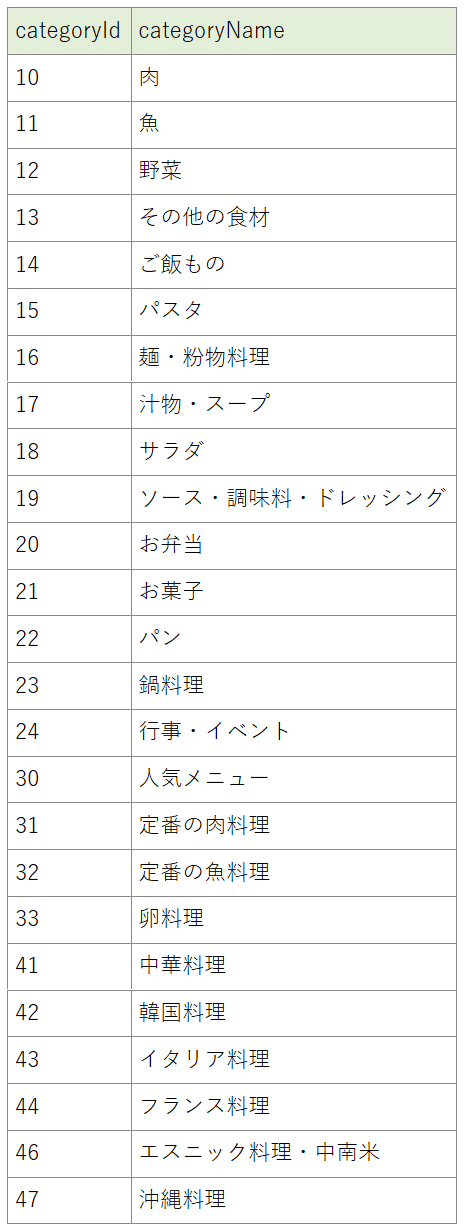
※夕食のメニューとして、ちょうどよいカテゴリーをピックアップしています。
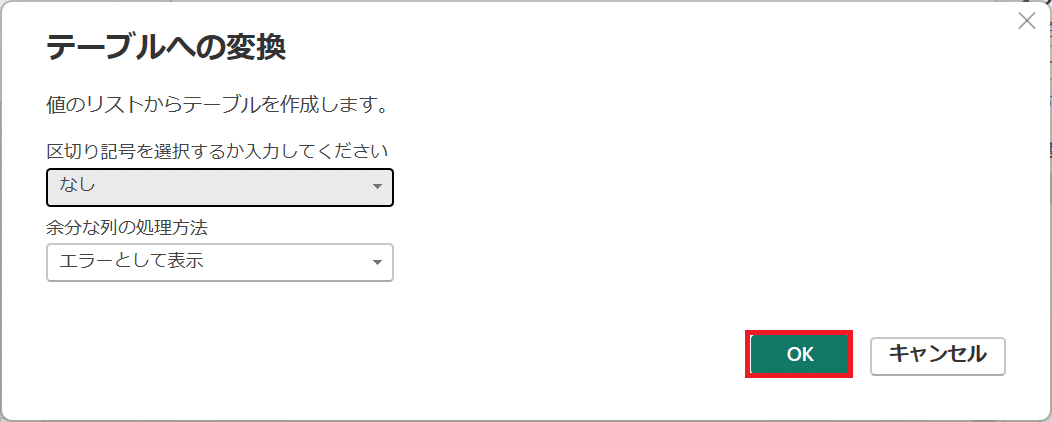
16.テーブルへの変換ボタンを押下する。

17.「OK」ボタンを押下する。
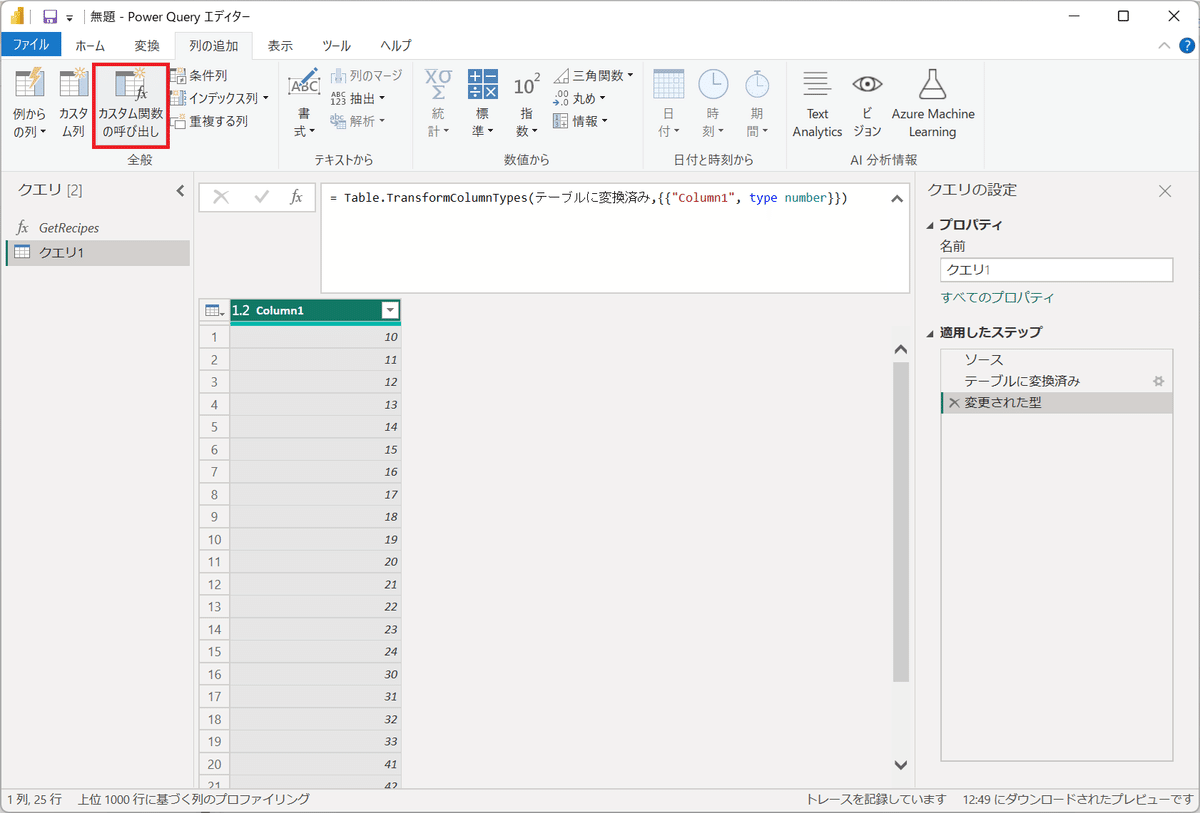
18.Column1の型を「10進数」に変換する。

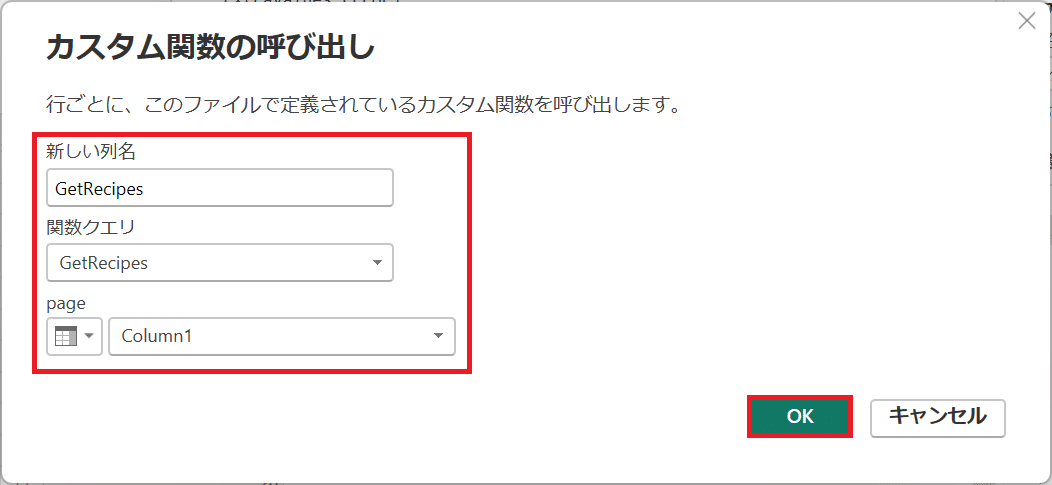
18.「列の追加」タブより、「カスタム関数の呼び出し」ボタンを押下する。
19.以下の設定を行い、「OK」ボタンを押下する。
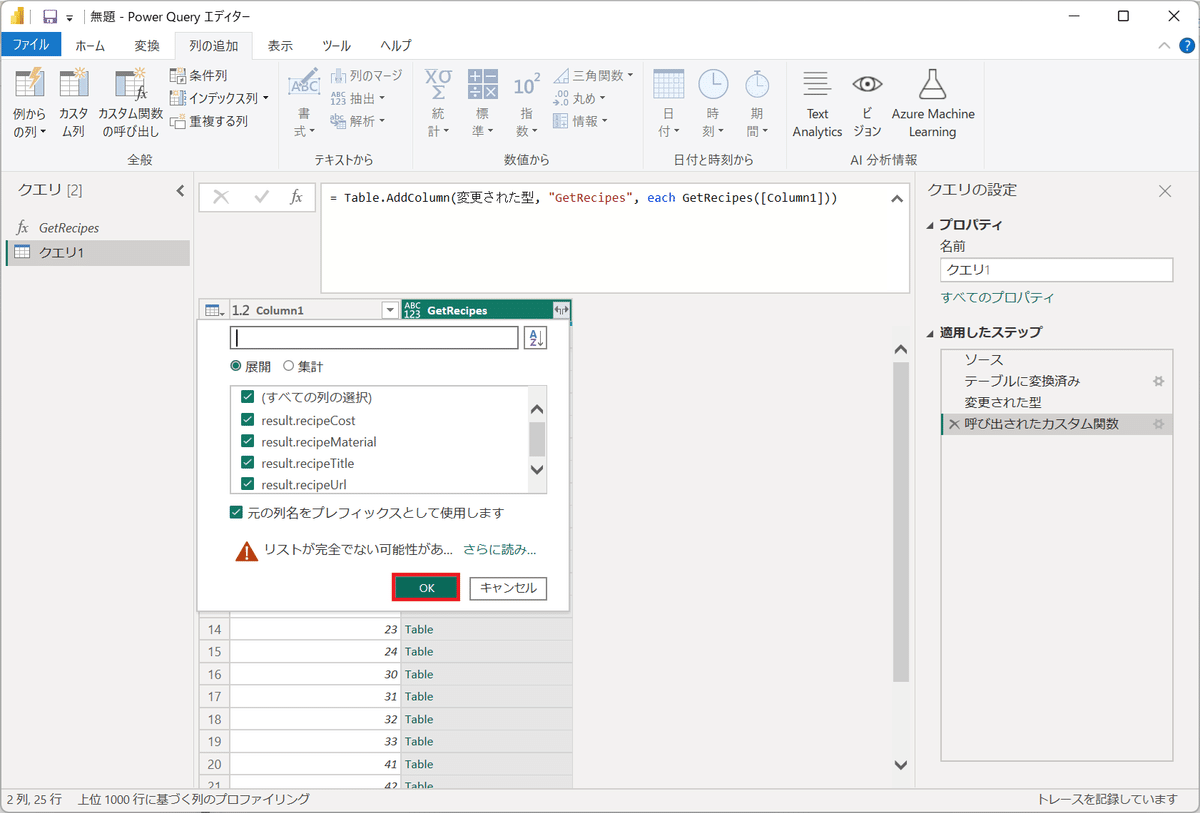
20.「GetRecipes」タイトル右側の(記号)ボタンを押下する。
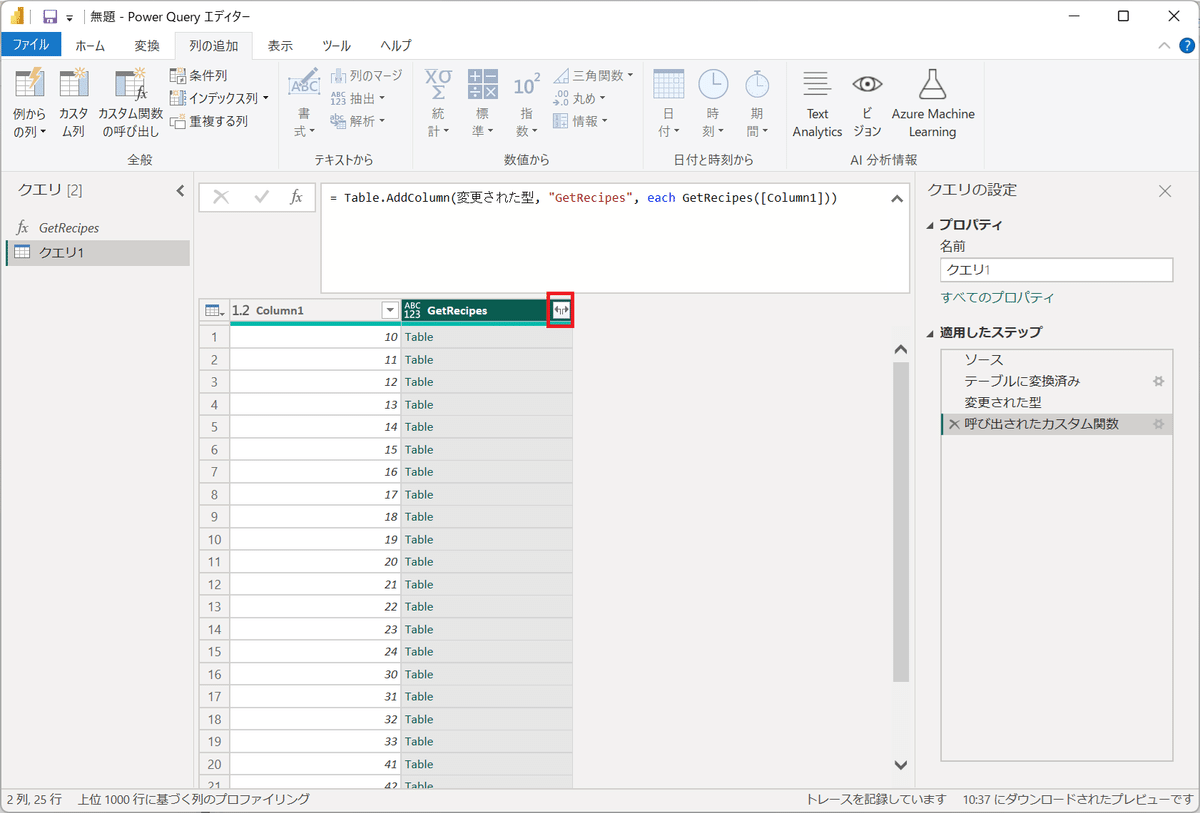
21.そのまま「OK」ボタンを押下する。
22.プロパティの名前を「RecipeList」と入力する。
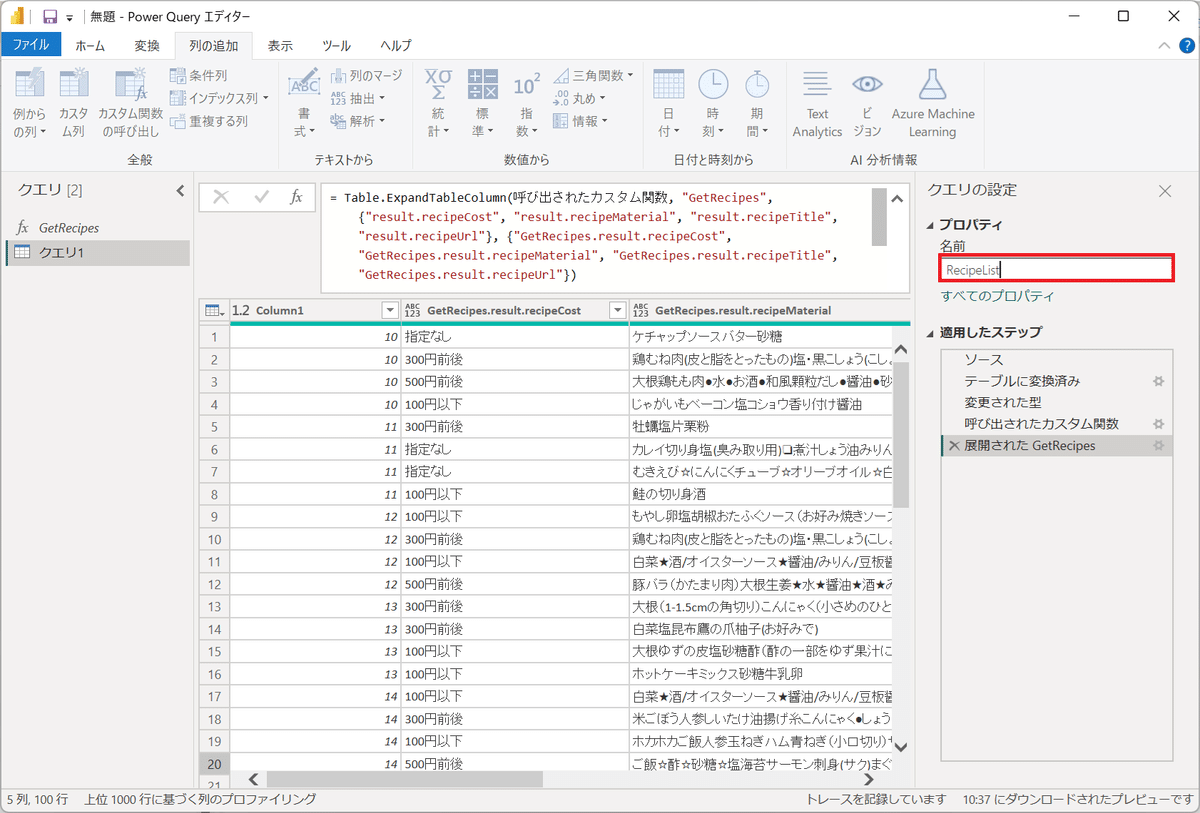
最後に「閉じて適用」ボタンを押下する。
補足
ヘルプページより、楽天APIは1秒に1リクエストとなっています。
各APIの利用制限を教えてください。 – 楽天ウェブサービス ヘルプページ
端末性能が高い場合、1秒に複数回のリクエストを発行する可能性があります。そのため、GetRecipesに"1リクエスト毎に1秒間の待機処理"を入れたコードを紹介します。
(page as number) =>
let
    FetchData = () =>
        Json.Document(Web.Contents("https://app.rakuten.co.jp/services/api/Recipe/CategoryRanking/20170426",
            [
                Query = [
                    #"format" = "json",
                    #"categoryId" = Number.ToText(page),
                    #"applicationId" = "ご自身のapplicationIdを入れてください。"
                ]
            ]
        )),

    // 1秒後に実行
    ソース = Function.InvokeAfter(FetchData, #duration(0,0,0,1)),

    テーブルに変換済み = Table.FromRecords({ソース}),
    #"展開された result" = Table.ExpandListColumn(テーブルに変換済み, "result"),
    #"展開された result1" = Table.ExpandRecordColumn(#"展開された result", "result",
        {"foodImageUrl", "mediumImageUrl", "nickname", "pickup", "rank", "recipeCost", "recipeDescription",
         "recipeId", "recipeIndication", "recipeMaterial", "recipePublishday", "recipeTitle", "recipeUrl",
         "shop", "smallImageUrl"},
        {"result.foodImageUrl", "result.mediumImageUrl", "result.nickname", "result.pickup", "result.rank",
         "result.recipeCost", "result.recipeDescription", "result.recipeId", "result.recipeIndication",
         "result.recipeMaterial", "result.recipePublishday", "result.recipeTitle", "result.recipeUrl",
         "result.shop", "result.smallImageUrl"}),

    抽出した値 = Table.TransformColumns(#"展開された result1", {"result.recipeMaterial", each Text.Combine(List.Transform(_, Text.From)), type text}),

    削除された列 = Table.RemoveColumns(抽出した値,
        {"result.foodImageUrl", "result.mediumImageUrl", "result.nickname", "result.pickup", "result.rank",
         "result.recipeId", "result.recipeIndication", "result.recipePublishday", "result.shop",
         "result.smallImageUrl", "result.recipeDescription"})
in
    削除された列
FetchData 関数を定義し、API呼び出しを Function.InvokeAfter(FetchData, #duration(0,0,0,1)) で1秒遅らせて実行。これにより、明示的に 「1秒待機 → API呼び出し」 の順で処理できます。
もし、1秒間の待機処理を入れていますが、待機時間が短くエラーになる場合は、#duration(0,0,0,1)を見直してください。
例)3秒間の待機
Function.InvokeAfter(FetchData, #duration(0,0,0,3))
結果(成果と評価)
本記事で紹介した方法を用いて、楽天レシピAPIからレシピ情報を取得し、Power BIに格納。取得したデータは、カテゴリーIDを指定してAPIを呼び出すことで、特定のジャンルのレシピ情報を的確に取得することが可能となった。また、楽天レシピAPIは、1秒間に1リクエストという制限があるため、Function.InvokeAfter(FetchData, #duration(0,0,0,1)) を用いることで、1秒ごとにリクエストを送信するよう制御。この処理を入れたことで、APIの使用制限を遵守しつつ、スムーズにデータ取得が可能となります。
まとめ(結論と今後の展望)
本記事では、楽天レシピAPIを用いてPower BIにレシピデータを取得・格納する方法を紹介しました。具体的には、APIの基本的な使い方、Power BIでのデータ取得手順、データの整形方法までを解説しました。この方法を活用すれば、今回取得した100件のレシピに限らず、さまざまなレシピデータを取り込み、より幅広いメニューを活用できます。
読者の皆様には、本記事の内容を参考に、Power BIとWeb APIの連携技術を習得し、実務や日常生活に役立てていただければ幸いです。
次回は、Power BIへ東京都卸売市場日報のデータ取り込みを行います。
お楽しみに!
いいなと思ったら応援しよう!
