OBSをpythonで動かす(OBS websocket 2024年最新版)

インターネットの何処にもまともな日本語の情報がなかったので書き記しておきます。
obs-websocket-pyを用いて、OBSをpythonで動かす方法です。
※obs-ws-rcというのもあるようですが、7年以上前から更新が止まっており、python 3.9以下でしか動きませんので、使えません。
接続の方法
まずOBS側の設定を確認します。
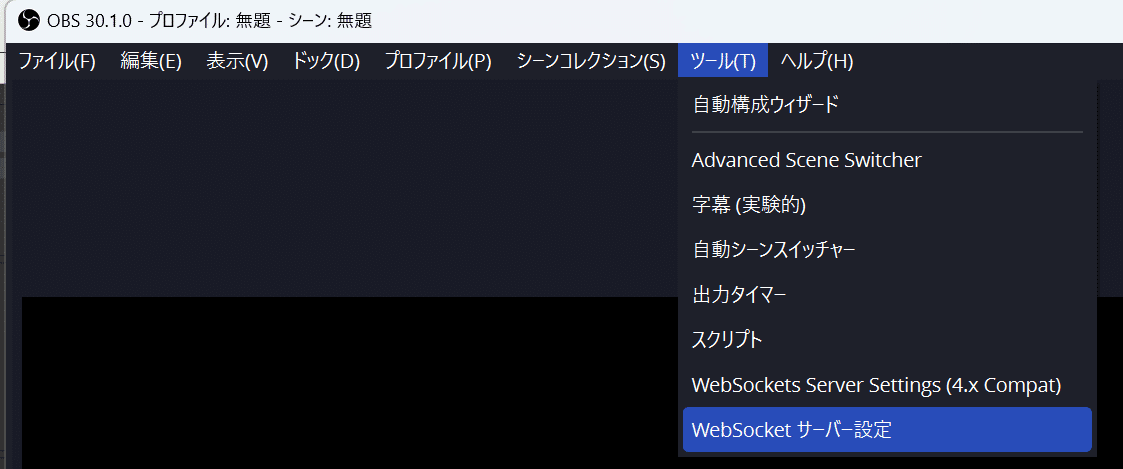
ツール(T)>WebSocket サーバー設定 を選択します。
「接続情報を表示」をクリック。
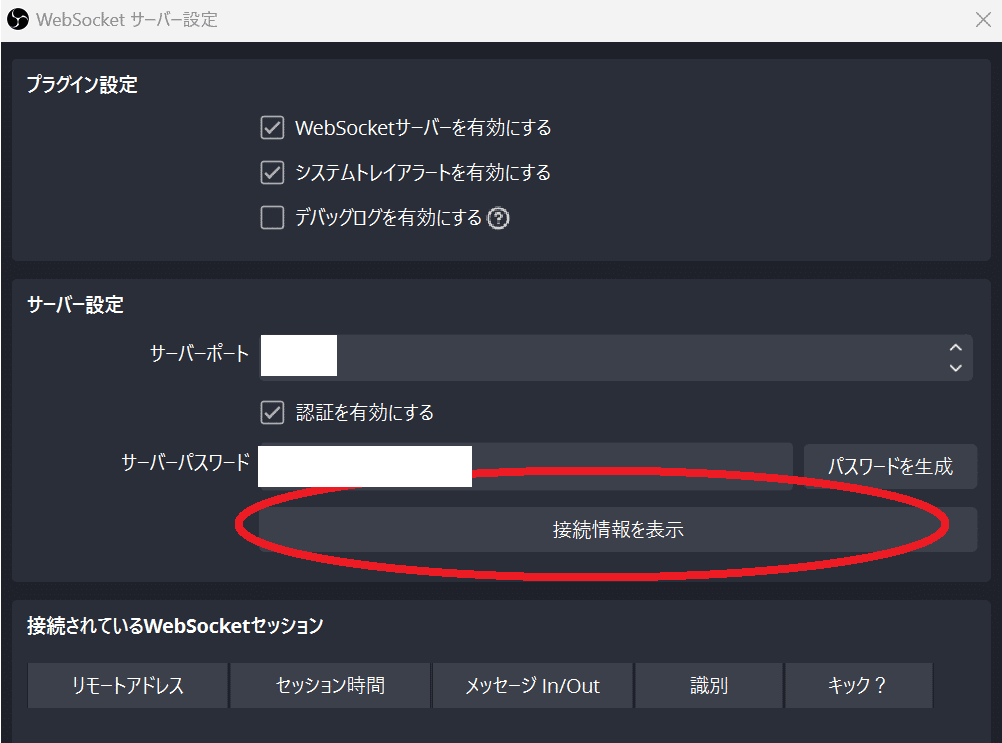
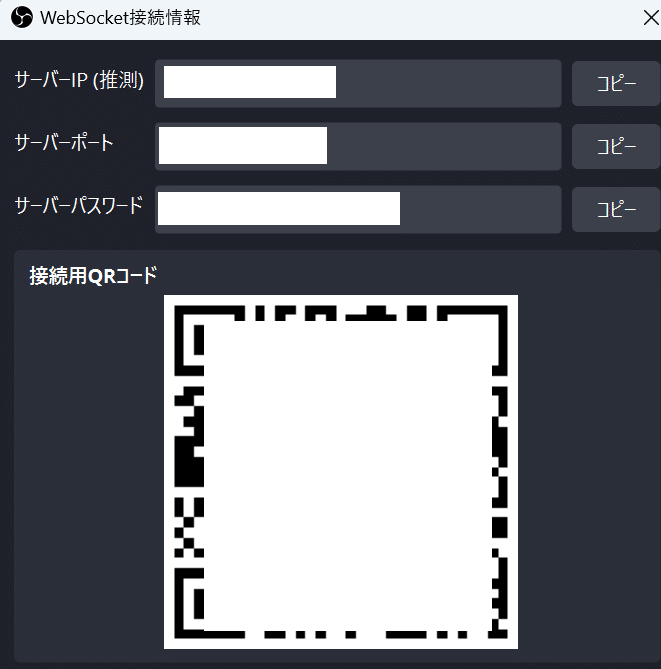
サーバーポートとサーバーパスワードをコピーしましょう。
サーバーIPは同じPC内で動かすなら"localhost"になるので不要です。
次にPython側のコードを書きます。
コマンドプロンプトを起動し、
pip install obs-websocket-pyと入力して、obswebsocketをインストールします。
次にVS codeなりなんなりで、pythonコードを描きこんでいきます。
# OBSに接続
from obswebsocket import obsws, requests
host = "localhost"
port = ×××× # 先ほど確認したportの番号
password = "××××××××××××××××" # 先ほど確認したパスワード
ws = obsws(host, port, password)
ws.connect()
print("接続")

'''
ここに必要な処理を書く。
'''

ws.disconnect()
print("websocket接続完了")
これが基本のコードになります。
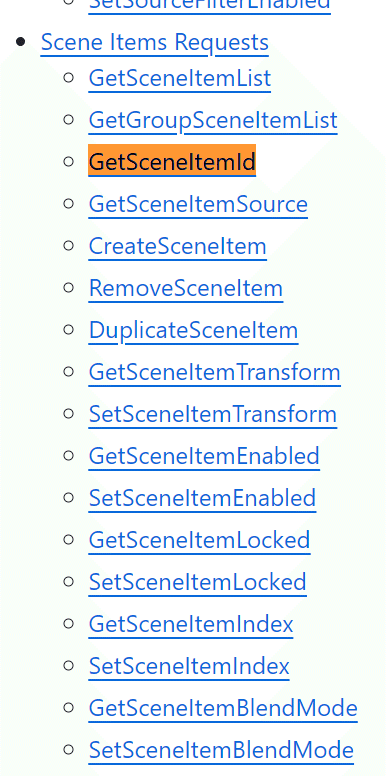
使えそうなコマンド
コマンドについてはここの、
obs-websocket/docs/generated/protocol.md
に載っています。遠すぎなんじゃ…!
wikiもあるけど何書いてるのかよくわかりません。
注意すべきこととして、
OBSは日本語だと、シーン>ソースという構造になっていますが、
OBS websocketではこのソースのことをSceneItemと表現しています。
分かりにくい…!
さて、いくつか使えそうなコマンドを紹介します。
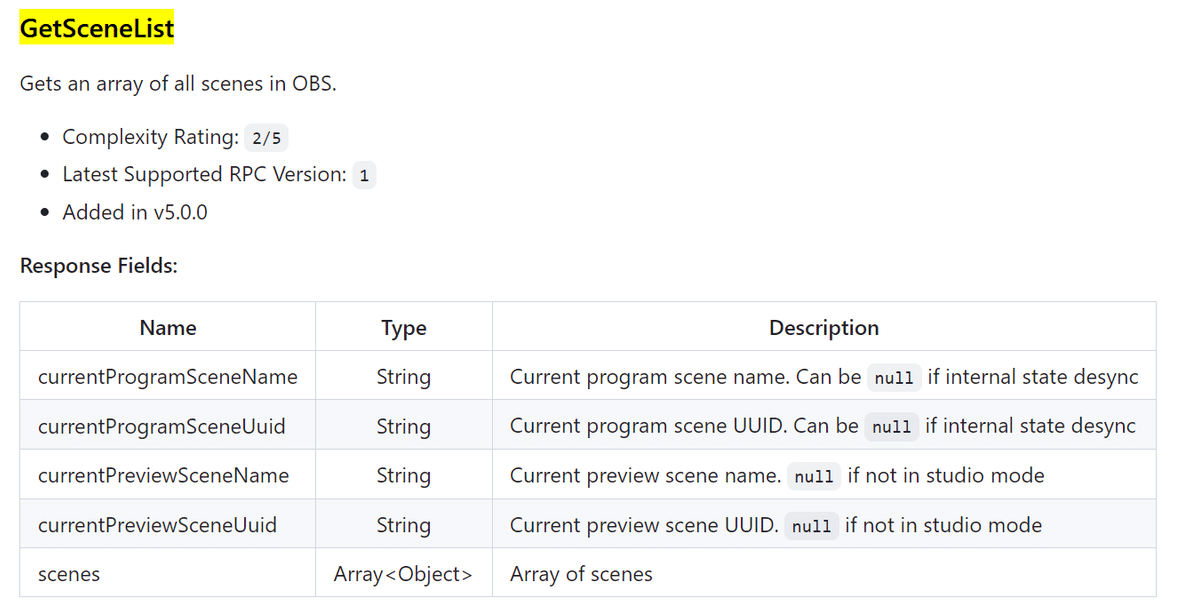
【GetSceneList】
print("GetSceneList")
scenes = ws.call(requests.GetSceneList())
if scenes.status:
    for s in scenes.getScenes():
        print(s)
{'sceneIndex': 0, 'sceneName': 'Switch', 'sceneUuid': '~~~~~'}
という形式でかえってきました。
私はシーンが1つしかなくて、名前がSwitchなのでこのような形になるのでしょう。自分のシーンを一応確認しておきましょう。
【GetSceneItemList】
シーンの中にあるソースの情報をすべて所得します。
sceneNameを指定しないとエラーになります。

gg = ws.call(requests.GetSceneItemList(sceneName="(シーンの名称)"))
print(f"GetSceneItemList:{gg})
実行するとこのような結果が返ってきます。(ちょっと改行してます)
<GetSceneItemList request ({'sceneName': 'Switch'}) called: success
 ({'sceneItems': [
    {'inputKind': 'window_capture', 'isGroup': None, 'sceneItemBlendMode': 'OBS_BLEND_NORMAL', 'sceneItemEnabled': True, 'sceneItemId': 38, 'sceneItemIndex': 0, 'sceneItemLocked': False, 'sceneItemTransform':{'alignment': 5, 'boundsAlignment': 0, 'boundsHeight': 0.0, 'boundsType': 'OBS_BOUNDS_NONE', 'boundsWidth': 0.0, 'cropBottom': 0, 'cropLeft': 1894, 'cropRight': 135, 'cropTop': 735, 'height': 0.0, 'positionX': 1628.0,'positionY': 12.0, 'rotation': 0.0, 'scaleX': 1.0, 'scaleY': 1.0, 'sourceHeight': 0.0, 'sourceWidth': 0.0, 'width': 0.0}, 'sourceName': 'コメント', 'sourceType': 'OBS_SOURCE_TYPE_INPUT', 'sourceUuid'~~~'},
    {'inputKind': 'dshow_input', 'isGroup': None, 'sceneItemBlendMode': 'OBS_BLEND_NORMAL', 'sceneItemEnabled': True, 'sceneItemId': 1, 'sceneItemIndex': 1, 'sceneItemLocked': False, 'sceneItemTransform': {'alignment': 5, 'boundsAlignment': 0, 'boundsHeight': 0.0, 'boundsType': 'OBS_BOUNDS_NONE', 'boundsWidth': 0.0, 'cropBottom': 0, 'cropLeft': 0, 'cropRight': 0, 'cropTop': 0, 'height': 0.0, 'positionX': -22.0, 'positionY': 0.0, 'rotation': 0.0, 'scaleX': 0.9604166746139526, 'scaleY': 0.960185170173645, 'sourceHeight': 0.0, 'sourceWidth': 0.0, 'width': 0.0}, 'sourceName': 'cap', 'sourceType': 'OBS_SOURCE_TYPE_INPUT', 'sourceUuid': '~~~'},
    {'inputKind': 'window_capture', 'isGroup': None, 'sceneItemBlendMode': 'OBS_BLEND_NORMAL', 'sceneItemEnabled': False, 'sceneItemId': 13, 'sceneItemIndex': 2, 'sceneItemLocked': False, 'sceneItemTransform': {'alignment': 5, 'boundsAlignment': 0, 'boundsHeight': 0.0, 'boundsType': 'OBS_BOUNDS_NONE', 'boundsWidth': 0.0, 'cropBottom': 0, 'cropLeft': 0, 'cropRight': 0, 'cropTop': 0, 'height': 0.0, 'positionX': 833.0, 'positionY': 941.0, 'rotation': 0.0, 'scaleX': 2.277777671813965, 'scaleY': 2.2799999713897705, 'sourceHeight': 0.0, 'sourceWidth': 0.0, 'width': 0.0}, 'sourceName': 'LiveSplit', 'sourceType': 'OBS_SOURCE_TYPE_INPUT', 'sourceUuid': '~~~'}
~~~~
非常にみにくいですね。
3行名目以降が各ソースに当たるのですが、souceNameが後ろの方にあってかなりにみにくいです。
ただこれを出力すればどのような項目があって何をいじれるのかがわかるかと思います。
ちなみにこの帰ってきている変数は
<class 'obswebsocket.base_classes.GetSceneItemList'>
らしいです。なんじゃそりゃ。
構造がわからなかったのでstringに変換して無理矢理処理しました。
【GetSceneItemId】

sid = str(ws.call(requests.GetSceneItemId(sceneName="(シーンの名称)", sourceName="(ソースの名称)")))
print(sid)
これがないと話になりませんね。
シーン名とソース名を指定すれば、ソースのIDをゲットできます。
アクションを起こすときは、シーン名とソースのIDが必要なので、これを使ってIDを確認しておきましょう。
<GetSceneItemId request ({'sceneName': 'Switch', 'sourceName': 'gaki'}) called: success ({'sceneItemId': 16})>
帰ってくるのはこんな感じ。やっぱりStringに変換してry
【GetSceneItemEnabled】
ソースの表示・非表示を切り替えます。
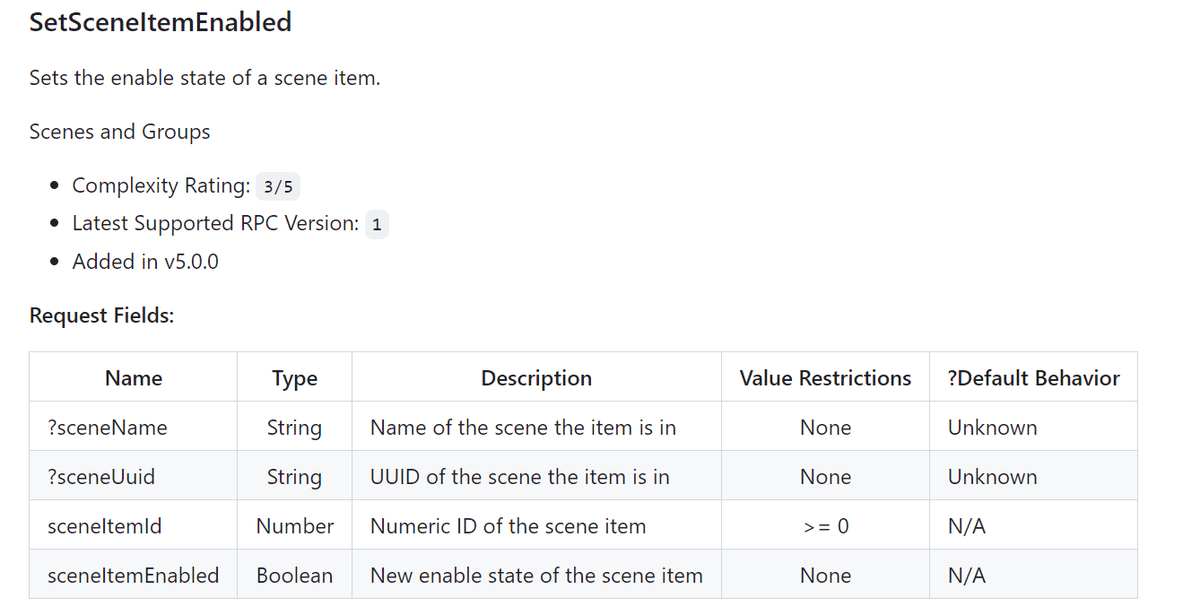
sid = 1 #先ほど確認したソースのID
ws.call(requests.SetSceneItemEnabled(sceneName="(シーンの名称)", sceneItemId= sid , sceneItemEnabled=True))
【そのほか】
他にも変形させたり、item作ったり色々できそうです。
テキストを変更するのがどこになっているのかはよくわからなかったです。
サンプルコード
# OBSに接続
from obswebsocket import obsws, requests
host = "localhost"
port = ×××× # 先ほど確認したportの番号
password = "××××××××××××××××" # 先ほど確認したパスワード
ws = obsws(host, port, password)
ws.connect()
print("接続")

#シーンのリストを所得
print("SceneListを所得")
scenes = ws.call(requests.GetSceneList())
if scenes.status:
    for s in scenes.getScenes():
        print(s)

#ソースのリストを所得
print("SceneItemList=ソースのリストを所得")
scName = "(シーンの名称)"
sources = ws.call(requests.GetSceneItemList(sceneName=scName))
print(f"GetSceneItemList:{sources}")

# 指定したソースのIDを所得する
scName = "(シーンの名称)"
soName = "(ソースの名称)"
sid = str(ws.call(requests.GetSceneItemId(sceneName=scName, sourceName=soName)))
print(sid)

# 指定したソースを表示させる
scName = "(シーンの名称)"
soId = (先ほど所得したID番号)
gg = ws.call(requests.SetSceneItemEnabled(sceneName=scName, sceneItemId=soId, sceneItemEnabled=False))
print(gg)

# 接続を終了
ws.disconnect()
print("websocket接続完了")